Remove the power cord from the back of the printer.
2
3
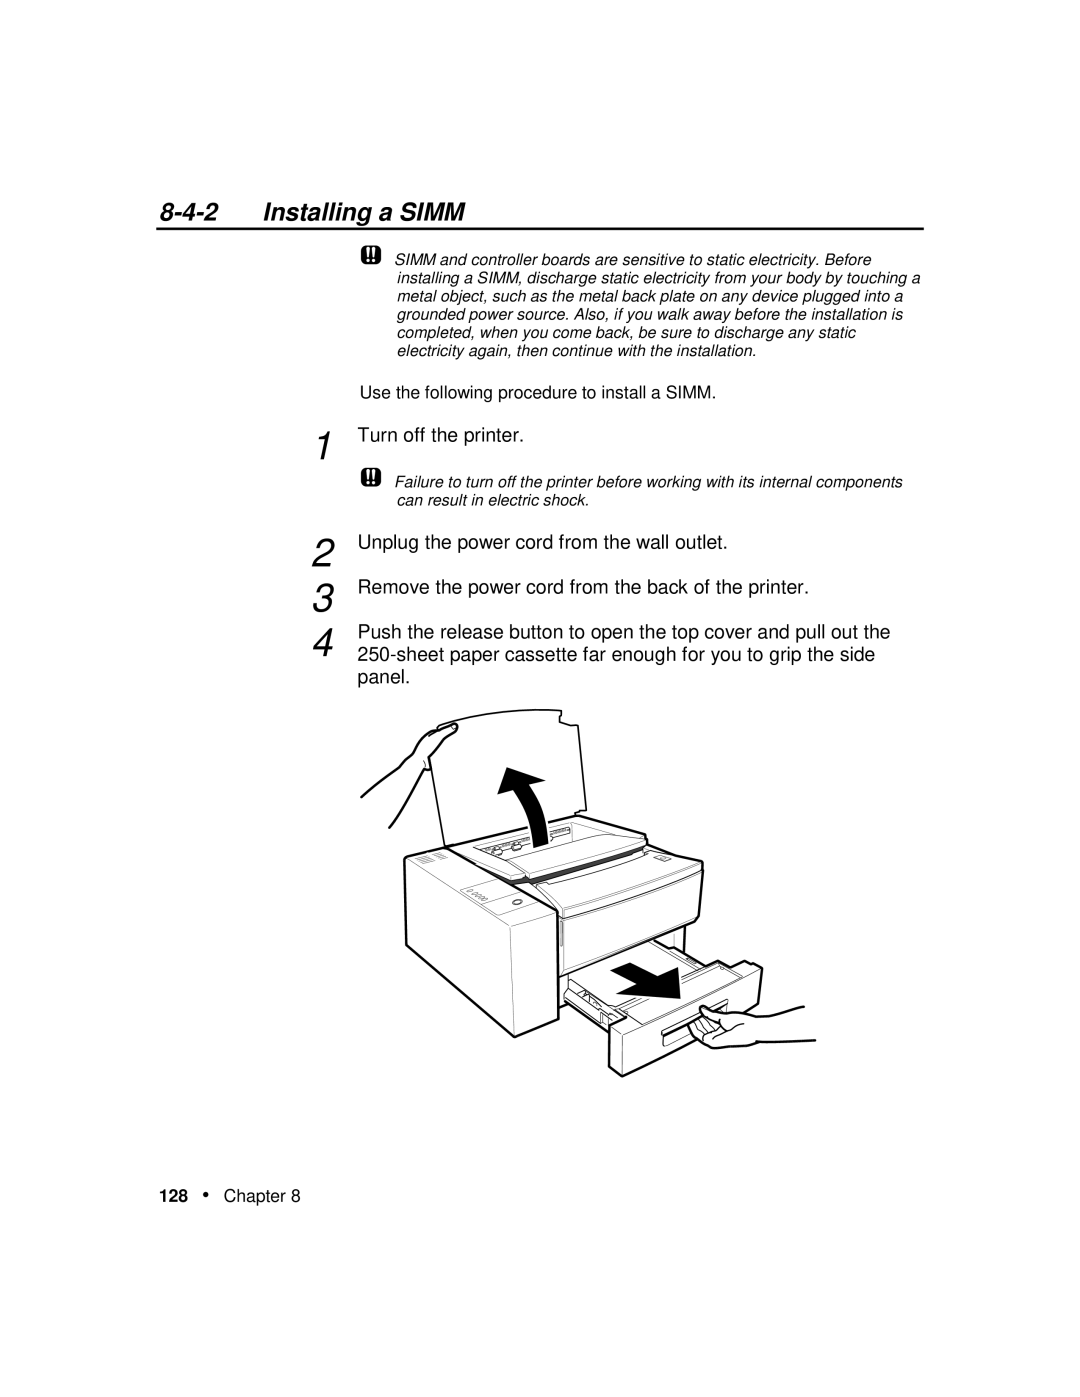
4 Push the release button to open the top cover and pull out the 250-sheet paper cassette far enough for you to grip the side panel.
Unplug the power cord from the wall outlet.
Failure to turn off the printer before working with its internal components can result in electric shock.
1
SIMM and controller boards are sensitive to static electricity. Before installing a SIMM, discharge static electricity from your body by touching a metal object, such as the metal back plate on any device plugged into a grounded power source. Also, if you walk away before the installation is completed, when you come back, be sure to discharge any static electricity again, then continue with the installation.
Use the following procedure to install a SIMM. Turn off the printer.
Installing a SIMM