Chapter 2: Monitoring the SG Appliance
Setting up Director and SG Appliance Communication
Director and the SG appliance use SSHv2 as the default communication mode. SSHv1 is not supported.
For Director to successfully manage multiple appliances, it must be able to communicate with an appliance using SSH/RSA and the Director’s public key must be configured on each system that Director manages.
When doing initial setup of the SG appliance from Director, Director connects to the device using the authentication method established on the device: SSH with simple authentication or SSH/RSA. SSH/RSA is preferred, and must also be set up on Director before connecting to the SG appliance.
Director can create an RSA keypair for an SG appliance to allow connections. However, for full functionality, Director’s public key must be configured on each appliance. You can configure the key on the system using the following two methods:
❐Use Director to create and push the key.
❐Use the
Using Director to create and push client keys is the recommended method. The CLI command is provided for reference.
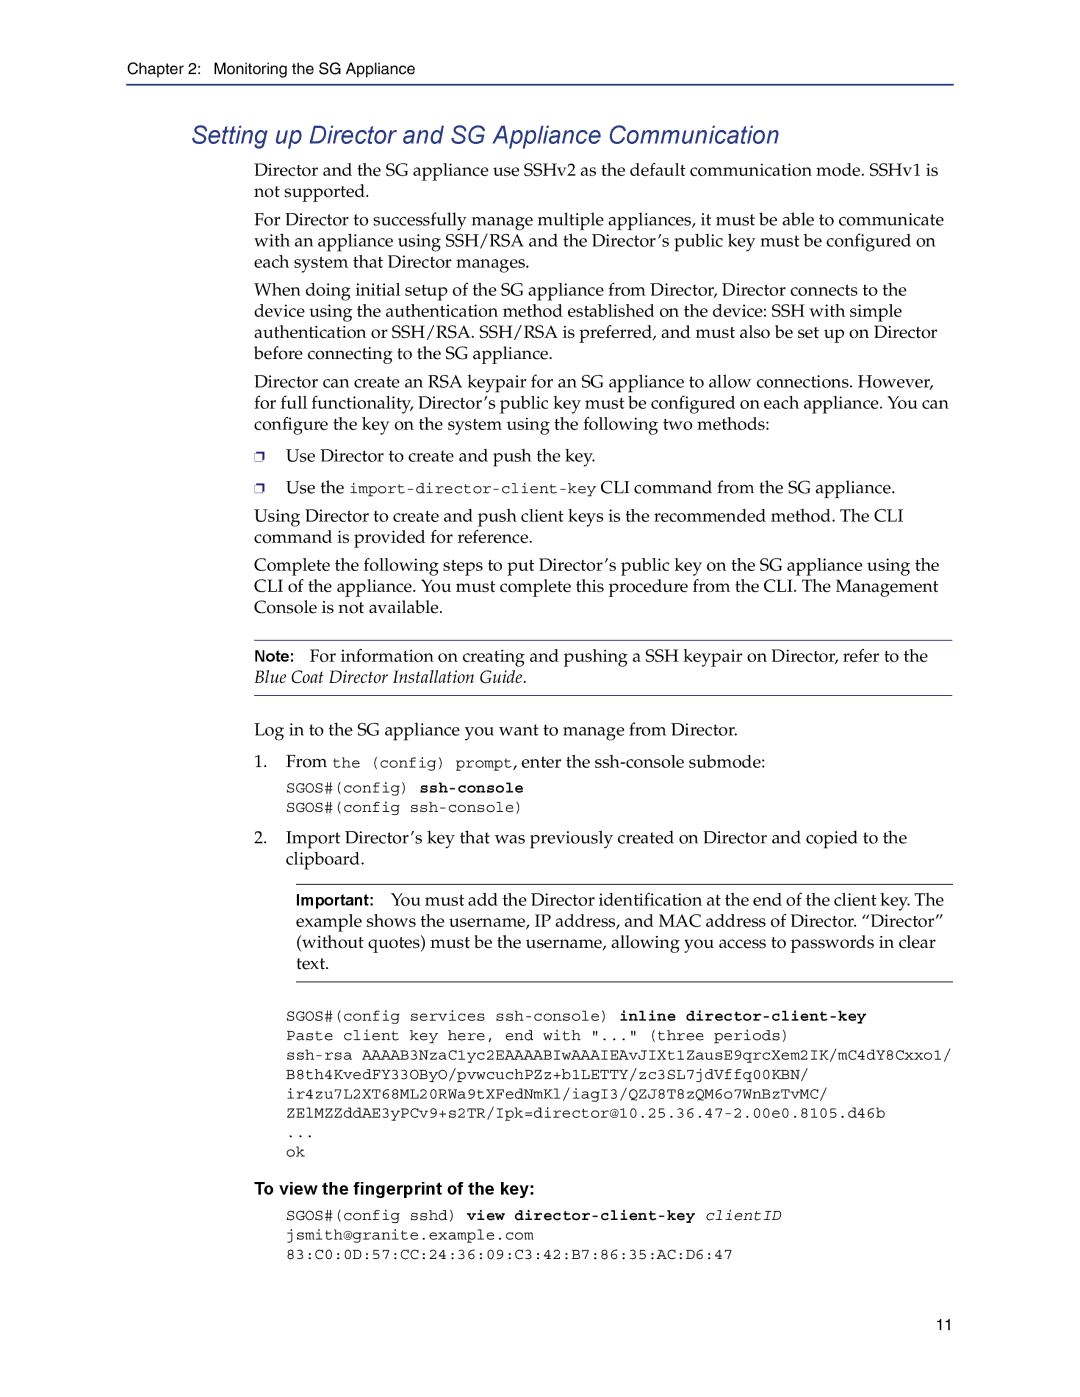
Complete the following steps to put Director’s public key on the SG appliance using the CLI of the appliance. You must complete this procedure from the CLI. The Management Console is not available.
Note: For information on creating and pushing a SSH keypair on Director, refer to the Blue Coat Director Installation Guide.
Log in to the SG appliance you want to manage from Director.
1.From the (config) prompt, enter the
SGOS#(config)
2.Import Director’s key that was previously created on Director and copied to the clipboard.
Important: You must add the Director identification at the end of the client key. The example shows the username, IP address, and MAC address of Director. “Director” (without quotes) must be the username, allowing you access to passwords in clear text.
SGOS#(config services
...
ok
To view the fingerprint of the key:
SGOS#(config sshd) view
jsmith@granite.example.com
83:C0:0D:57:CC:24:36:09:C3:42:B7:86:35:AC:D6:47
11
