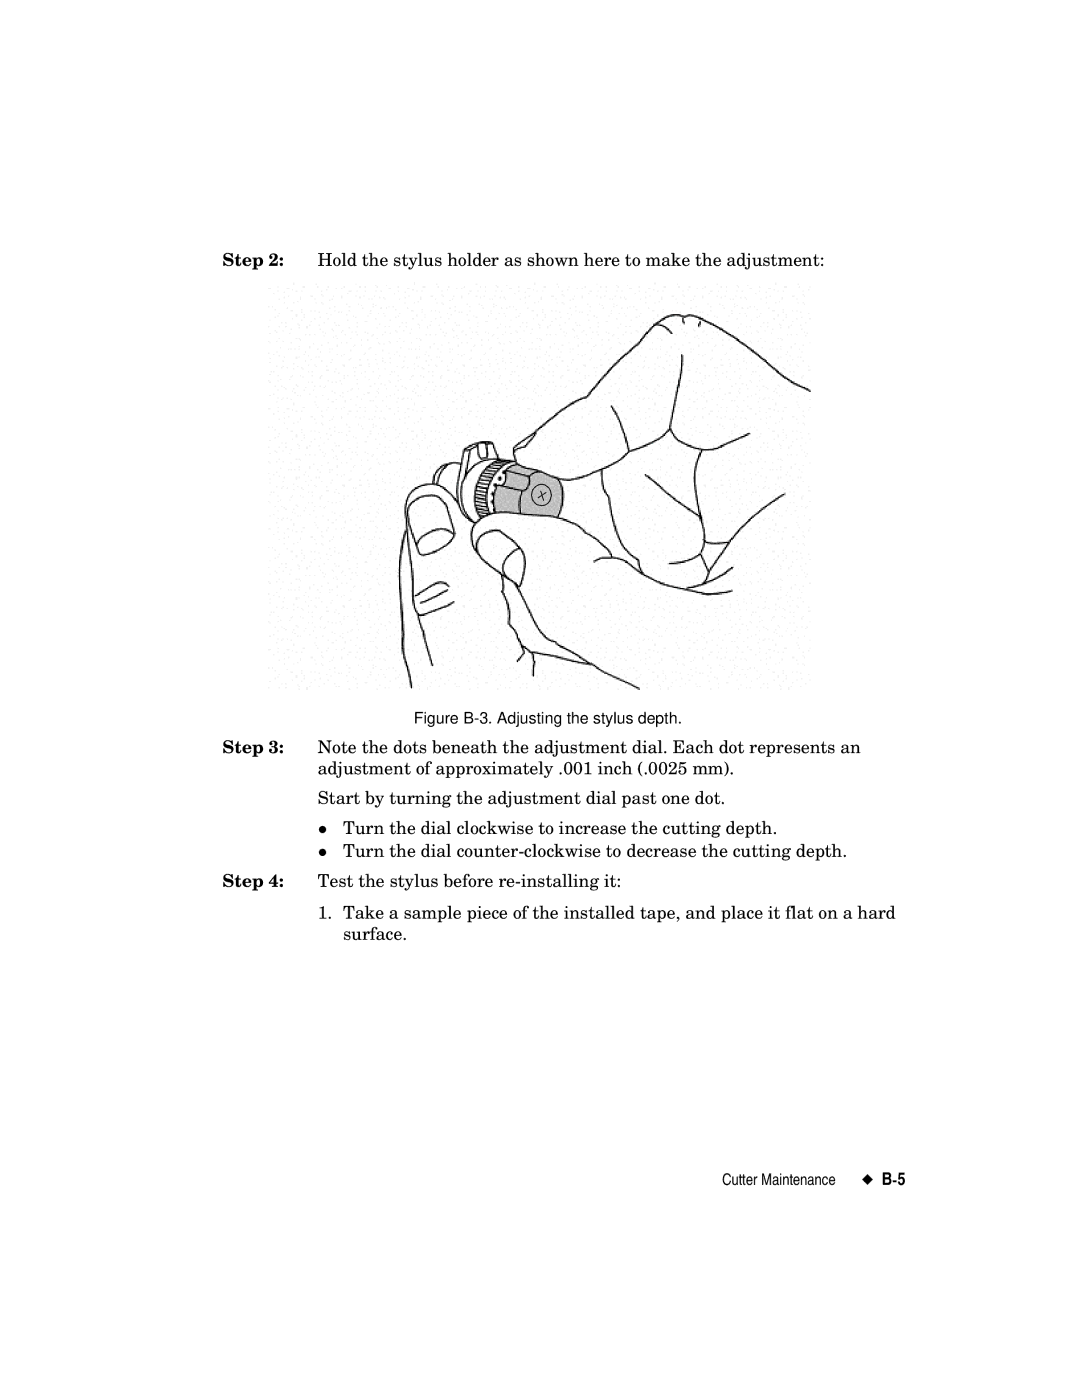
Step 2: Hold the stylus holder as shown here to make the adjustment:
Figure B-3. Adjusting the stylus depth.
Step 3: Note the dots beneath the adjustment dial. Each dot represents an adjustment of approximately .001 inch (.0025 mm).
Start by turning the adjustment dial past one dot.
zTurn the dial clockwise to increase the cutting depth.
Turn the dial
Step 4: Test the stylus before
1.Take a sample piece of the installed tape, and place it flat on a hard surface.
Cutter Maintenance |