Chapter 2 Installing the Cisco 7201 Router
Preparing to Install the Cisco 7201 Router
•Optional Cisco USB Flash memory module or Aladdin USB eToken Pro key
•
Electrical Equipment Guidelines
The port adapter is designed to be removed and replaced while the system is operating without presenting an electrical hazard or damage to the system.
Preventing Electrostatic Discharge Damage
Electrostatic discharge (ESD) damage, which occurs when electronic cards or components are improperly handled, can result in complete or intermittent system failures. Each port adapter consists of a printed circuit board that is fixed in a metal carrier. Electromagnetic interference (EMI) shielding, connectors, and a handle are integral components of the carrier. Although the carrier helps protect the boards, use an antistatic strap whenever handling the port adapter. Handle the carriers by the handle and the carrier edges only; never touch the boards or connector pins.
Site Requirement Guidelines
Warning Before you install, operate, or service the system, read the Regulatory Compliance and Safety Information for Cisco 7200 Series Routers publication. This document provides important safety information you should know before working with the system. Statement 200
The environmental monitoring functionality in the Cisco 7201 router protects the system and components from potential damage from overvoltage and overtemperature conditions. To ensure normal operation and avoid unnecessary maintenance, plan your site configuration and prepare your site before installation. After installation, make sure the site maintains an ambient temperature of 32•F through 104•F (0•C through 40•C), and keep the area around the chassis as free from dust as is practical.
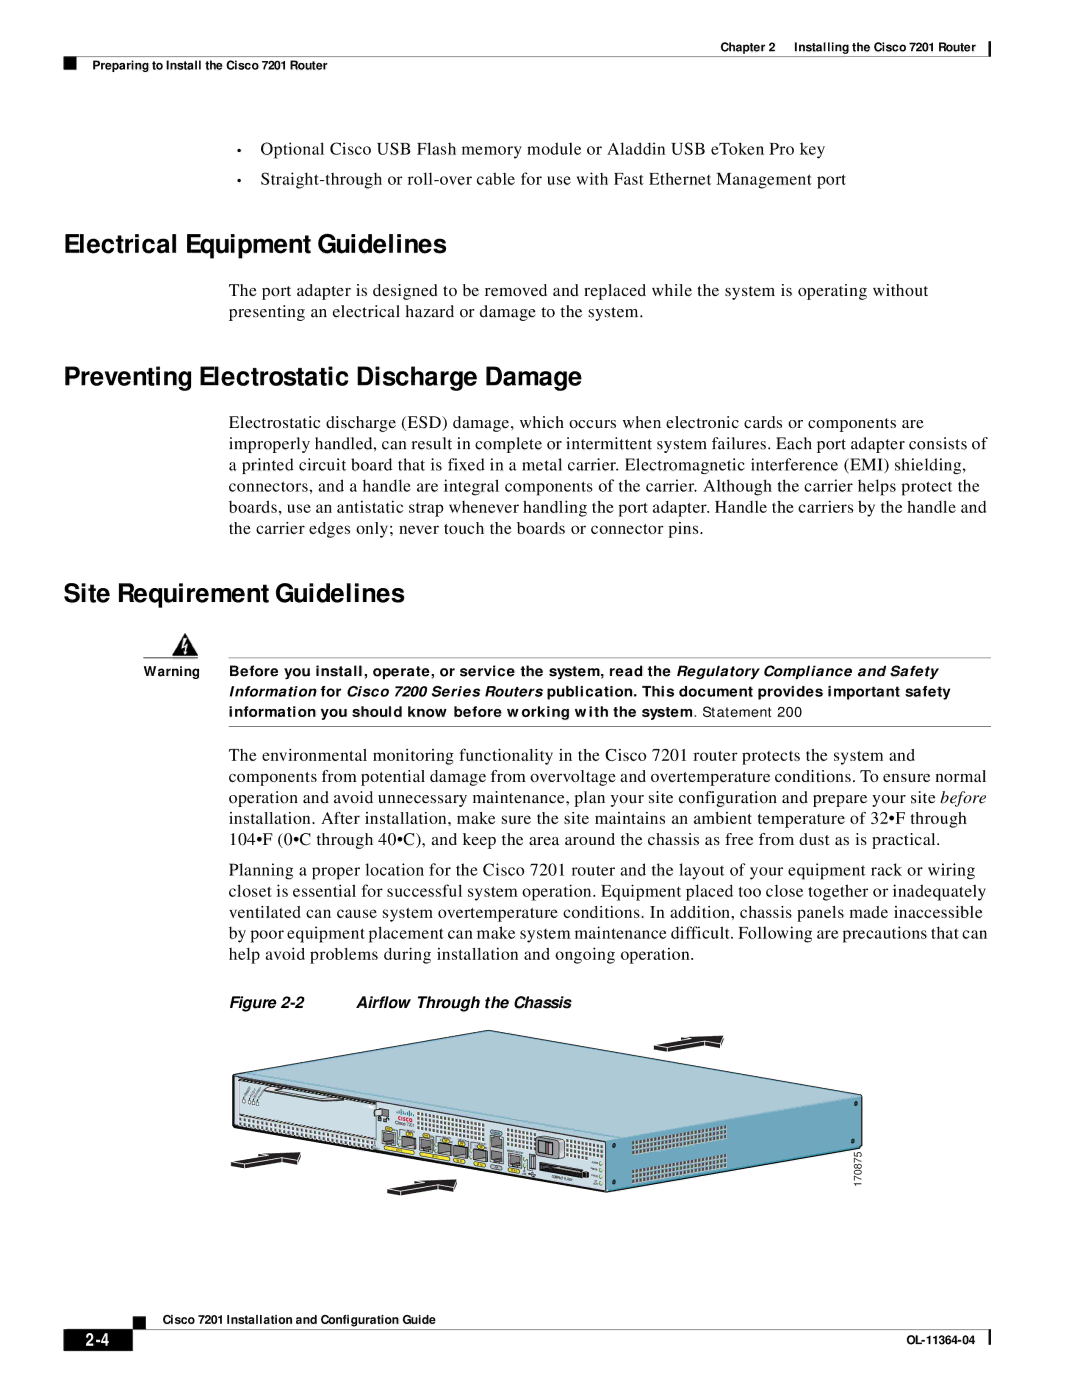
Planning a proper location for the Cisco 7201 router and the layout of your equipment rack or wiring closet is essential for successful system operation. Equipment placed too close together or inadequately ventilated can cause system overtemperature conditions. In addition, chassis panels made inaccessible by poor equipment placement can make system maintenance difficult. Following are precautions that can help avoid problems during installation and ongoing operation.
Figure 2-2 Airflow Through the Chassis
EN | LE | D | CELLS | CARRIERALARM |
AB |
|
|
|
|
|
| RX | RX | RX |
ATM 
RJ45 |
| Cisco 7201 |
|
|
|
|
|
|
|
|
|
EN | LINK/ACTV |
|
|
|
|
|
| CONSOLE |
|
| |
|
| RJ45 |
|
|
|
|
|
|
| ||
|
| SFP | EN | LINK/ACTV |
|
|
|
|
|
| |
|
|
|
| LINK/ACTV |
|
|
|
|
| ||
|
|
|
| TX | SFP RX |
| LINK/ACTV |
|
| ||
PA |
|
|
|
|
| SFP | TX |
|
| ||
SLOT 1 |
| GE 0/0 |
|
|
|
|
| SFP | RX |
|
|
|
|
|
|
|
|
| MNGMNT USE ONLY |
| |||
|
|
|
| GE 0/1 |
|
|
|
|
| ||
|
|
|
|
|
|
|
|
|
|
| |
|
|
|
|
|
| GE 0/2 |
| GE 0/3 |
|
|
|
|
|
|
|
|
|
|
| AUX |
|
| |
|
|
|
|
|
|
|
|
| FE 0/0 | FE | 0 |
|
|
|
|
|
|
|
|
|
| LINK | COMPACT FLASH |
|
|
|
|
|
|
|
|
|
|
| |
ALARM ![]() PWR OK
PWR OK ![]() STATUS
STATUS ![]()
CF ACTV
170875
Cisco 7201 Installation and Configuration Guide
| ||
|
