Chapter 5 Advanced Configurations
Configuring Clock Synchronization
You can configure your NetScaler appliance to synchronize its local clock with a Network Time Protocol (NTP) server. This ensures that its clock has the same date and time settings as the other servers on your network.
You can configure clock synchronization on your appliance by adding NTP server entries to the ntp.conf file from either the configuration utility or the NetScaler command line, or by manually modifying the ntp.conf file, and then starting the NTP daemon (NTPD). The clock synchronization configuration does not change if the appliance is restarted, upgraded, or downgraded. However, the configuration does not get propagated to the secondary NetScaler in a high availability setup.
Note: If you do not have a local NTP server, you can find a list of public, open access, NTP servers at the official NTP site, http://www.ntp.org, under Public Time Servers List. Before configuring your NetScaler to use a public NTP server, be sure to read the Rules of Engagement page (link included on all Public Time Servers pages).
Setting Up Clock Synchronization by Using the CLI or the Configuration Utility
To configure clock synchronization from the configuration utility or from the CLI, you add NTP servers and then enable NTP synchronization.
To add an NTP server by using the NetScaler command line
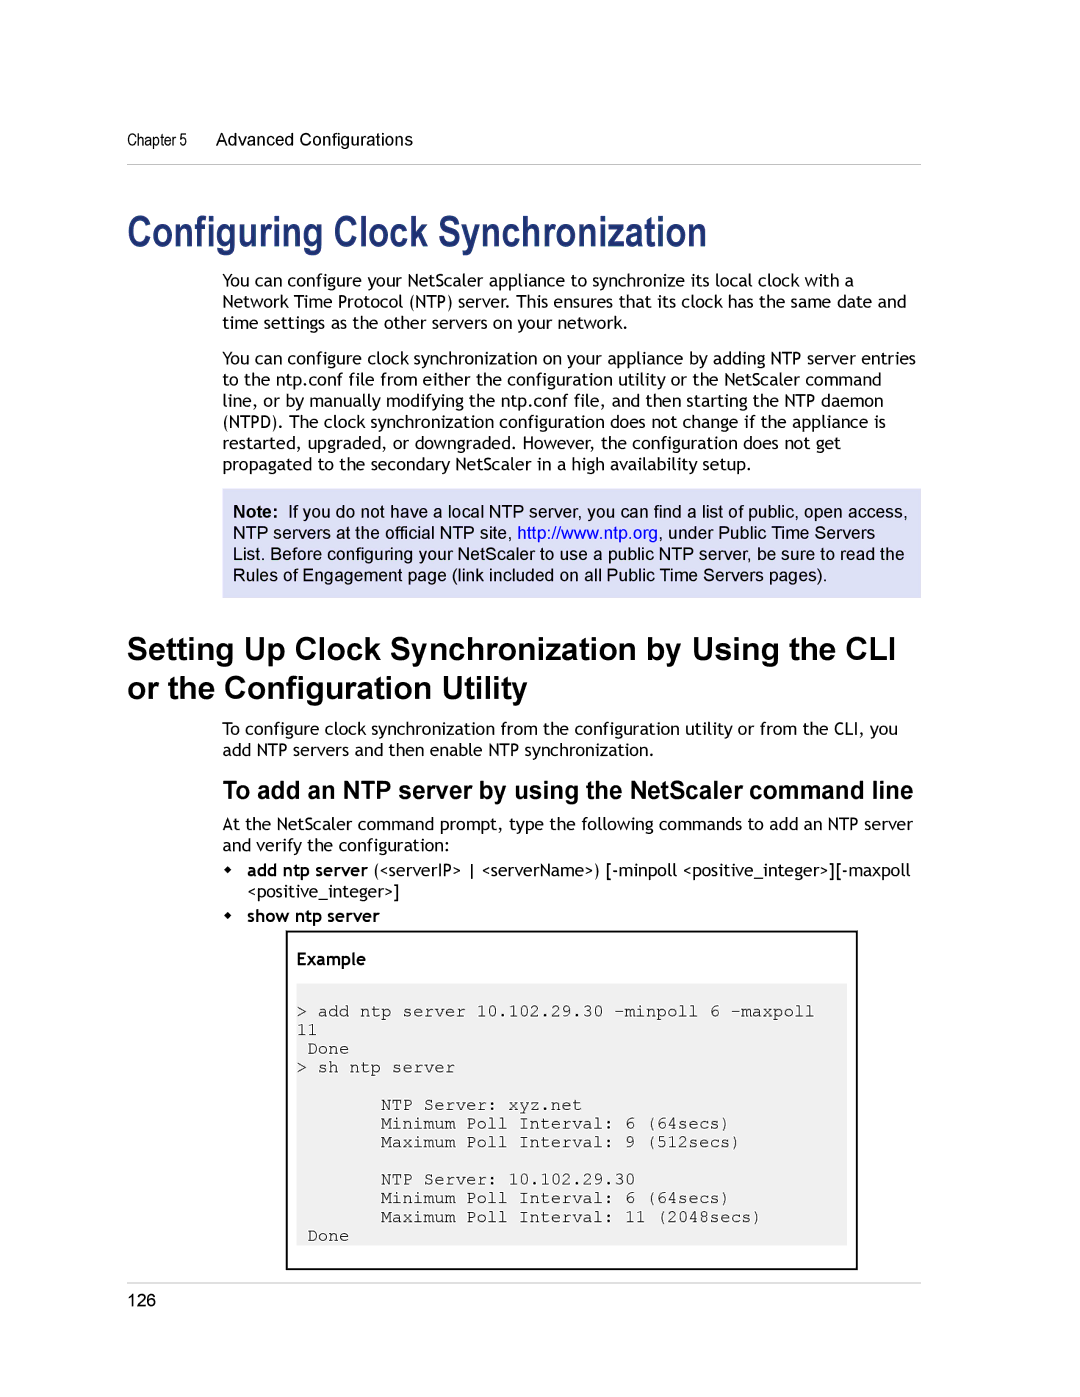
At the NetScaler command prompt, type the following commands to add an NTP server and verify the configuration:
wadd ntp server (<serverIP> <serverName>)
wshow ntp server
Example
>add ntp server 10.102.29.30
11 Done
>sh ntp server
NTP Server: xyz.net
Minimum Poll Interval: 6 (64secs)
Maximum Poll Interval: 9 (512secs)
NTP Server: 10.102.29.30
Minimum Poll Interval: 6 (64secs)
Maximum Poll Interval: 11 (2048secs)
Done
126
