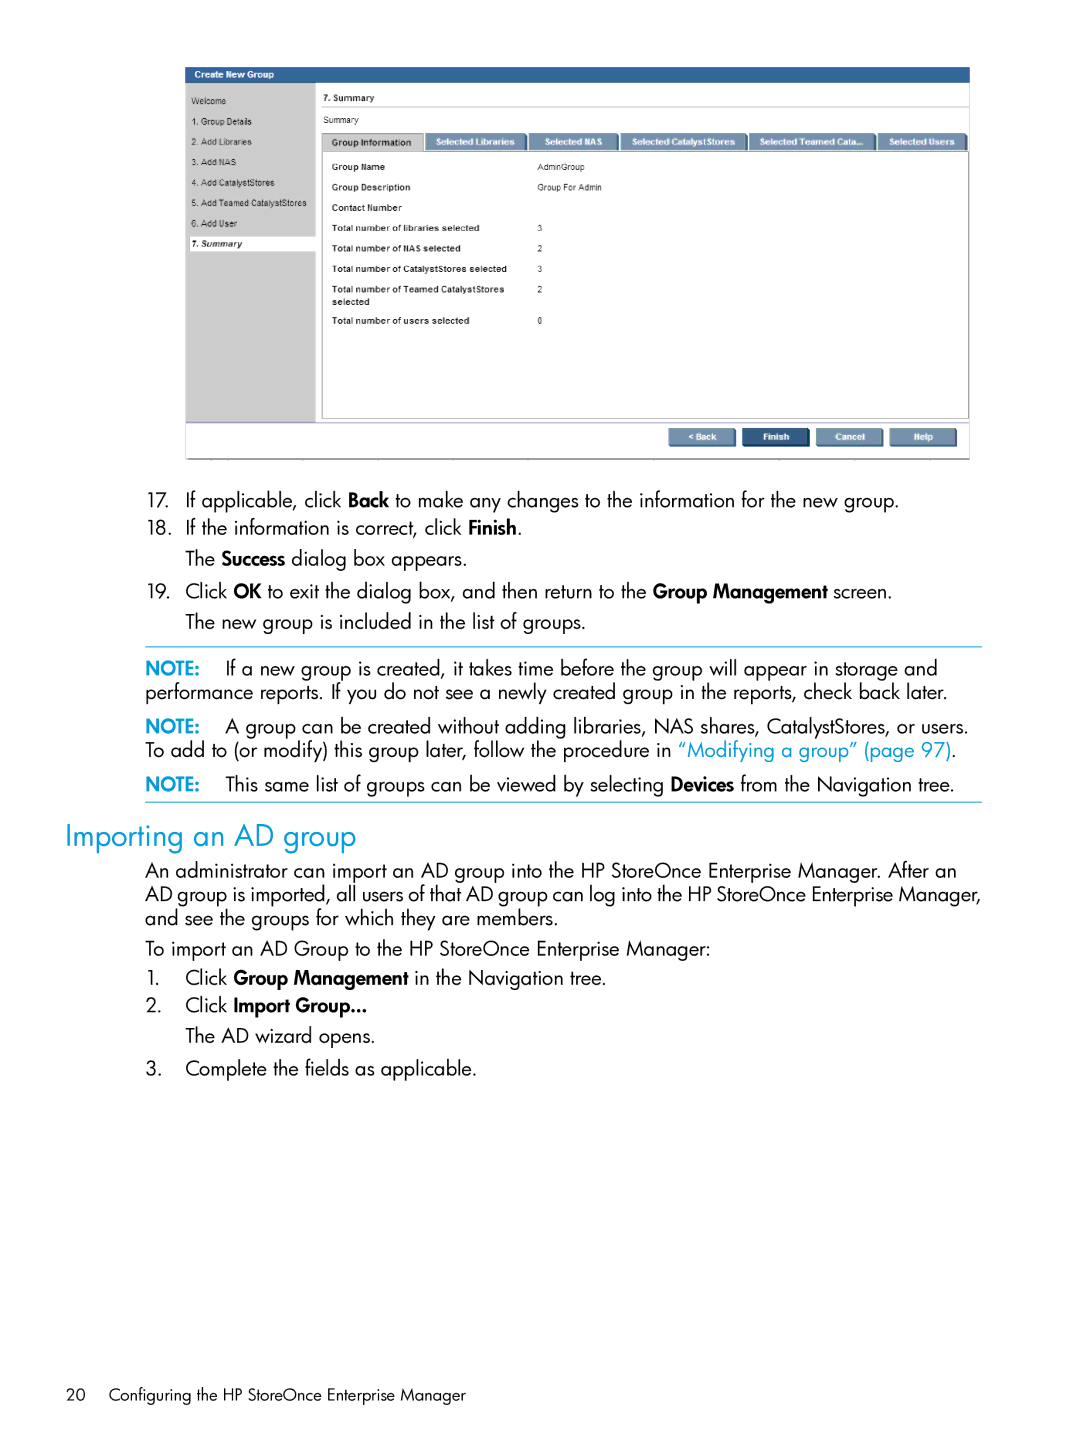
17.If applicable, click Back to make any changes to the information for the new group.
18.If the information is correct, click Finish. The Success dialog box appears.
19.Click OK to exit the dialog box, and then return to the Group Management screen. The new group is included in the list of groups.
NOTE: If a new group is created, it takes time before the group will appear in storage and performance reports. If you do not see a newly created group in the reports, check back later.
NOTE: A group can be created without adding libraries, NAS shares, CatalystStores, or users. To add to (or modify) this group later, follow the procedure in “Modifying a group” (page 97).
NOTE: This same list of groups can be viewed by selecting Devices from the Navigation tree.
Importing an AD group
An administrator can import an AD group into the HP StoreOnce Enterprise Manager. After an AD group is imported, all users of that AD group can log into the HP StoreOnce Enterprise Manager, and see the groups for which they are members.
To import an AD Group to the HP StoreOnce Enterprise Manager:
1.Click Group Management in the Navigation tree.
2.Click Import Group...
The AD wizard opens.
3.Complete the fields as applicable.
