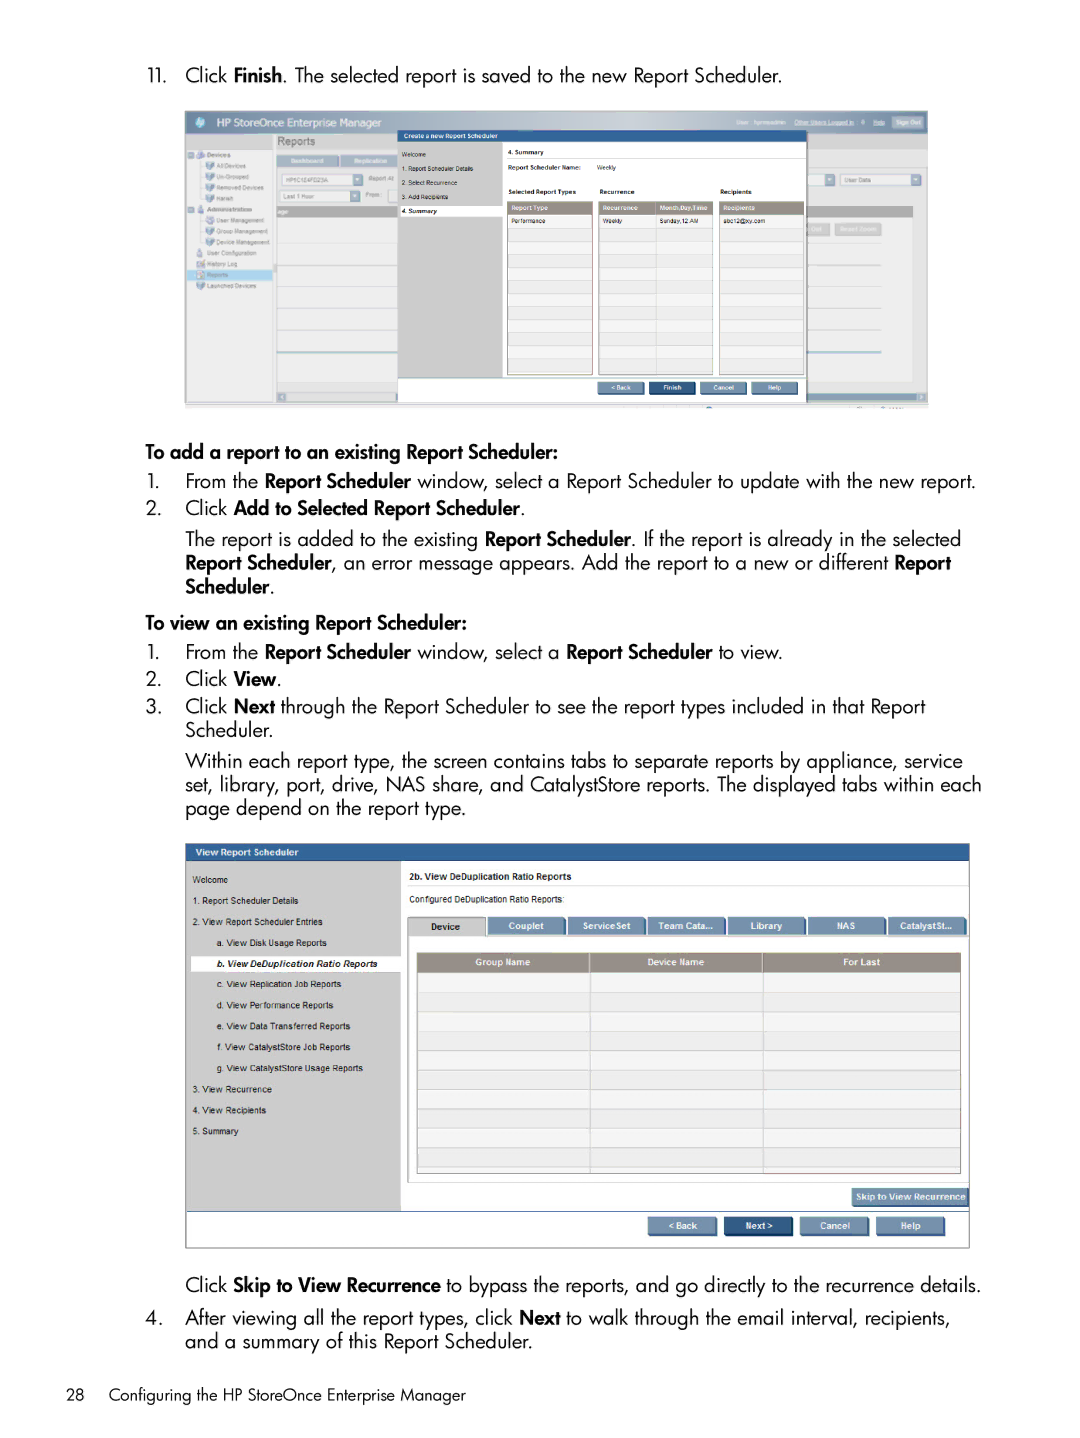
11. Click Finish. The selected report is saved to the new Report Scheduler.
To add a report to an existing Report Scheduler:
1.From the Report Scheduler window, select a Report Scheduler to update with the new report.
2.Click Add to Selected Report Scheduler.
The report is added to the existing Report Scheduler. If the report is already in the selected Report Scheduler, an error message appears. Add the report to a new or different Report Scheduler.
To view an existing Report Scheduler:
1.From the Report Scheduler window, select a Report Scheduler to view.
2.Click View.
3.Click Next through the Report Scheduler to see the report types included in that Report Scheduler.
Within each report type, the screen contains tabs to separate reports by appliance, service set, library, port, drive, NAS share, and CatalystStore reports. The displayed tabs within each page depend on the report type.
Click Skip to View Recurrence to bypass the reports, and go directly to the recurrence details.
4.After viewing all the report types, click Next to walk through the email interval, recipients, and a summary of this Report Scheduler.