8.Click Select Interface to see a list of available libraries.
To filter the libraries, enter text into the Available Libraries text box, and click Search. Click Clear to clear the filter.
9.Select a library.
10.Click OK to close the Available Library list. Select Drive is now enabled.
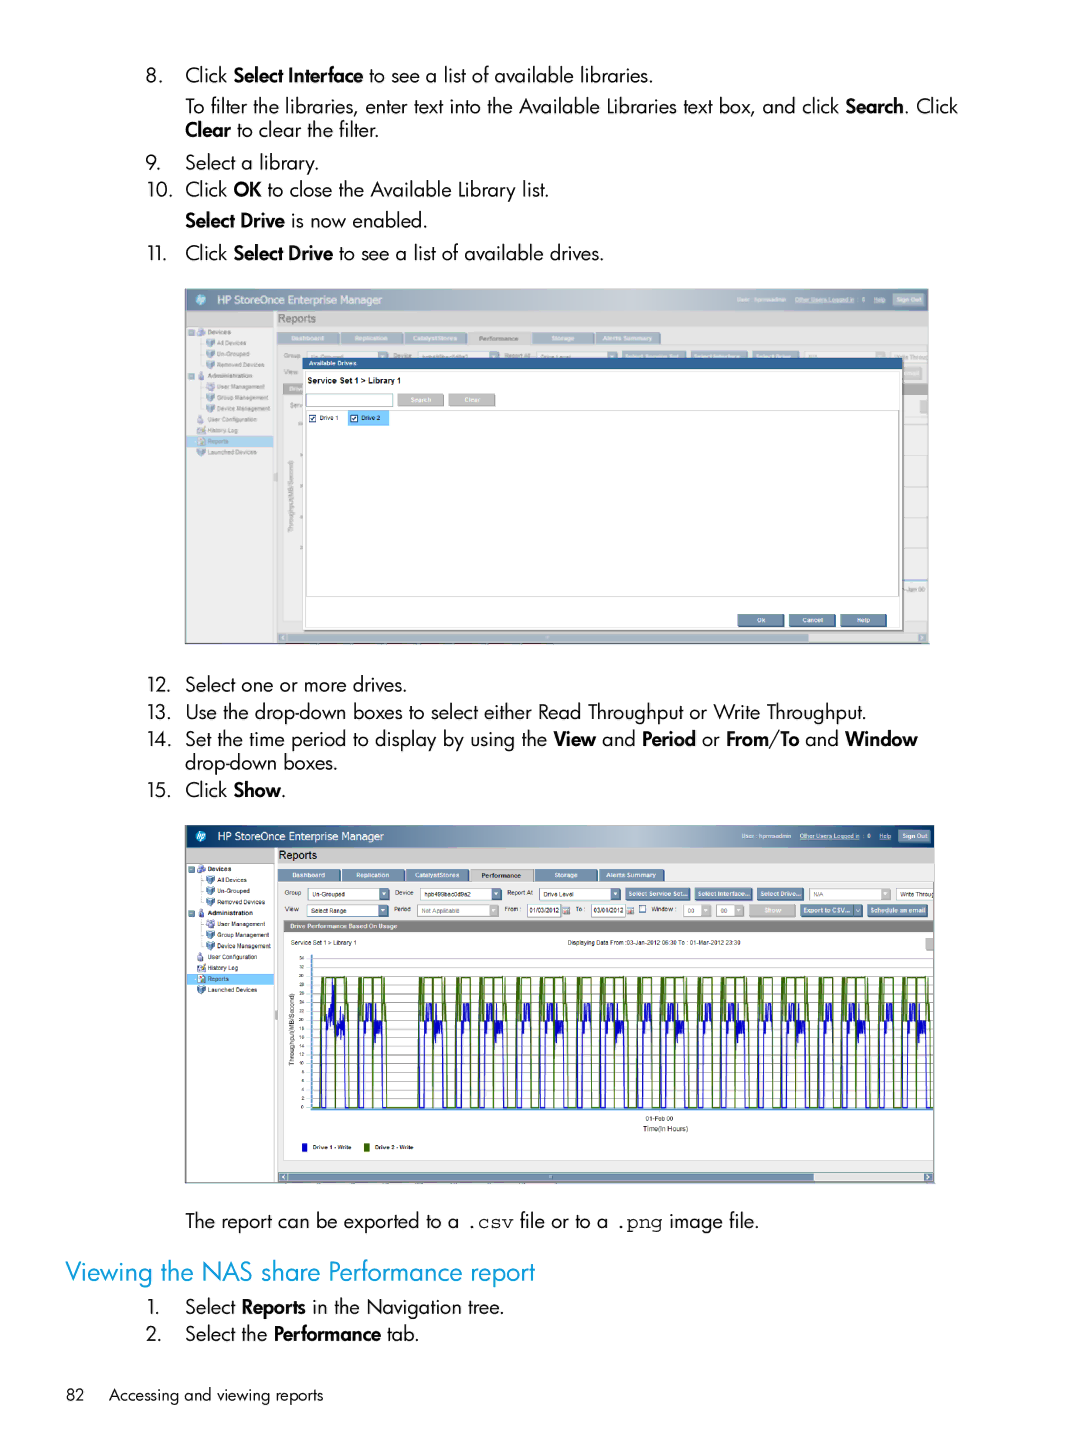
11.Click Select Drive to see a list of available drives.
12.Select one or more drives.
13.Use the
14.Set the time period to display by using the View and Period or From/To and Window
15.Click Show.
The report can be exported to a .csv file or to a .png image file.
Viewing the NAS share Performance report
1.Select Reports in the Navigation tree.
2.Select the Performance tab.