The following list includes all the fields you can display:
•
•Slot Mapping Name
•Replication
•Out of Sync Warning
•Number of Mapped Slots Out of Sync
•Number of Mapped Slots Out of Sync
•Out of Sync Critical
•Target Appliance IP
•Target Appliance Name
•Target Appliance Product Class
•Target Appliance Serial Number
•Number of Replicating
•Local Library Role
•Local Library Name
•Target Library Name
•Number of Mapped Slots Out of Sync
You can customize the list of fields that are displayed.
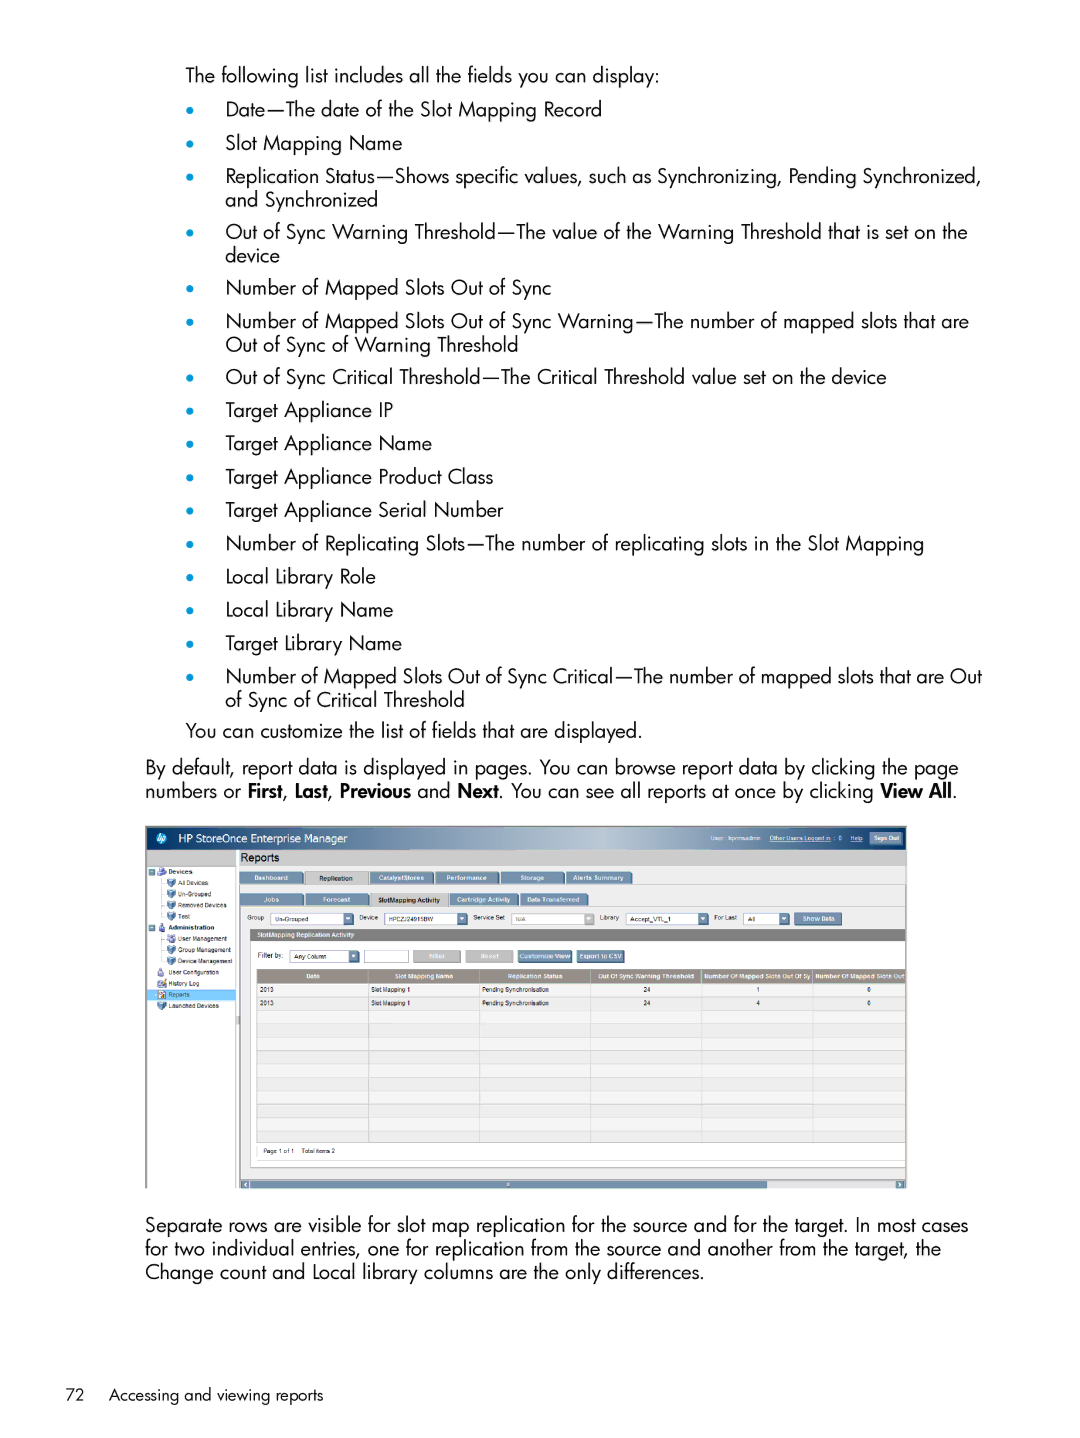
By default, report data is displayed in pages. You can browse report data by clicking the page numbers or First, Last, Previous and Next. You can see all reports at once by clicking View All.
Separate rows are visible for slot map replication for the source and for the target. In most cases for two individual entries, one for replication from the source and another from the target, the Change count and Local library columns are the only differences.