HP Jetdirect
Administrator’s Guide HP Jetdirect Embedded Print Server
Copyright Hewlett-Packard Development Company, L.P
Table of Contents
Security Features
Troubleshooting the HP Jetdirect Print Server
HP Jetdirect Configuration
FTP Printing
Network Connection
Identification
Product Number and Firmware Version
Supported Network Protocols
Supported Network Protocols
Network Printing Environments
Protocols
Security Protocols
Snmp IP and IPX
Authentication
EAP/802.1X Server-Based Authentication
HP Support
HP Online Support
Firmware Upgrades
Firmware Installation Tools
Product Registration
HP Support By Phone
Software Solutions 1
HP Software Solutions Summary Introduction
Operating Environment Function Remarks
Software Solutions 2
HP-UX
TCP/IP, IPX/SPX
2003
Installation HP Jetdirect-connected Printers into Ndps
Software Solutions 3
Ndps
HP Jetdirect Printer Installer for
HP Install Network Printer Wizard Windows
Requirements
HP Web Jetadmin
System Requirements
Configuring and Modifying a Device
Installing HP Web Jetadmin
Verifying Installation and Providing Access
Removing HP Web Jetadmin Software
Internet Printer Connection Software
HP-Supplied Software
Microsoft Supplied Software
HP Software System Requirements
HP Software Supported Proxies
Windows 2000/XP/Server 2003 Integrated Software
Windows Me IPP Client
Novell Supplied Software
Embedded print server with IP address
Features
HP IP/IPX Printer Gateway for Ndps
To Get the Software
Installing the Printer Software
HP LaserJet Utilities for Mac OS
Verifying Network Configuration
Configuring the Printer
Running the HP LaserJet Utility
Renaming the Printer
Selecting a Zone
Selecting Your Printer
Dialog box, you must still select it. Your printer
If your printer is the only name listed
Set Background Printing to on or OFF
Testing the Configuration
TCP/IP Configuration Introduction
Server-Based and Manual TCP/IP Configuration
Default IP Address Will Not Be Assigned
Default IP Address
Default IP Address Will Be Assigned
Default IP Address Configuration Options
Default IP Parameter Options
TCP/IP Configuration Tools
Dhcp Requests Enable/Disable
Linux and Unix systems For more information
Using BOOTP/TFTP
BOOTP/TFTP on Unix
Why Use BOOTP/TFTP?
Systems That Use Network Information Service NIS
Configuring the Bootp Server
HP recommends that the Bootp server be located
Bootp broadcast packets may not be
Properly configured
Bootptab File Entries
Tags Supported in a BOOTP/DHCP Boot file 1
Tags Supported in a BOOTP/DHCP Boot file 2
Description
2132 Option
Lease-time
Tags Supported in a BOOTP/DHCP Boot file 3
Tftp Configuration File Entries
Tags Supported in a BOOTP/DHCP Boot file 4
2132 Option T149
T150
TCP/IP Configuration
List of Supported Tftp Commands 1
List of Supported Tftp Commands 2
Other Settings
AppleTalk
Support
Tftp Configuration File Parameters 1
Tftp Configuration File Parameters 2
Tftp Configuration File Parameters 3
Tftp Configuration File Parameters 4
Allow netnum mask
Tftp Configuration File Parameters 5
Tftp Configuration File Parameters 6
Tftp Configuration File Parameters 7
Tftp Configuration File Parameters 8
Tftp Configuration File Parameters 9
Tftp Configuration File Parameters 10
Using Dhcp
Unix Systems
Windows Systems
Windows NT 4.0 Server
TCP/IP Configuration
TCP/IP Configuration
TCP/IP Configuration
To Discontinue Dhcp Configuration
NetWare Systems
If you choose to re-enable a Dhcp configuration
Using Rarp
If your system uses Network Information Service
Using the arp and ping Commands
Once the IP address has been set on the print server
Using Telnet
Creating a Telnet Connection
Route add Jetdirect IP Address system IP Address
Route add 192.0.0.192
Typical Telnet Session
User Interface Options
Command Line Interface Default
Telnet Commands and Parameters 1
User Control Commands
Telnet Commands and Parameters 2
TCP/IP Main Command Description
Telnet Commands and Parameters 3
TCP/IP Print Options Command Description
Telnet Commands and Parameters 4
TCP/IP LPD Queues Command Description
Command Description
Telnet Commands and Parameters 5
TTCP/IP Other Command Description
Telnet Commands and Parameters 6
Telnet Commands and Parameters 7
Telnet Commands and Parameters 8
Telnet Commands and Parameters 9
TCP/IP Diagnostics Command Description
Telnet Commands and Parameters 10
Snmp Traps Command Description
Telnet Commands and Parameters 11
Telnet Commands and Parameters 12
AppleTalk Command Description
Telnet Commands and Parameters 13
Other Command Description
Support Command Description
10FULL, 10HALF
Menu Interface
Example Using the Menu Interface
Using the Embedded Web Server
Using Telnet to Erase the Existing IP Settings
Using the Printer Control Panel
Moving to Another Network
Using the Embedded Web Server Introduction
Embedded Web Server Networking Tab
Supported HP Web Jetadmin Version
Requirements
Compatible Web Browsers
Browser Exceptions
Viewing the Embedded Web Server
Entering the IP Address
Operating Notes
Network Settings
Networking Tab
TCP/IP Settings 1
Manual, or Auto IP
TCP/IP Settings 2
TTL/SLP
TCP/IP Settings 3
BOOTP/DHCP
IPX/SPX Settings 1
IPX/SPX Settings 2
To disable NDS support, leave this field blank
Also accept marketing.mytown.lj
Toner Low Notification if received from the printer,
AppleTalk Settings
AppleTalk
Be followed by a number to indicate that it is a duplicate
Available zones
Snmp Settings 1
Snmp
Other Settings
Snmp Settings 2
Snmp v1/v2c is disabled, some port monitors or discovery
Utilities may not operate properly
Misc. Settings
Miscellaneous Settings 1
Miscellaneous Settings 2
Miscellaneous Settings 3
Miscellaneous Settings 4
Firmware Upgrade
Then click Upgrade Firmware LPD Queues
LPD Queue Parameters 1
LPD Queue Parameters 2
LPD Queue Parameters 3
Value
Support Info
Refresh Rate
Privacy Settings
Settings
Select Language
Status
Restore Defaults
Wizard
Wizard Security Levels 1
Security Level Description
Wizard Security Levels 2
Authorization
Admin. Account
Certificates
Using the Embedded Web Server
Configuring Certificates
Certificate Configuration Screens 1
Certificate Options
Choose from the options listed
Certificate Configuration Screens 2
Install Certificate
Export the Jetdirect certificate and private key
Certificate Validity
Certificate Configuration Screens 3
Common Name. Required
Install Certificate, or Install CA Certificate
Certificate Configuration Screens 4
Import Certificate and Private Key
Access Control
Examples. See the table of sample entries below
IP Address Mask Description
Mgmt. Protocols
Web Mgmt
Cipher suites support different levels of encryption
Other
Other Protocols 1
Enable Device
If enabled checked, the print server will send
Other Protocols 2
Multicast IPv4
802.1x Authentication
10 802.1X Configuration Settings
Match checkbox is enabled
CA certificate must be issued by the Certificate Authority
Who signed the authentication server’s certificate
To configure or install a CA certificate, click Configure
Network Statistics
Configuration
Protocol Info
HP Web Jetadmin
Other Links
Help
Support
Configuring for LPD Printing Introduction
LPD on Unix Systems
LPD Programs and Protocols
About LPD
Program Name Purpose of Program
Requirements for Configuring LPD
LPD Setup Overview
Setting Up IP Parameters
Printing a Test File
Setting Up Print Queues
Supported Queue Names
LPD on Unix Systems
Configuring Print Queues for BSD-based Systems
Example Printcap Entries for Ascii or Text Printers
Configuring for LPD Printing
Configuring Print Queues Using SAM HP-UX systems
For HP-UX systems, substitute lp -dfor lpr -P
Installing TCP/IP Software
LPD on Windows NT/2000/Server 2003 Systems
Configuring for LPD Printing
Select and enable Other Network File and Print Services
Add LPR compatible printer window
Configuring for LPD Printing
Configuring a Network Printer for Windows NT 4.0 Systems
Click Add Port
Verifying the Configuration
LPD on Windows XP Systems
Printing from Windows Clients
Adding Windows Optional Networking Components
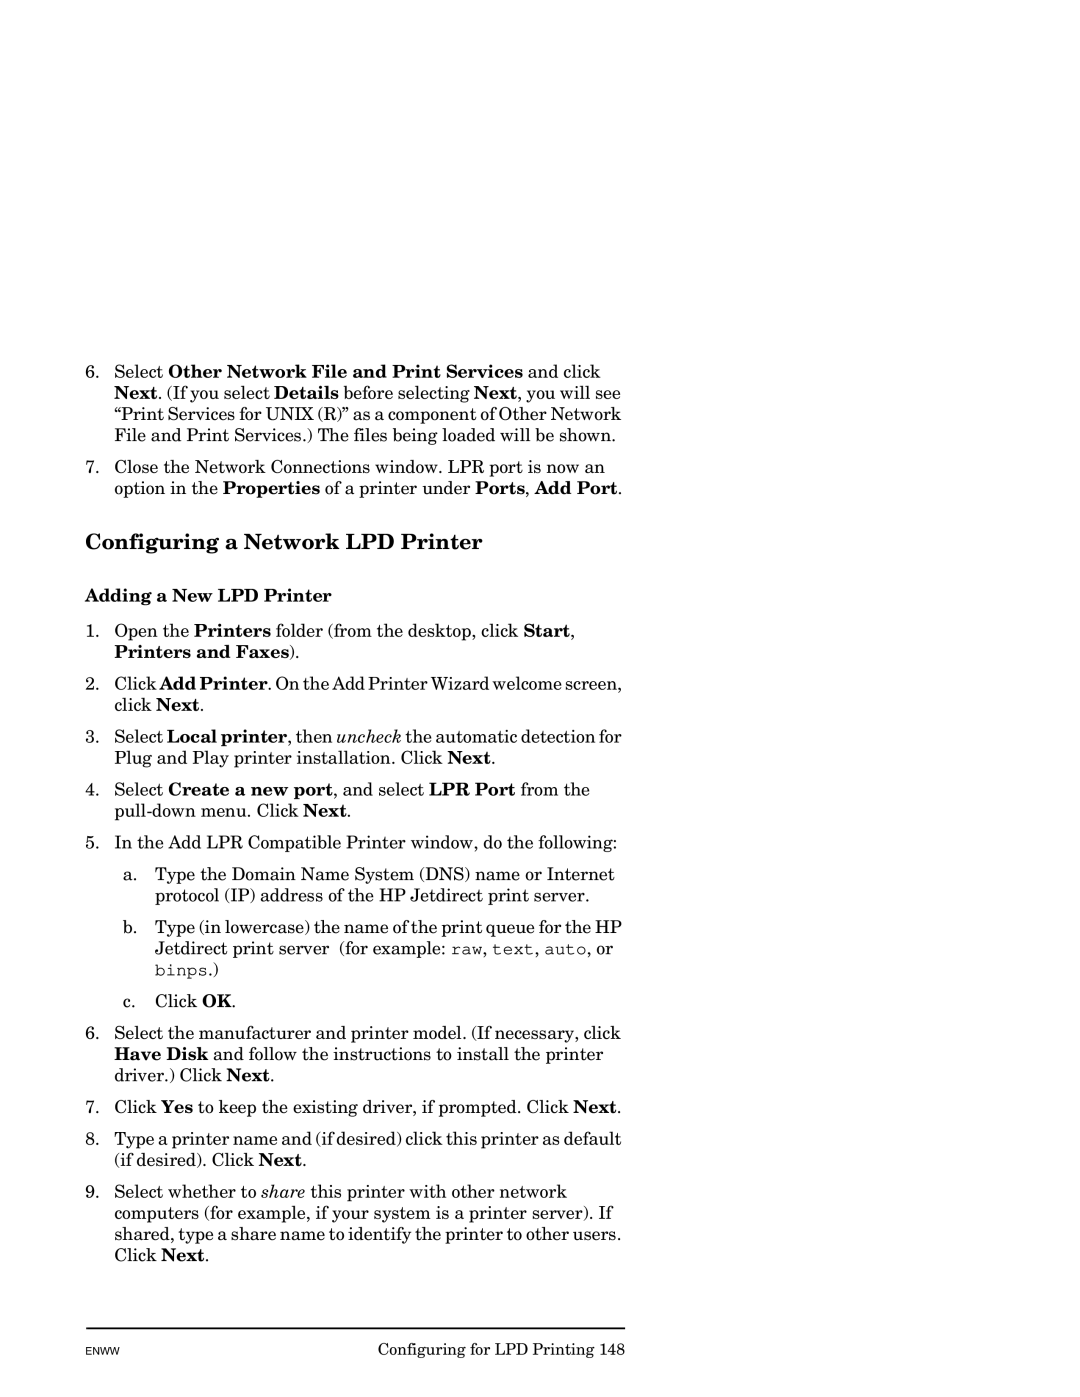
Configuring a Network LPD Printer
Adding a New LPD Printer
Select OK Select Close and OK to close the Properties box
LPD on Mac OS Systems
Assigning an IP Address
Setting Up Mac OS
Chapter
FTP Printing Introduction
Print Files
Using FTP Printing
FTP Connections
Control Connection
Data Connection
FTP Login
FTP Login Example
User Commands for HP Jetdirect FTP Server 1
Commands
Ending the FTP Session
User Commands for HP Jetdirect FTP Server 2
Example of an FTP Session
This is an example of a typical FTP printing session
Security Features Introduction
Summary of HP Jetdirect Security Features 1
IP Administrator Password
Secure Embedded Web Server Management
Network Protocol Control
Summary of HP Jetdirect Security Features 2
IP Access Control List
EAP/802.1X Authentication
Telnet Control
Summary of HP Jetdirect Security Features 3
HP Web Jetadmin Password and Profiles
Snmp v1/v2c Set Community Name IP/IPX
Snmp
Using Security Features
Settings for Access Control
Settings Level of Access Control
Low
High
Troubleshooting the HP Jetdirect Print Server Introduction
Resetting to Factory Defaults
HP LaserJet Printer with Embedded Print Server
General Troubleshooting
Troubleshooting Chart Assessing the Problem
Procedure 1 Verifying that the Printer is On and Online
Procedure 2 Printing an HP Jetdirect Configuration
Procedure 3 Resolving Printer Display Error Messages
Troubleshooting the HP Jetdirect Print Server
Connector has indicator lights to
Troubleshooting the HP Jetdirect Print Server
Telnet IP address port
Troubleshooting an LPD Unix Configuration
HP-UXenable qname
HP Jetdirect Configuration Introduction
Status Field Error Messages
Configuration Page Format
Typical Jetdirect Configuration
Section Name Description
IPX/SPX
Configuration Page Messages
HP Jetdirect Configuration/General Information
HP Jetdirect Configuration 1
Message Description
HP Jetdirect Configuration 2
Security Settings
Security Settings 1
Security Settings 2
Network Statistics
TCP/IP Configuration Information 1
TCP/IP Protocol Information
Host Name
IP Address
TCP/IP Configuration Information 2
TCP/IP Configuration Information 3
TCP/IP Configuration Information 4
WEB Jetadmin URL
IPX/SPX Configuration Information 1
IPX/SPX Protocol Information
Primary Frame
Type
IPX/SPX Configuration Information 2
Novell NetWare Configuration Information 1
Novell NetWare Parameters
Novell NetWare Configuration Information 2
Attached Server
Queue Poll
Interval
AppleTalk Configuration Information
AppleTalk Protocol Information
DLC/LLC Configuration Information
Disabled Indicates that DLC/LLC was manually disabled
DLC/LLC Protocol Information
Indicates the current DLC/LLC protocol status
Error Messages 1
Error Messages
Error Code Description Message
Error Messages 2
Error Messages 3
Error Messages 4
Error Messages 5
Error Messages 6
Error Messages 7
Error Messages 8
Error Messages 9
Error Messages 10
TCP/IP Overview Introduction
Internet Protocol IP
Transmission Control Protocol TCP
IP Address
User Datagram Protocol UDP
IP Address Network Portion
IP Address Host Portion
Table A.2 Network Class Characteristics
IP Address Structure and Class
Table A.1 IP Address Class Format
Class First Address Second Third Address Fourth Byte
Configuring IP Parameters
Dynamic Host Configuration Protocol Dhcp
Subnets
Subnet Mask
Gateways
Default Gateway
Syslog Server
Messages are disabled
Table A.4 HP Jetdirect Syslog Parameters
Syslog Server
Is not restricted
TCP/IP Overview
HP Jetdirect Control Panel Menu Introduction
Parameter Descriptions
Menu Item Options Description of settings
Table B.1 HP Jetdirect Control Panel Menu 1
Settings
Table B.1 HP Jetdirect Control Panel Menu 2
Manual
Primary DNS
Table B.1 HP Jetdirect Control Panel Menu 3
Configuration
Table B.1 HP Jetdirect Control Panel Menu 4
Table B.1 HP Jetdirect Control Panel Menu 5
Ping Test
Table B.1 HP Jetdirect Control Panel Menu 6
Ping Results
Reset
Table B.1 HP Jetdirect Control Panel Menu 7
Security
Link Speed
OpenSSL Statements
OpenSSL License
Original SSLeay License
Index
ARP Duplicate IP Address
Index
ERR Negotiating Buffer Size
Https
NDS Authentication Error Connection State Error
Network Frame Type Rcvd
Unix LPD
Unable to Attach to Queue 199 Connect Dhcp Server
2004 Hewlett-Packard Development Company, L.P English