Configuring a workflow group
The first step in creating a workflow process is to create a workflow group.
NOTE Rather than creating a new group, the default group, called the Common MFP Group can also be used. This group cannot be deleted. Custom groups are optional and provide a way to associate different workflows with different devices or groups of devices.
1.On the HP DSS server, open the HP MFP DSS Configuration Utility and click the Workflows tab.
2.Click Add Group. The Workflow Group dialog box appears.
3.Type the name of the new group. The name must be unique.
4.Click OK to save the new group.
Configuring a workflow menu
The second step in creating a workflow process is to create a workflow menu.
1.In the workflow tree, click a group to select it.
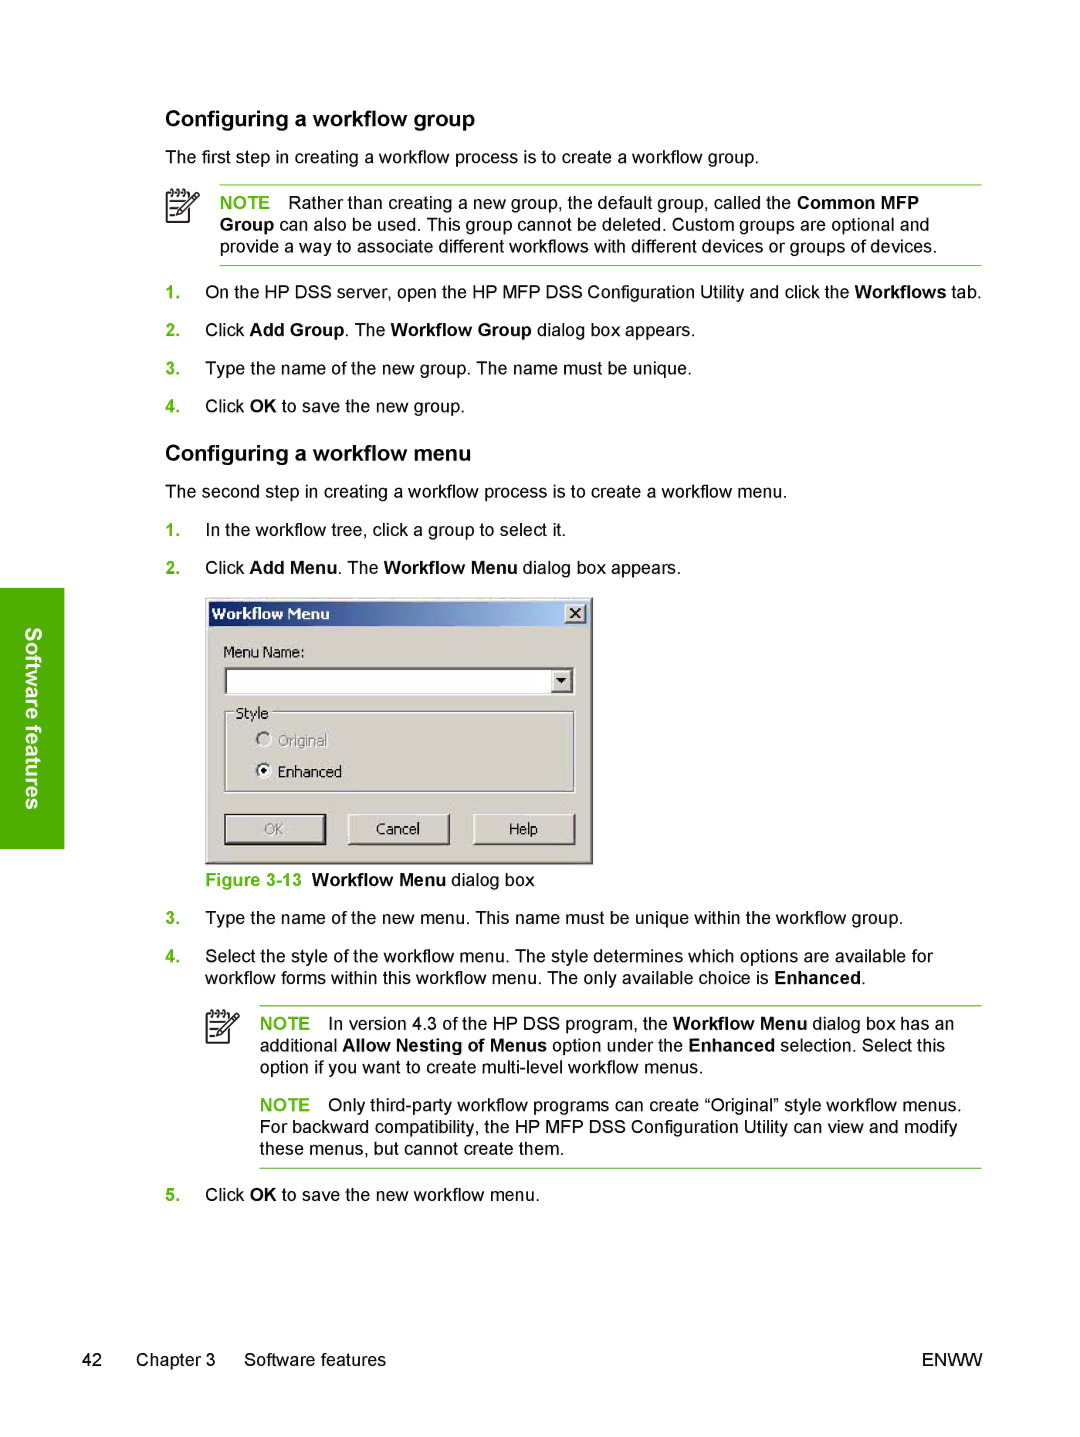
2.Click Add Menu. The Workflow Menu dialog box appears.
Software features
Figure 3-13 Workflow Menu dialog box
3.Type the name of the new menu. This name must be unique within the workflow group.
4.Select the style of the workflow menu. The style determines which options are available for workflow forms within this workflow menu. The only available choice is Enhanced.
NOTE In version 4.3 of the HP DSS program, the Workflow Menu dialog box has an additional Allow Nesting of Menus option under the Enhanced selection. Select this option if you want to create
NOTE Only
5.Click OK to save the new workflow menu.
42 Chapter 3 Software features | ENWW |
