Upgrading or Replacing the DCA
Installing a DCA
To install a DCA:
1.Put on ground wrist strap and connect to appropriate ground.
2.Grasp the DCA by the handle with one hand and support it underneath with the other hand.
Caution: Avoid touching the exposed PCBA on the bottom of the DCA.
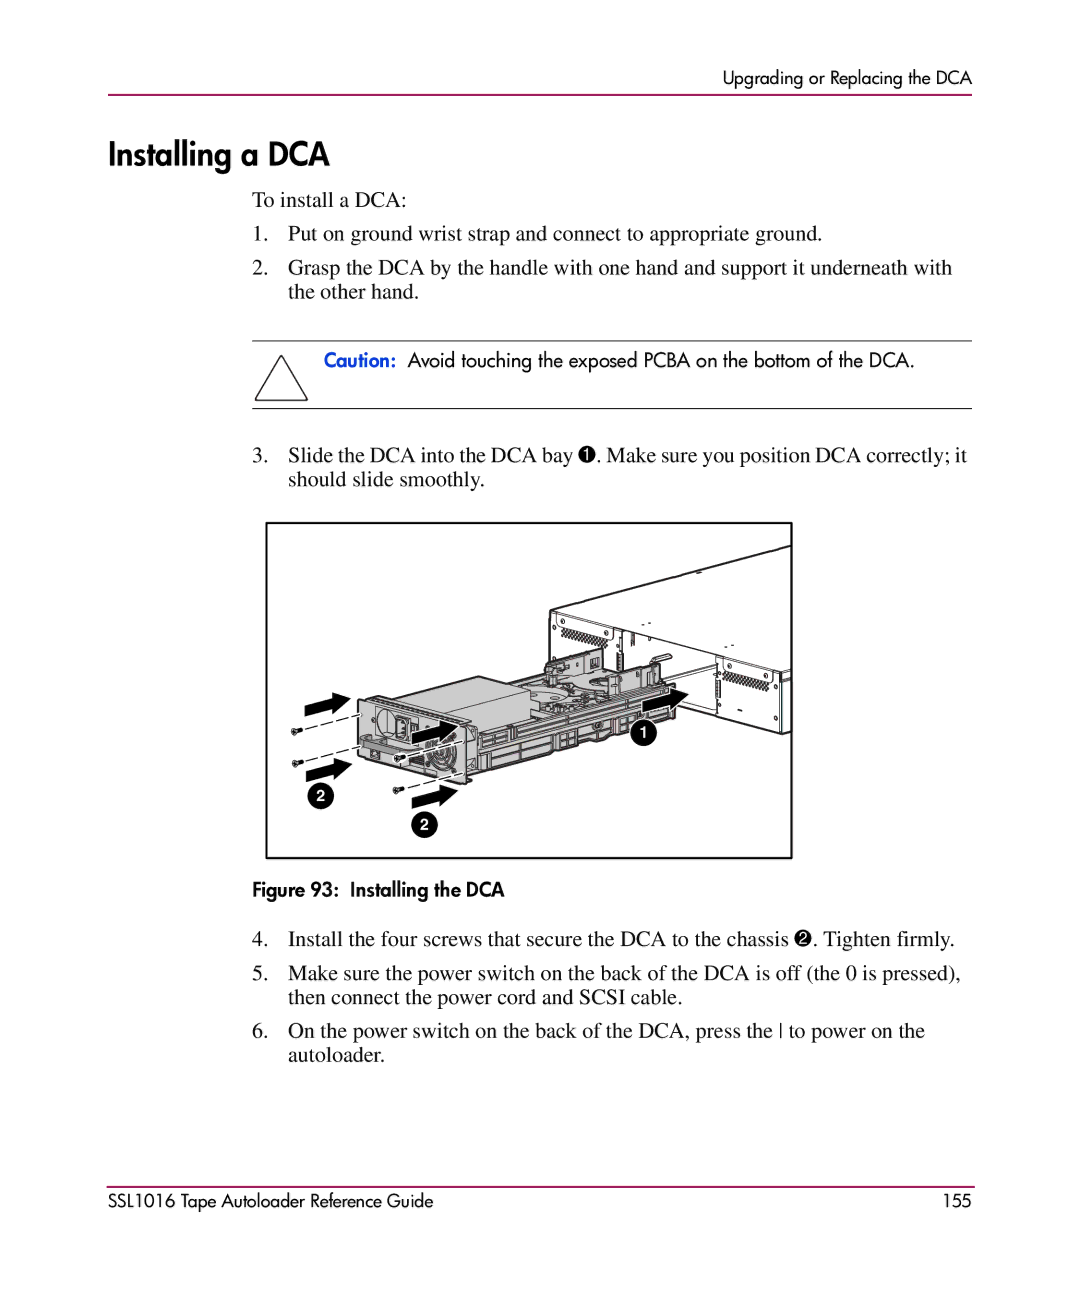
3.Slide the DCA into the DCA bay 1. Make sure you position DCA correctly; it should slide smoothly.
1
2![]()
![]()
2
Figure 93: Installing the DCA
4.Install the four screws that secure the DCA to the chassis 2. Tighten firmly.
5.Make sure the power switch on the back of the DCA is off (the 0 is pressed), then connect the power cord and SCSI cable.
6.On the power switch on the back of the DCA, press the to power on the autoloader.
SSL1016 Tape Autoloader Reference Guide | 155 |