Installation and Configuration
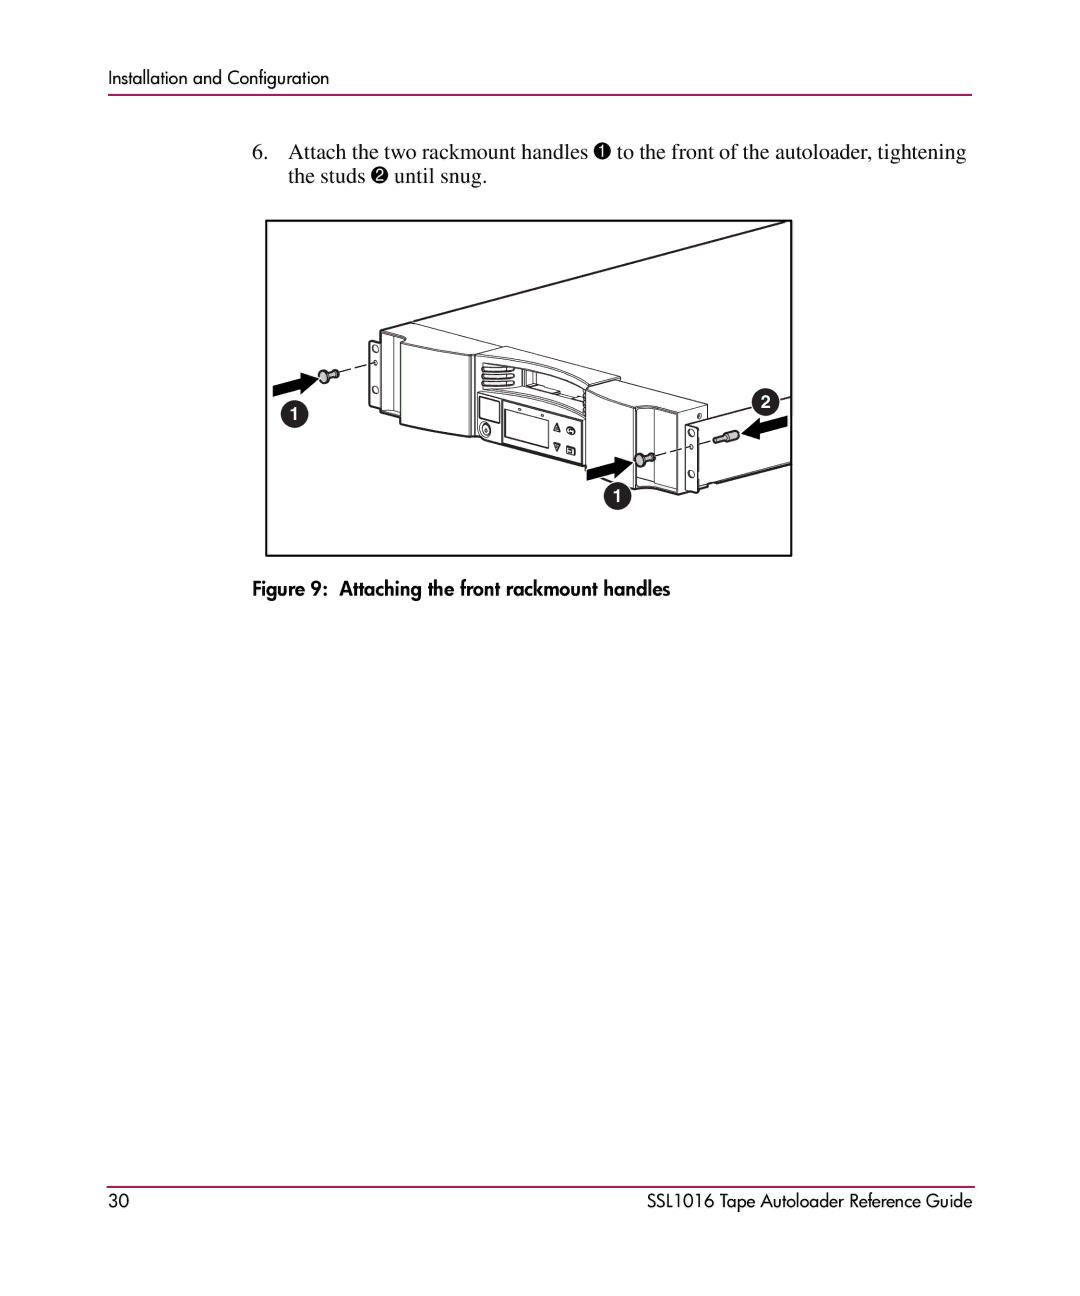
6.Attach the two rackmount handles 1 to the front of the autoloader, tightening the studs 2 until snug.
1
2
1
Figure 9: Attaching the front rackmount handles
30 | SSL1016 Tape Autoloader Reference Guide |
Installation and Configuration
6.Attach the two rackmount handles 1 to the front of the autoloader, tightening the studs 2 until snug.
1
2
1
30 | SSL1016 Tape Autoloader Reference Guide |