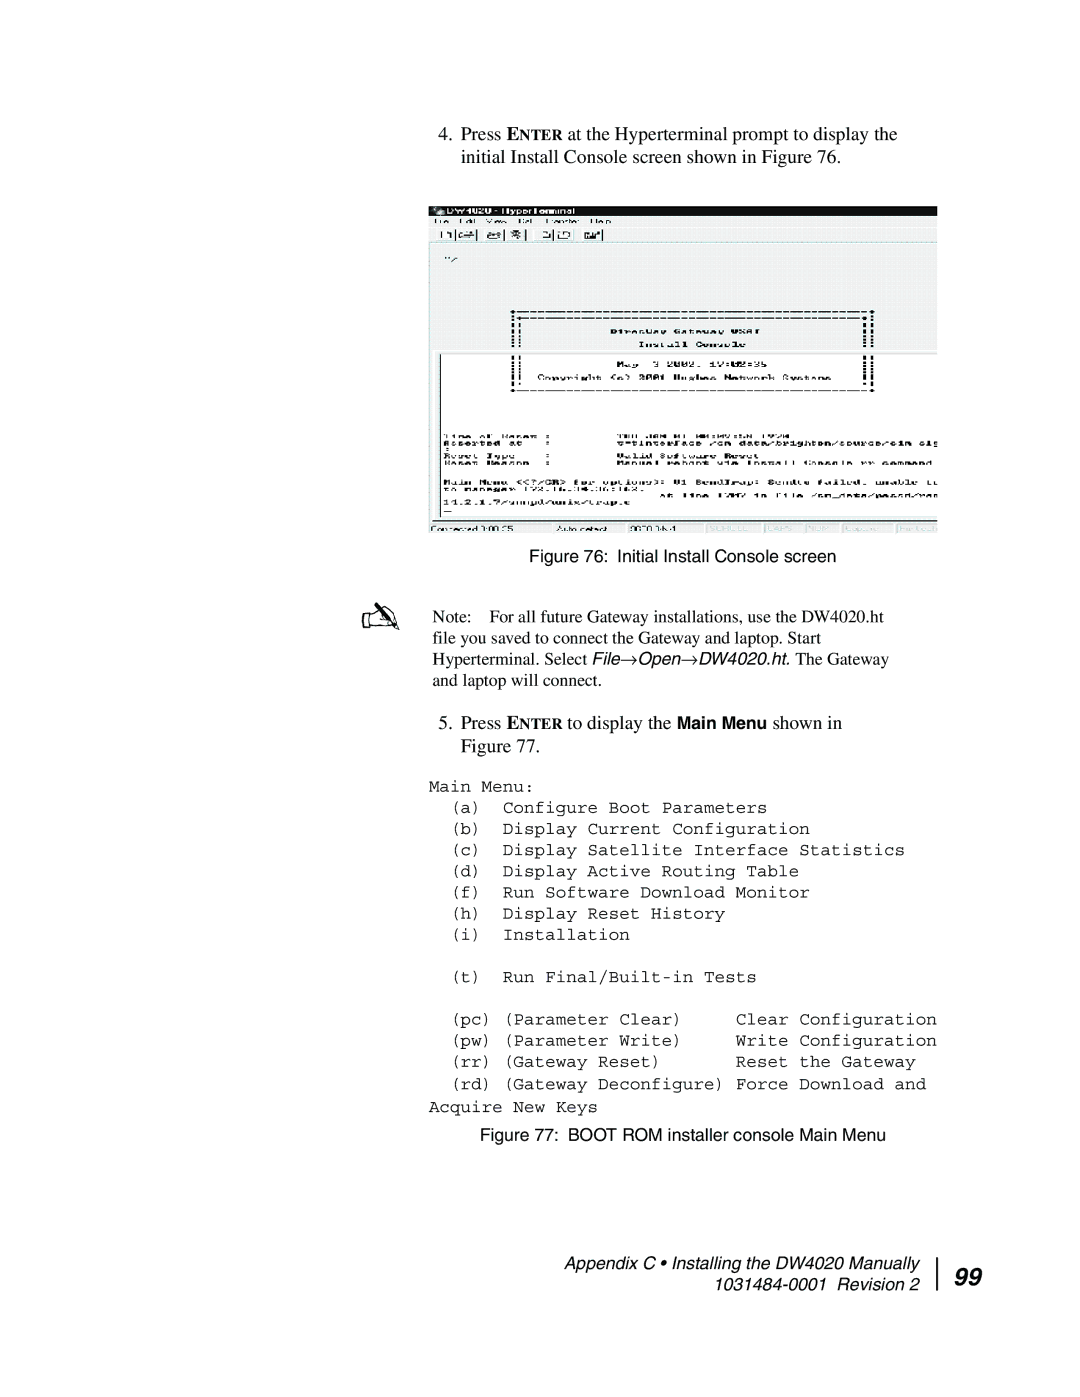
4.Press ENTER at the Hyperterminal prompt to display the initial Install Console screen shown in Figure 76.
Figure 76: Initial Install Console screen
Note: For all future Gateway installations, use the DW4020.ht file you saved to connect the Gateway and laptop. Start Hyperterminal. Select File→Open→DW4020.ht. The Gateway and laptop will connect.
5.Press ENTER to display the Main Menu shown in Figure 77.
Main Menu:
(a)Configure Boot Parameters
(b)Display Current Configuration
(c)Display Satellite Interface Statistics
(d)Display Active Routing Table
(f)Run Software Download Monitor
(h)Display Reset History
(i)Installation
(t)Run
(pc) (Parameter | Clear) | Clear Configuration | |||
(pw) (Parameter | Write) | Write Configuration | |||
(rr) | (Gateway | Reset) | Reset | the Gateway | |
(rd) | (Gateway | Deconfigure) Force | Download and | ||
Acquire New Keys
Figure 77: BOOT ROM installer console Main Menu
Appendix C • Installing the DW4020 Manually
99