8.After the customer enters registration information, write the information in Figure 20 on the cover of their User Guide.
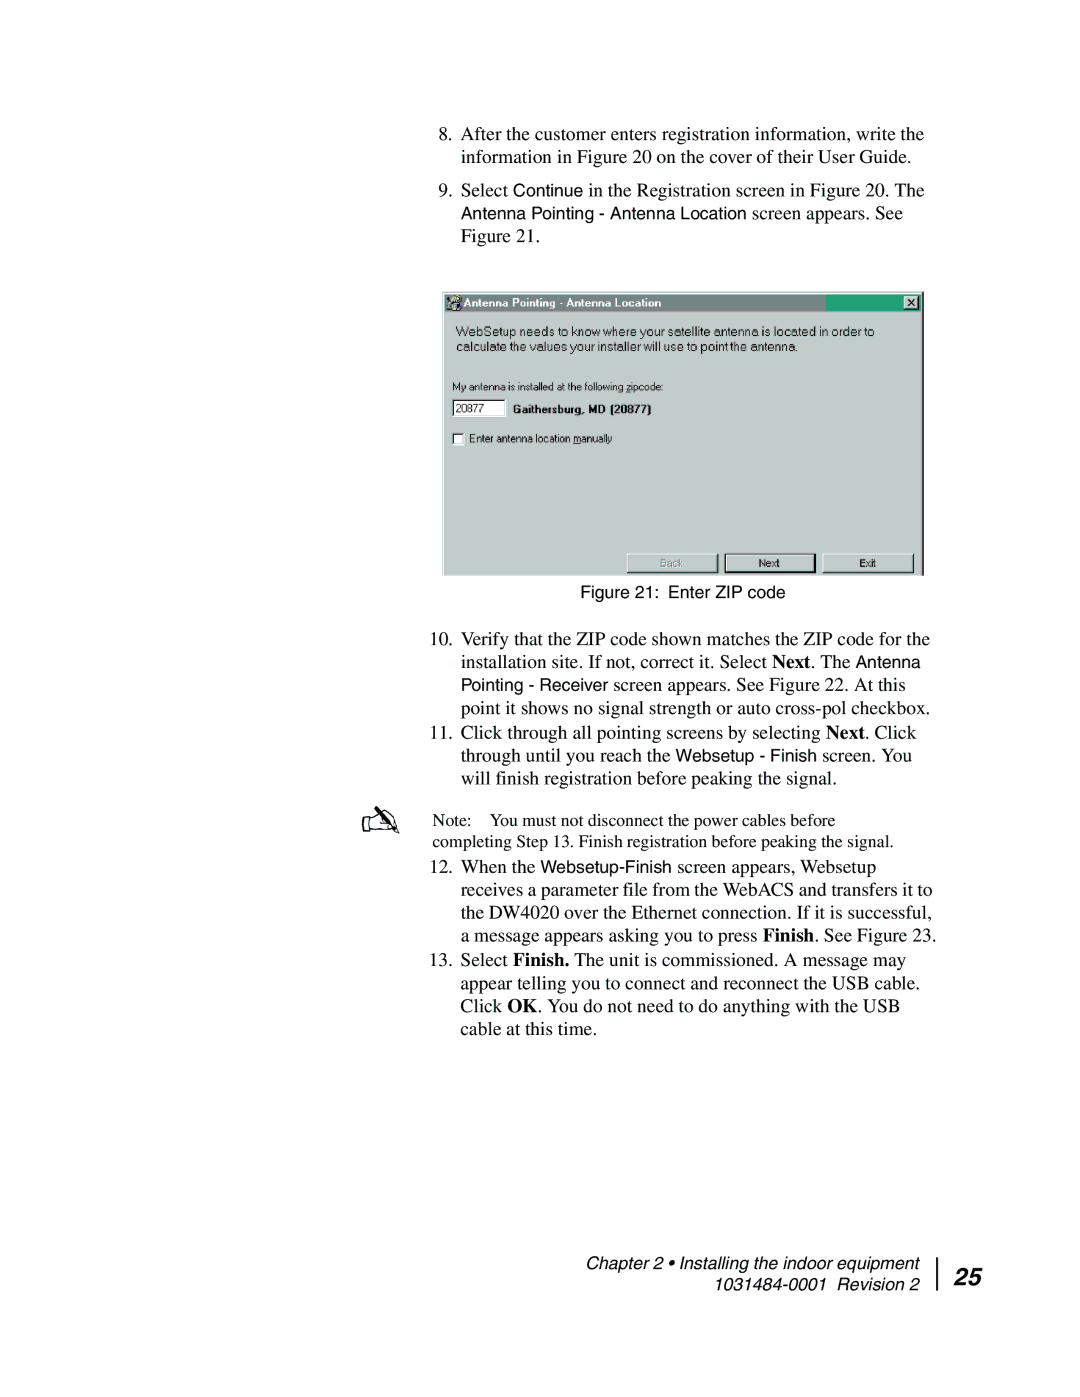
9.Select Continue in the Registration screen in Figure 20. The
Antenna Pointing - Antenna Location screen appears. See Figure 21.
Figure 21: Enter ZIP code
10.Verify that the ZIP code shown matches the ZIP code for the installation site. If not, correct it. Select Next. The Antenna Pointing - Receiver screen appears. See Figure 22. At this point it shows no signal strength or auto
11.Click through all pointing screens by selecting Next. Click through until you reach the Websetup - Finish screen. You will finish registration before peaking the signal.
Note: You must not disconnect the power cables before completing Step 13. Finish registration before peaking the signal.
12.When the
13.Select Finish. The unit is commissioned. A message may appear telling you to connect and reconnect the USB cable. Click OK. You do not need to do anything with the USB cable at this time.
Chapter 2 • Installing the indoor equipment 1031484-0001 Revision 2
25
