Installing DIMMs
When properly installed, the DIMM module is oriented at an angle of 90 degrees relative to the CPU board.
1.Remove the appropriate CPU module from the server chassis. See Removing a CPU Module earlier in this chapter.
2.Remove the three screws from the top and rear of the CPU module securing its top cover. See Figure
3.Remove the top cover of the CPU module by sliding it slightly towards the rear of the module until it stops and its hooks disengage from the tab slots in the module chassis and then pull it straight up. See Figure
4.If you are replacing an existing DIMM, perform "Removing DIMMs" later in this chapter and then go to step 7. Otherwise, continue with the next step.
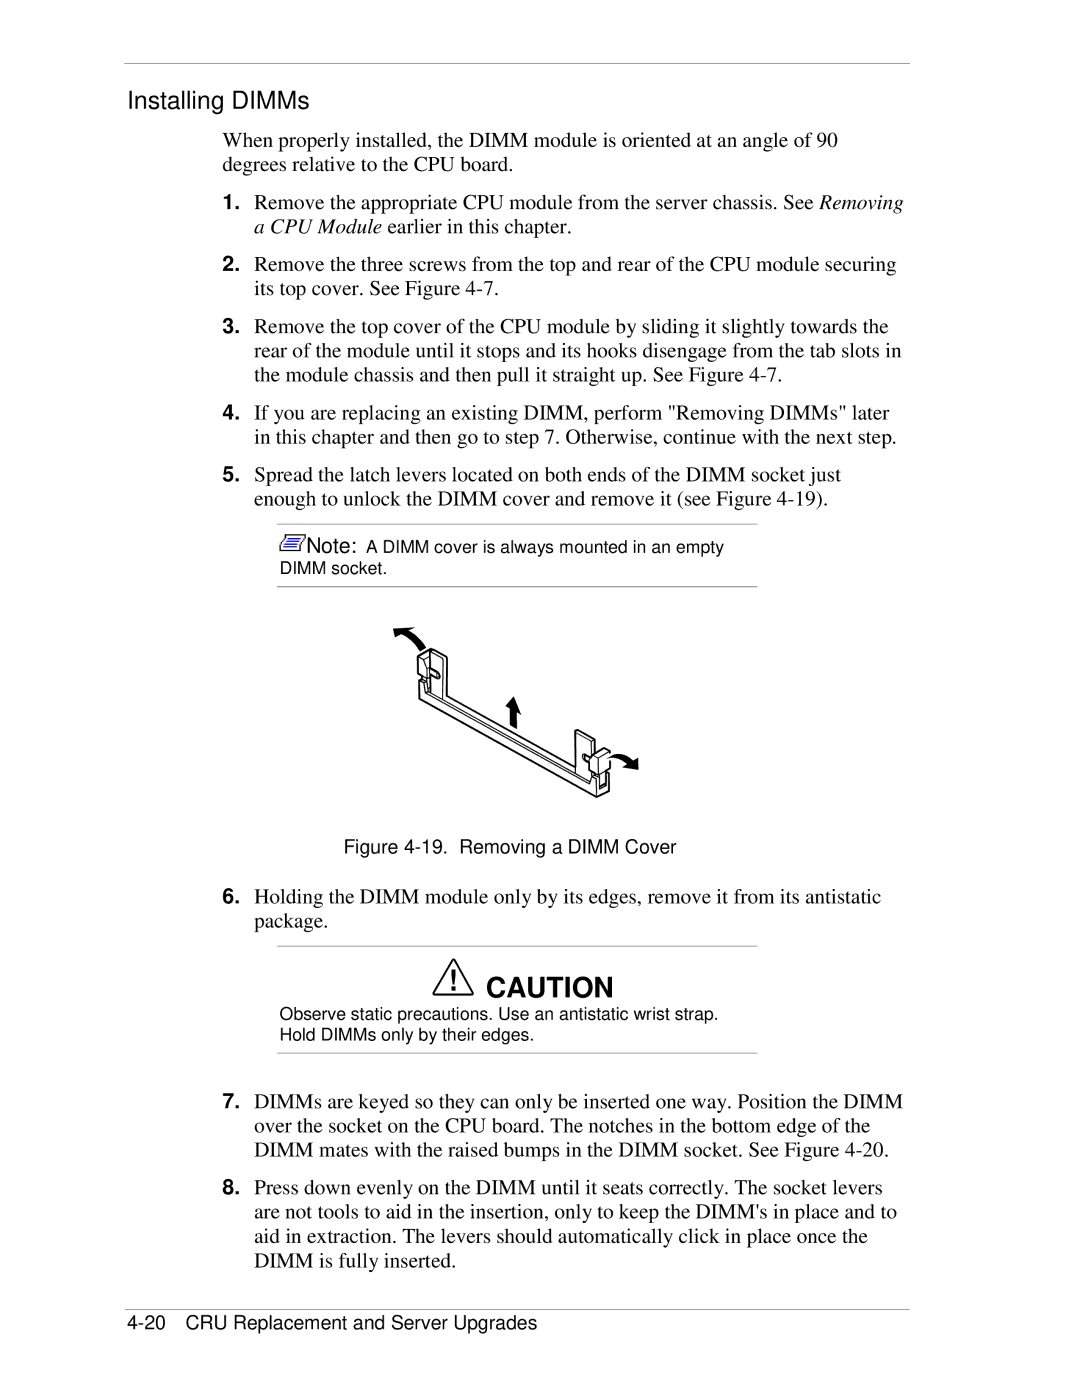
5.Spread the latch levers located on both ends of the DIMM socket just enough to unlock the DIMM cover and remove it (see Figure
![]() Note: A DIMM cover is always mounted in an empty
Note: A DIMM cover is always mounted in an empty
DIMM socket.
Figure 4-19. Removing a DIMM Cover
6.Holding the DIMM module only by its edges, remove it from its antistatic package.
!CAUTION
Observe static precautions. Use an antistatic wrist strap.
Hold DIMMs only by their edges.
7.DIMMs are keyed so they can only be inserted one way. Position the DIMM over the socket on the CPU board. The notches in the bottom edge of the DIMM mates with the raised bumps in the DIMM socket. See Figure
8.Press down evenly on the DIMM until it seats correctly. The socket levers are not tools to aid in the insertion, only to keep the DIMM's in place and to aid in extraction. The levers should automatically click in place once the DIMM is fully inserted.