Removing a Hard Disk Drive
1.Observe the safety and ESD precautions listed at the beginning of this chapter.
2.Unlock and open the front door on the tower cabinet or front covers on the
3.Determine which hard disk drive bay slot contains the hard drive you want to remove.
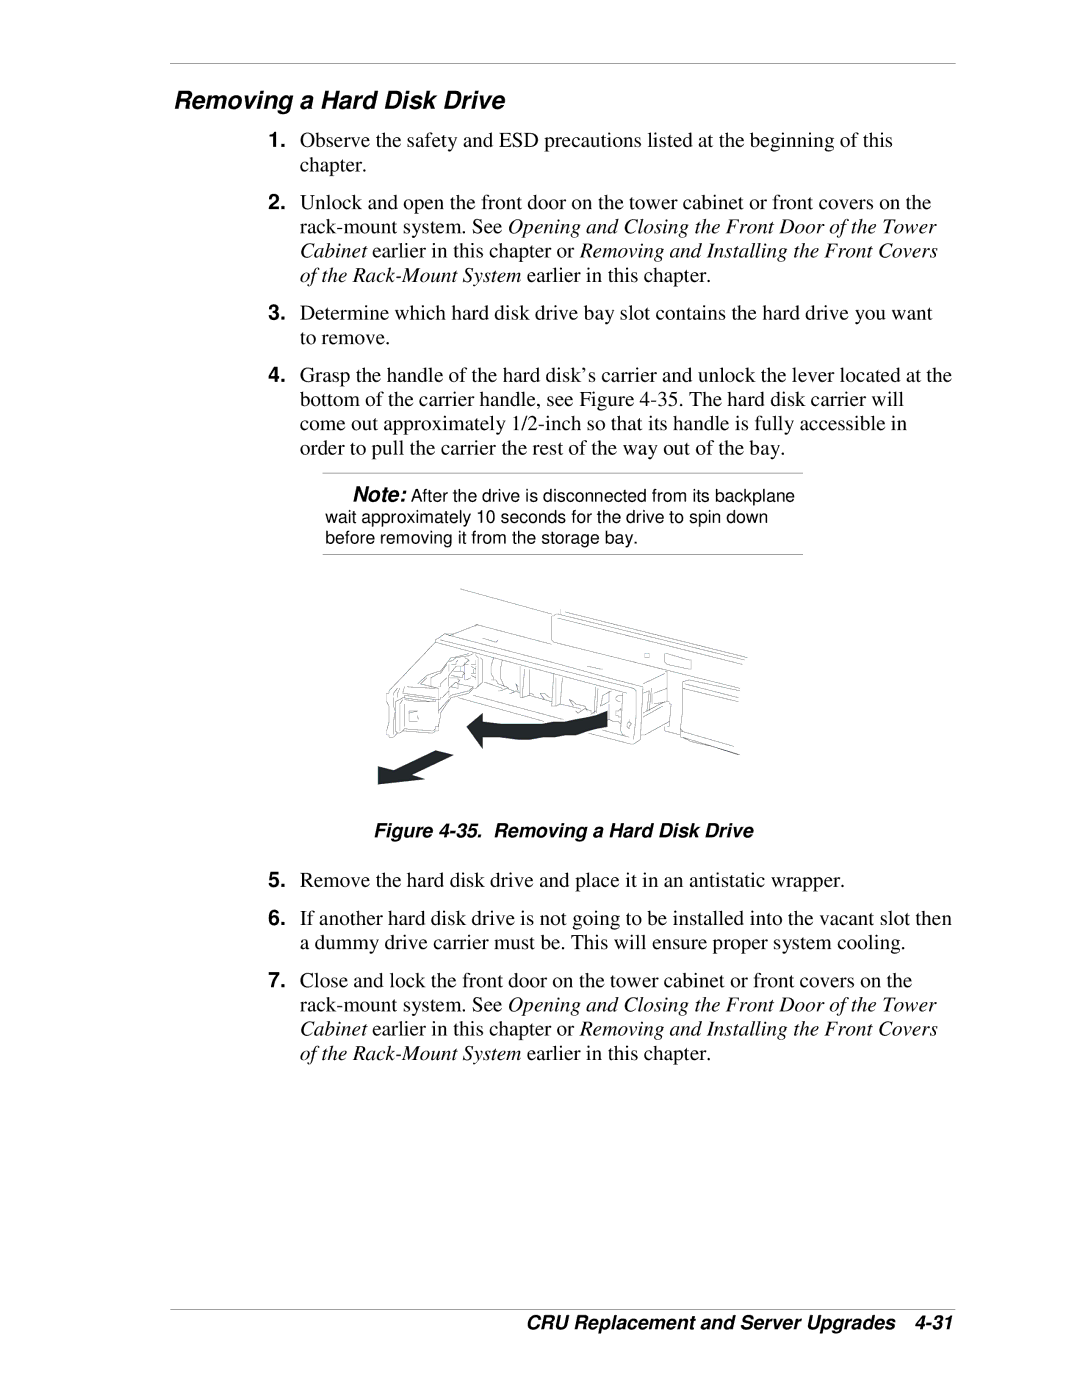
4.Grasp the handle of the hard disk’s carrier and unlock the lever located at the bottom of the carrier handle, see Figure
![]() Note: After the drive is disconnected from its backplane wait approximately 10 seconds for the drive to spin down before removing it from the storage bay.
Note: After the drive is disconnected from its backplane wait approximately 10 seconds for the drive to spin down before removing it from the storage bay.
Figure 4-35. Removing a Hard Disk Drive
5.Remove the hard disk drive and place it in an antistatic wrapper.
6.If another hard disk drive is not going to be installed into the vacant slot then a dummy drive carrier must be. This will ensure proper system cooling.
7.Close and lock the front door on the tower cabinet or front covers on the