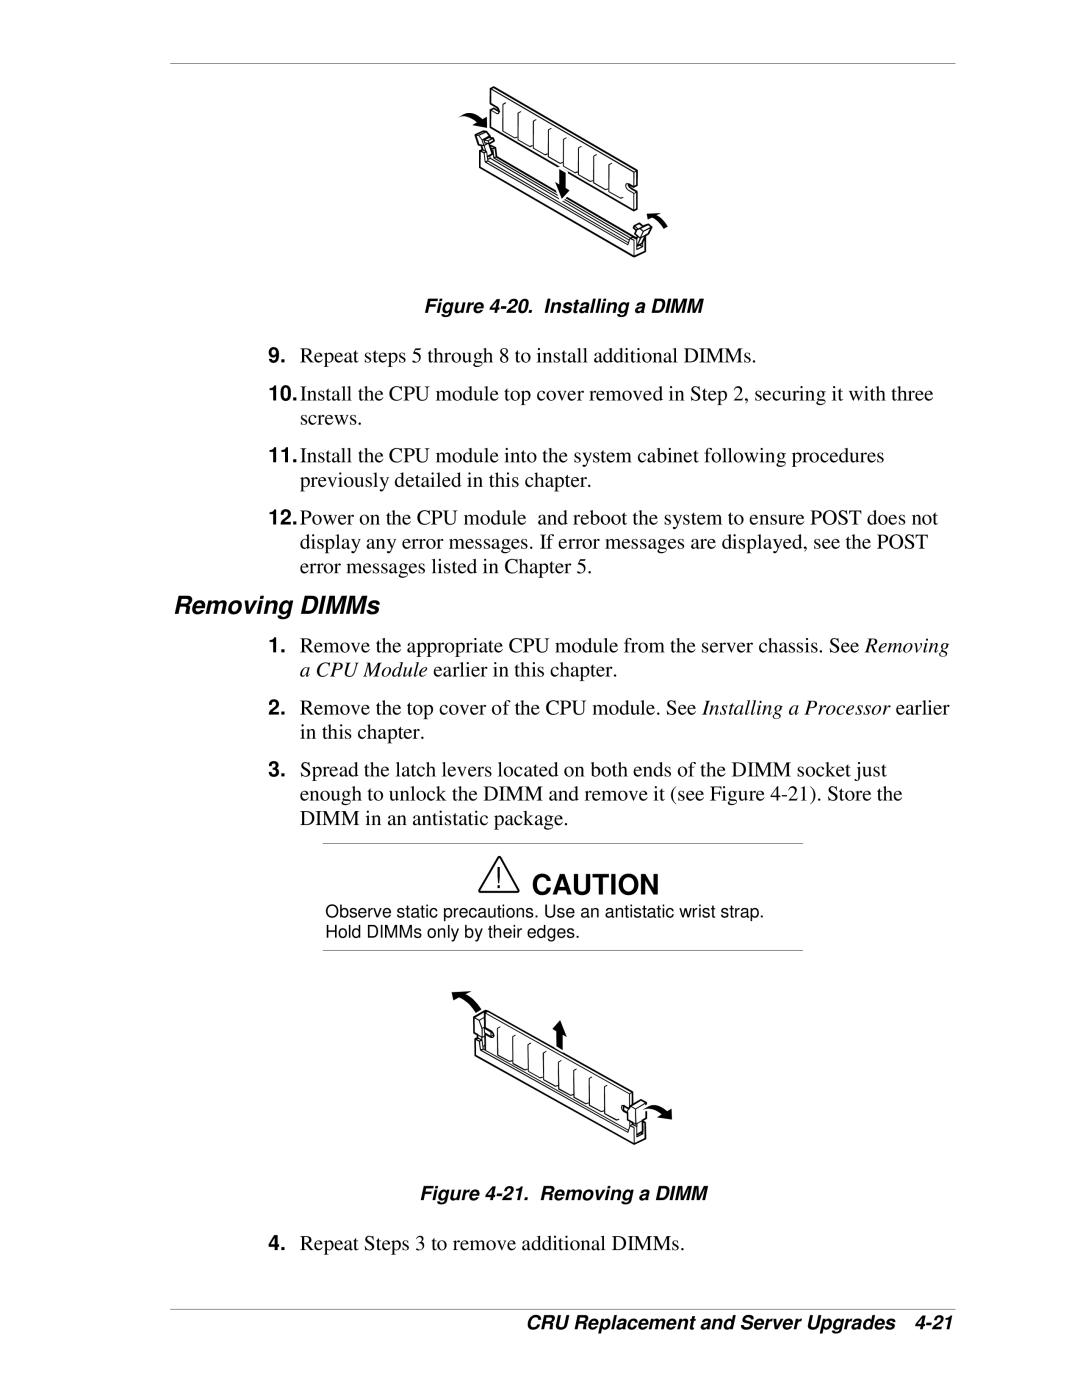
Figure 4-20. Installing a DIMM
9.Repeat steps 5 through 8 to install additional DIMMs.
10.Install the CPU module top cover removed in Step 2, securing it with three screws.
11.Install the CPU module into the system cabinet following procedures previously detailed in this chapter.
12.Power on the CPU module and reboot the system to ensure POST does not display any error messages. If error messages are displayed, see the POST error messages listed in Chapter 5.
Removing DIMMs
1.Remove the appropriate CPU module from the server chassis. See Removing a CPU Module earlier in this chapter.
2.Remove the top cover of the CPU module. See Installing a Processor earlier in this chapter.
3.Spread the latch levers located on both ends of the DIMM socket just enough to unlock the DIMM and remove it (see Figure
!CAUTION
Observe static precautions. Use an antistatic wrist strap.
Hold DIMMs only by their edges.
Figure 4-21. Removing a DIMM
4.Repeat Steps 3 to remove additional DIMMs.