Section 6. Replacement Procedures
6.6 Replacing the Timing Belts
STEP | PROCEDURE |
1.Switch the printer OFF and disconnect the power cable.
2.Remove (3) screws holding the left side cover to the printer. Raise the access door and loosen the (2) screws on the inside top of the printer. Lift off the left side cover. Fig.
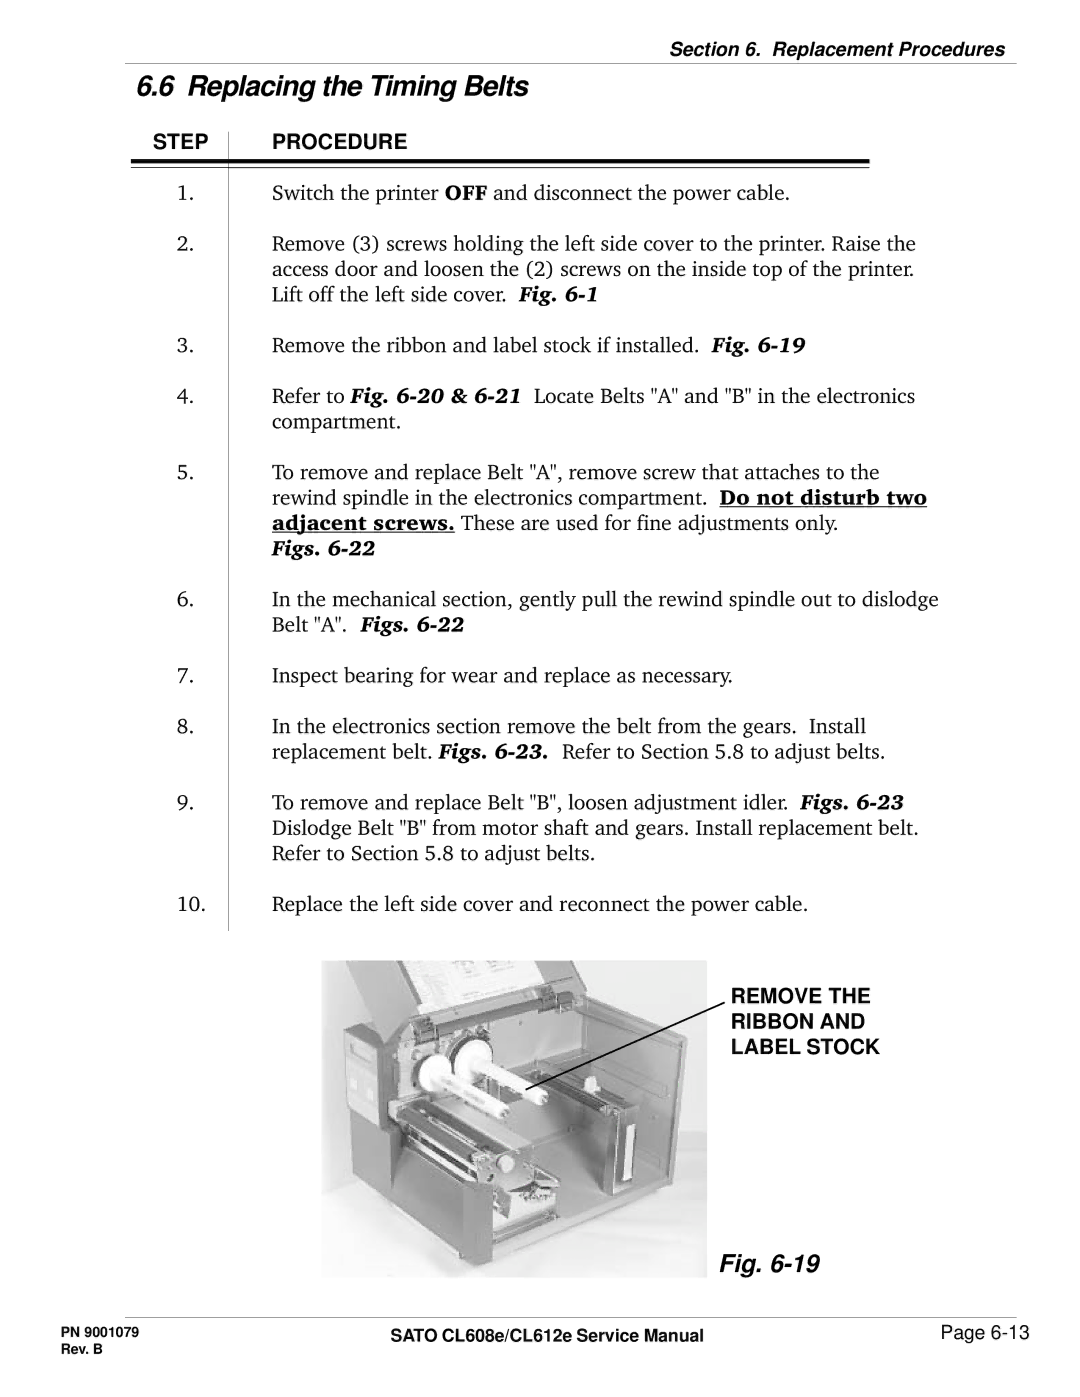
3.Remove the ribbon and label stock if installed. Fig.
4.Refer to Fig.
5.To remove and replace Belt "A", remove screw that attaches to the rewind spindle in the electronics compartment. Do not disturb two adjacent screws. These are used for fine adjustments only.
Figs.
6.In the mechanical section, gently pull the rewind spindle out to dislodge Belt "A". Figs.
7.Inspect bearing for wear and replace as necessary.
8.In the electronics section remove the belt from the gears. Install replacement belt. Figs.
9.To remove and replace Belt "B", loosen adjustment idler. Figs.
10.
Replace the left side cover and reconnect the power cable.
REMOVE THE RIBBON AND LABEL STOCK
Fig.
PN 9001079 | SATO CL608e/CL612e Service Manual | Page |
Rev. B |
|
|