Section 6. Replacement Procedures
6.12 Replacing the Top Half of the Notch/Gap Sensor
The media hold down cover contains the top half of the Notch/Gap Sensor and adjustment screws. It also contains the pressure roller.
STEP | PROCEDURE |
1.Switch the printer OFF and disconnect the power cable.
2.Remove (3) screws holding the left side cover to the printer. Raise the access door and loosen the (2) screws on the inside top of the printer. Lift off the left side cover to expose the main PCB. Fig.
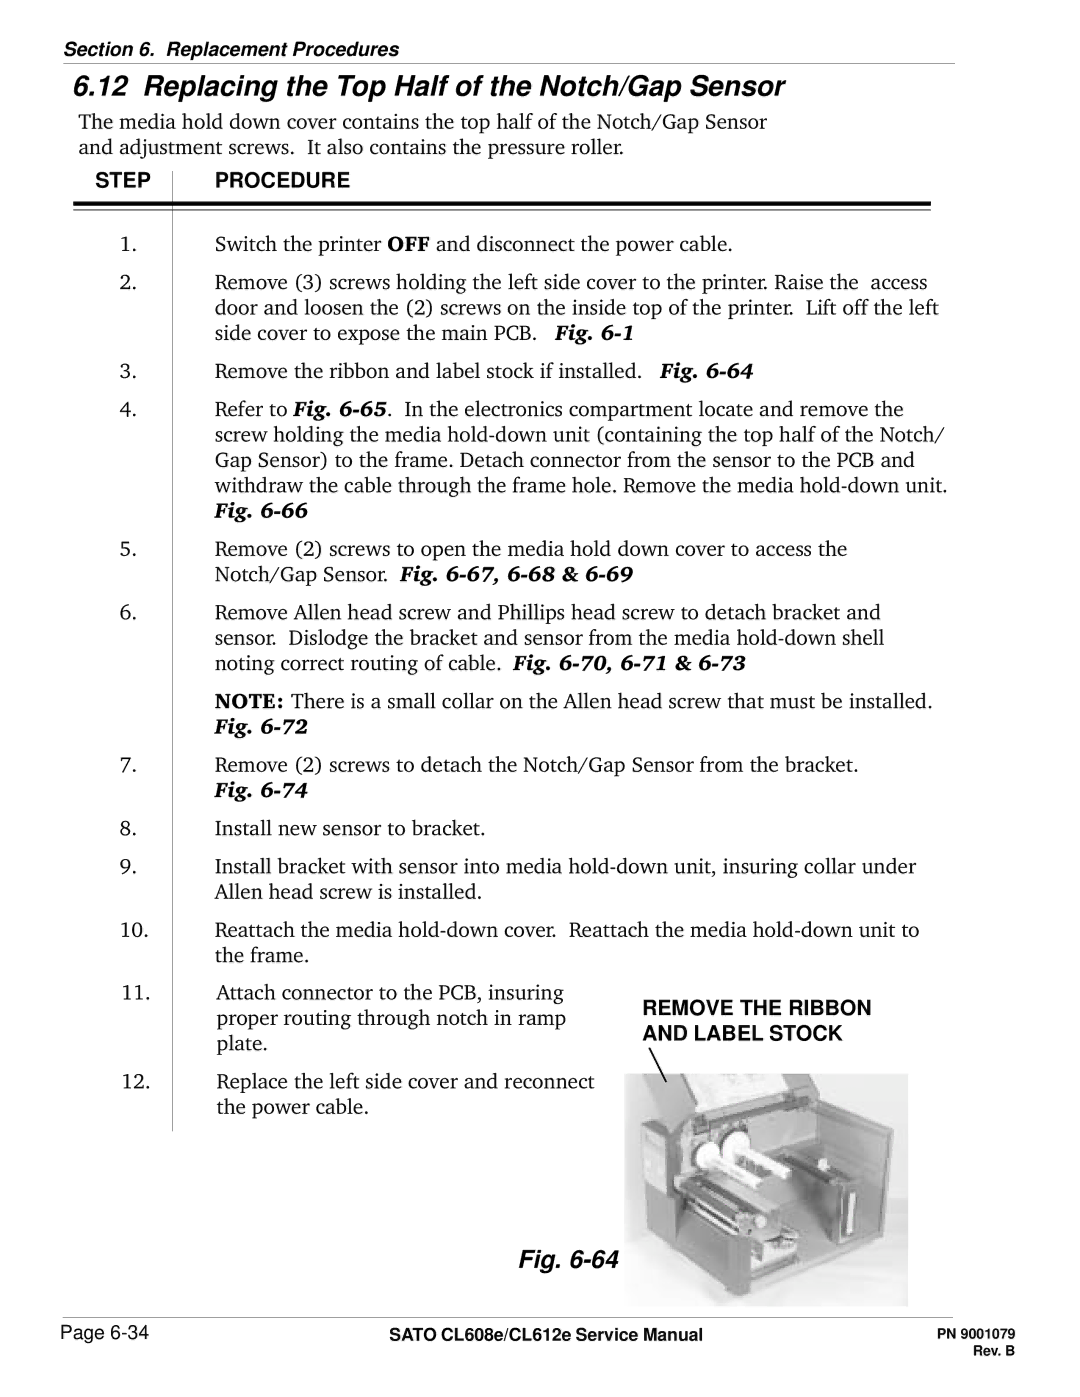
3.Remove the ribbon and label stock if installed. Fig.
4.Refer to Fig.
5.Remove (2) screws to open the media hold down cover to access the Notch/Gap Sensor. Fig.
6.Remove Allen head screw and Phillips head screw to detach bracket and sensor. Dislodge the bracket and sensor from the media
NOTE: There is a small collar on the Allen head screw that must be installed. Fig.
7.Remove (2) screws to detach the Notch/Gap Sensor from the bracket. Fig.
8.Install new sensor to bracket.
9.Install bracket with sensor into media
10.Reattach the media
11. | Attach connector to the PCB, insuring | REMOVE THE RIBBON |
| proper routing through notch in ramp | |
| AND LABEL STOCK | |
| plate. | |
|
|
12.Replace the left side cover and reconnect the power cable.
Fig.
Page | SATO CL608e/CL612e Service Manual |