Section 5. Mechanical Adjustments
5.2 Ribbon Clutch Adjustments
Excessive ribbon unwind and rewind tension will result in variable ribbon motion and could be the cause of print quality problems.
Follow the procedures 5.2.1 and 5.2.2 to verify that the ribbon unwind and rewind tensions are within specifications or if adjustment of either clutch is necessary.
| Required Equipment: | • | 1 Kg Tension Gauge |
|
| • | Ribbon Core, empty |
|
| • | String |
|
| • | 12mm Wrench |
|
| • | #2 Pozidrv Screwdriver |
|
|
| |
5.2.1 Ribbon Unwind Clutch Adjustment |
| ||
STEP | PROCEDURE |
|
|
1.Connect the power cable to the printer and AC outlet. Turn the printer ON.
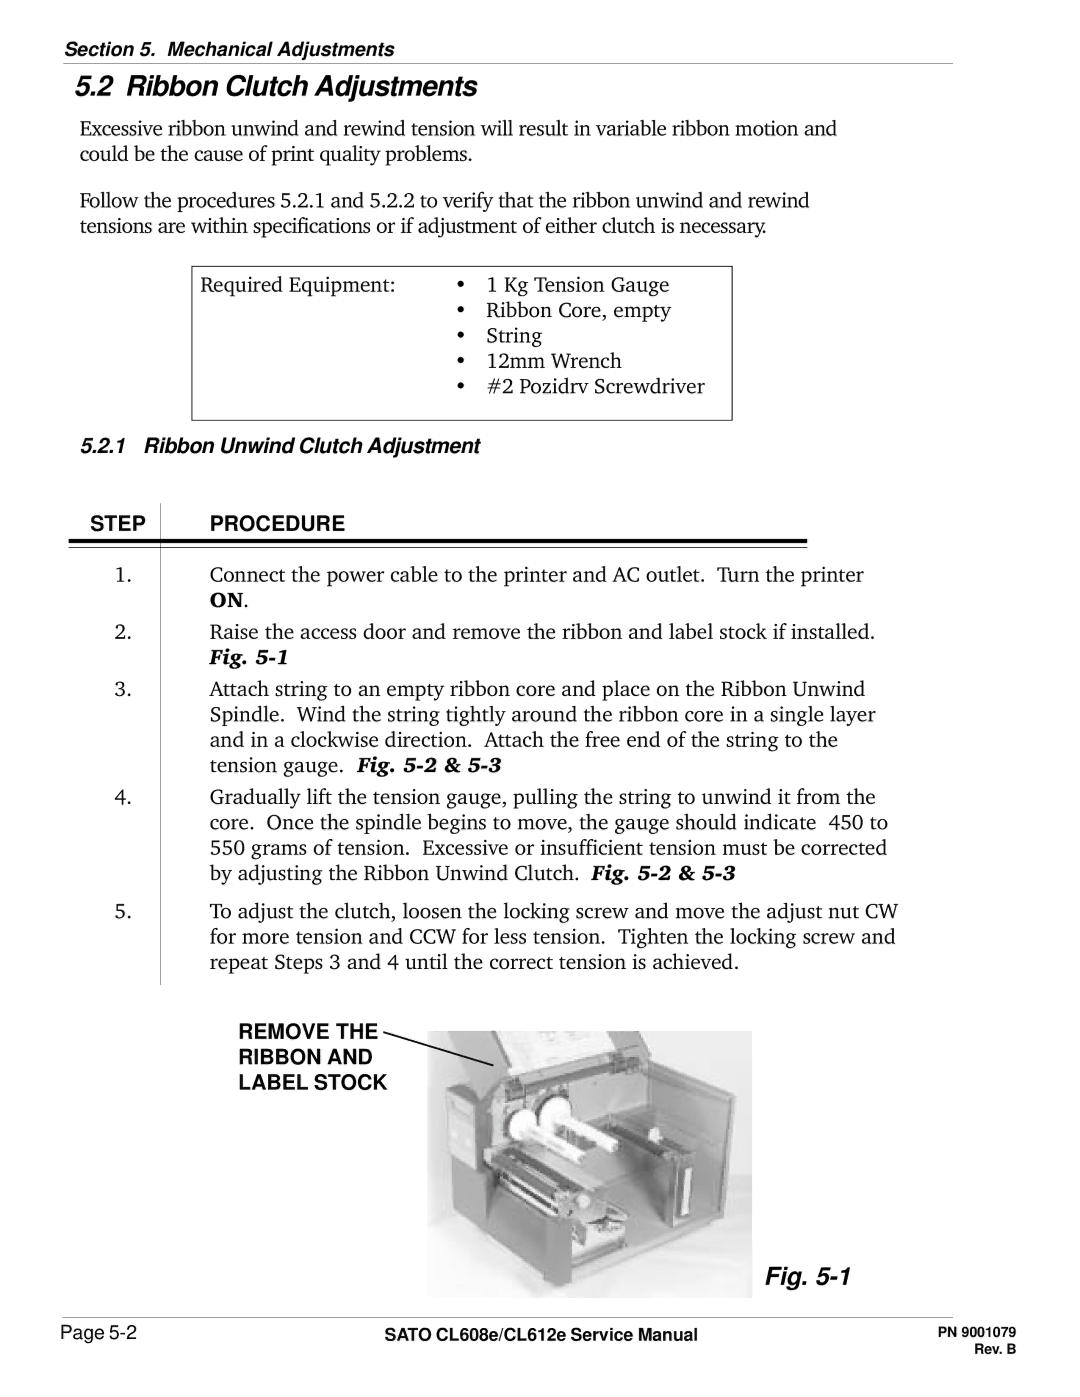
2.Raise the access door and remove the ribbon and label stock if installed. Fig.
3.Attach string to an empty ribbon core and place on the Ribbon Unwind Spindle. Wind the string tightly around the ribbon core in a single layer and in a clockwise direction. Attach the free end of the string to the tension gauge. Fig.
4.Gradually lift the tension gauge, pulling the string to unwind it from the core. Once the spindle begins to move, the gauge should indicate 450 to 550 grams of tension. Excessive or insufficient tension must be corrected by adjusting the Ribbon Unwind Clutch. Fig.
5.To adjust the clutch, loosen the locking screw and move the adjust nut CW for more tension and CCW for less tension. Tighten the locking screw and repeat Steps 3 and 4 until the correct tension is achieved.
REMOVE THE
RIBBON AND
LABEL STOCK
Fig.
Page | SATO CL608e/CL612e Service Manual |