Section 2. Configuration
LCD Panel — Service Mode
The Service Mode allows the operator to set up the basic operation parameters of the printer and is entered from the Advanced Mode.
To Enter Advanced Mode:
STEP | PROCEDURE |
1.Press the LINE key while simultaneously turning the power on. When the printer emits one long beep, release the LINE key to display the first screen.
ADVANCED MODE
2.Press the LINE key twice to enter the Service Mode.
service mode
The Service Mode display indicates that the printer is in the Service
Mode. To advance to the first selection, press the FEED key.
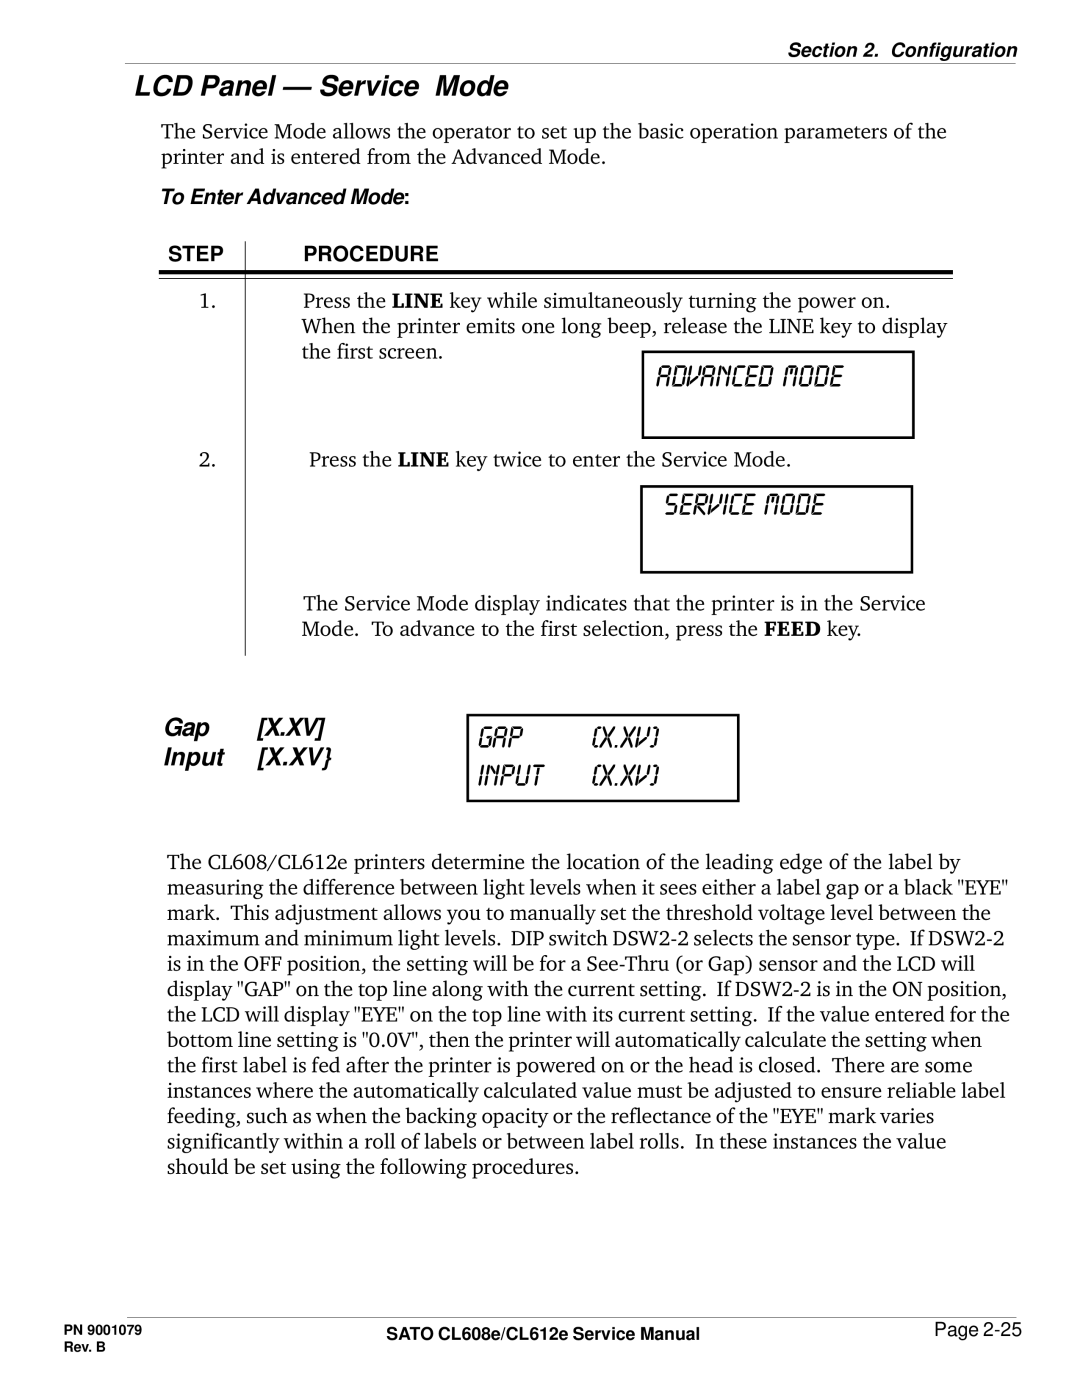
Gap [X.XV] Input [X.XV}
gap [x.xv] input [x.xv]
The CL608/CL612e printers determine the location of the leading edge of the label by measuring the difference between light levels when it sees either a label gap or a black "EYE" mark. This adjustment allows you to manually set the threshold voltage level between the maximum and minimum light levels. DIP switch
PN 9001079 | SATO CL608e/CL612e Service Manual | Page |
Rev. B |
|
|