NETWORK SCANNER FUNCTION
SELECTING THE RESOLUTION
The resolution for scanning an original can be selected. Load the original in scanner mode and then follow the steps below. The factory default setting for the resolution is "300 dpi".
Change the resolution
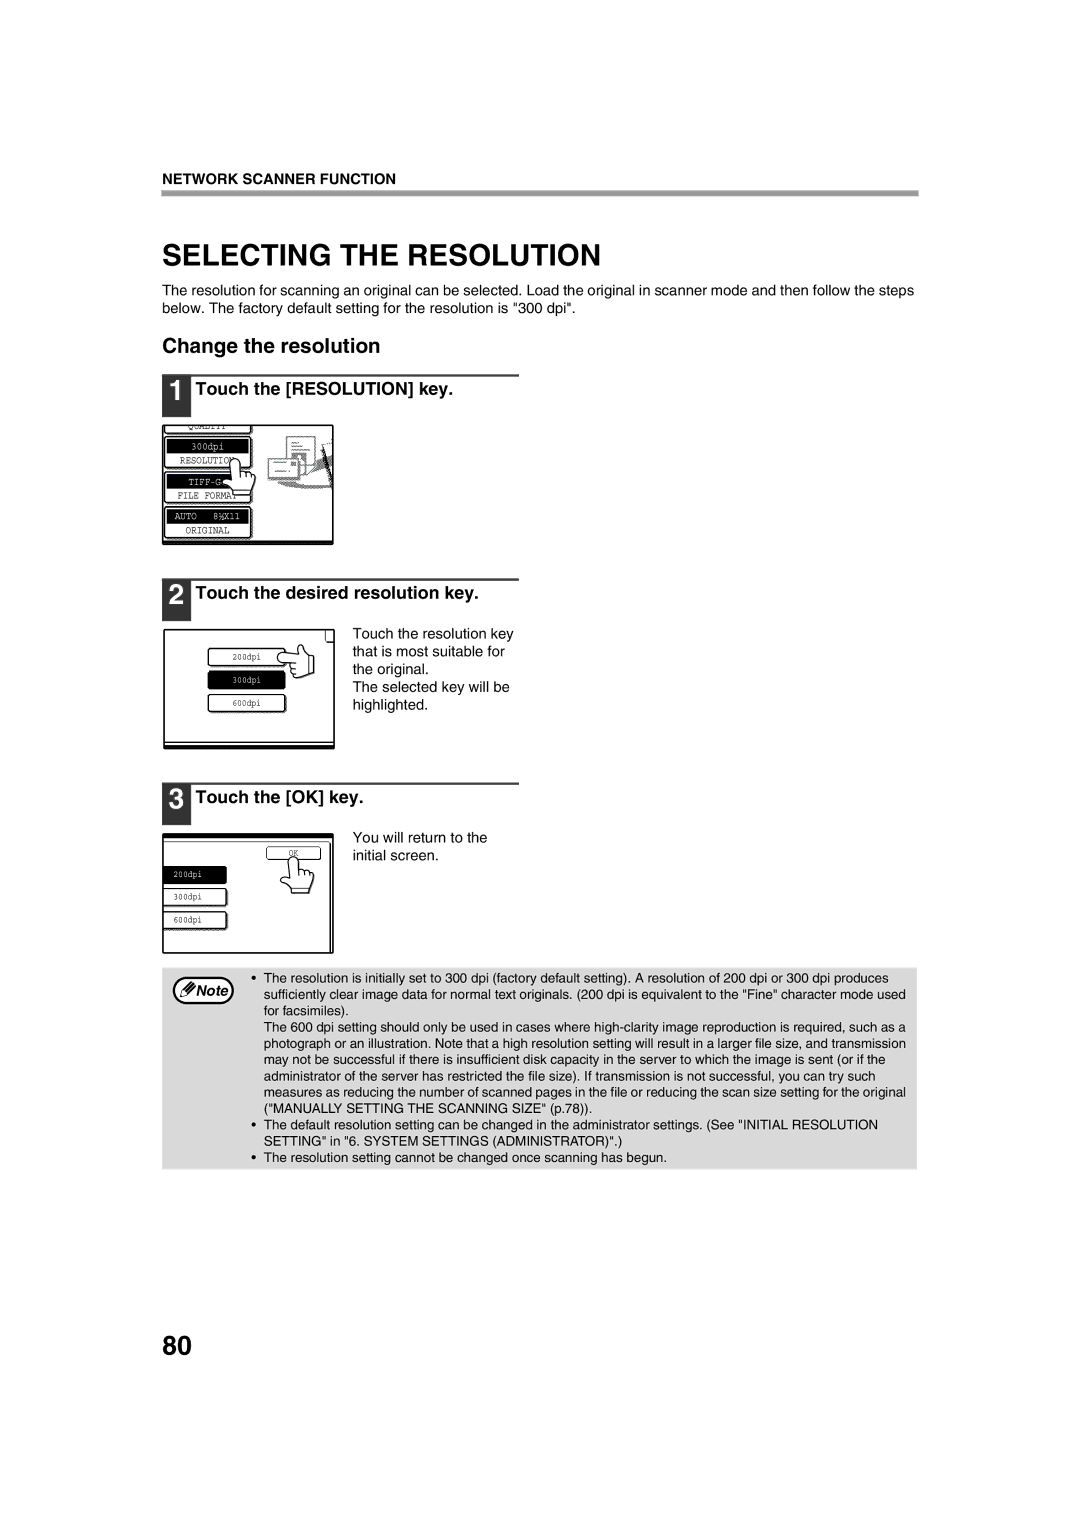
1 Touch the [RESOLUTION] key.
QUALITY
300dpi
RESOLUTION
FILE FORMAT
AUTO 8½X11
ORIGINAL
2 Touch the desired resolution key.
200dpi
300dpi
600dpi
Touch the resolution key that is most suitable for the original.
The selected key will be highlighted.
3 Touch the [OK] key.
OK
200dpi
You will return to the initial screen.
300dpi
600dpi
• The resolution is initially set to 300 dpi (factory default setting). A resolution of 200 dpi or 300 dpi produces
Note sufficiently clear image data for normal text originals. (200 dpi is equivalent to the "Fine" character mode used for facsimiles).
The 600 dpi setting should only be used in cases where
•The default resolution setting can be changed in the administrator settings. (See "INITIAL RESOLUTION SETTING" in "6. SYSTEM SETTINGS (ADMINISTRATOR)".)
•The resolution setting cannot be changed once scanning has begun.
80