CHAPTER 29: Configuring Wireless Guest Services
supernetting (e.g. entering 192.168.0.0/255.255.240.0 to cover individual class C networks 192.168.0.0/24 through 192.168.15.0/24).
1Select Enable IP Address Deny List for Authenticated Users.
2Click Configure.
3Click Add to display the Add IP Address Deny List Entry window.
4Type the IP Address in the IP Network field. Type the subnet mask in the Subnet Mask field.
5Click OK. Then click OK again.
The IP address or network range is added to the list.
9Tip: Up to 32 entries consisting of 128 characters each can be added to the TZ 150 Wireless/TZ 170 Wireless.
Customize Login Page
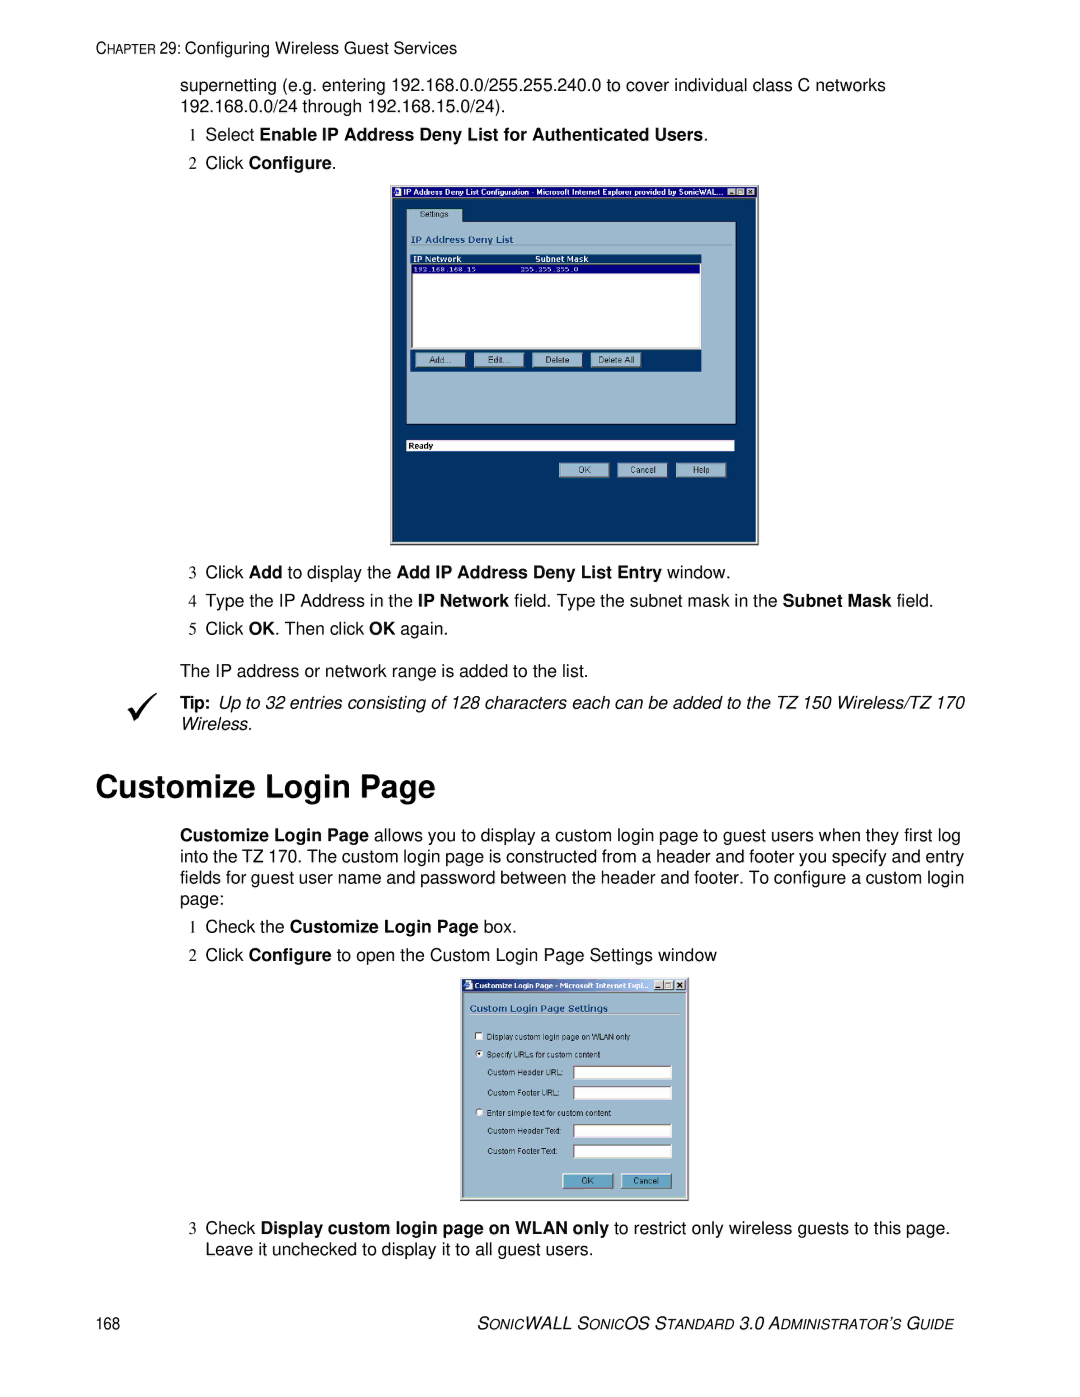
Customize Login Page allows you to display a custom login page to guest users when they first log into the TZ 170. The custom login page is constructed from a header and footer you specify and entry fields for guest user name and password between the header and footer. To configure a custom login page:
1Check the Customize Login Page box.
2Click Configure to open the Custom Login Page Settings window
3Check Display custom login page on WLAN only to restrict only wireless guests to this page. Leave it unchecked to display it to all guest users.
168 | SONICWALL SONICOS STANDARD 3.0 ADMINISTRATOR’S GUIDE |
