Line 40 changes the line spacing. The command (ESC) “A” CHR$(n) changes the line spacing to n/72 of an inch. The loop that is started in line 20 increases the value of n (the variable I in this program) each time it is executed. So the line spacing in- creases as the program continues. Line 30 just shortcuts the loop’when I = 13, since BASIC won’t let us send CHR$(13) without adding an unwanted CHR$(1O)to it. Finally, the (ESC)
“2” in line 80 resets the line spacing to 6 lines per inch. This is a shortcut that is the same as (ESC) “A” CHR$(12).
If you run this program with DIP switch
The (ESC) “A” CHR$(n) command in the IBM mode only defines the line spacing as n/72 of an inch; the (ESC) “2” com- mand “changes the line spacing to the amount defined by the previous (ESC) “A”.
For the IBM mode, you need to change the following lines in the previous program as shown below:
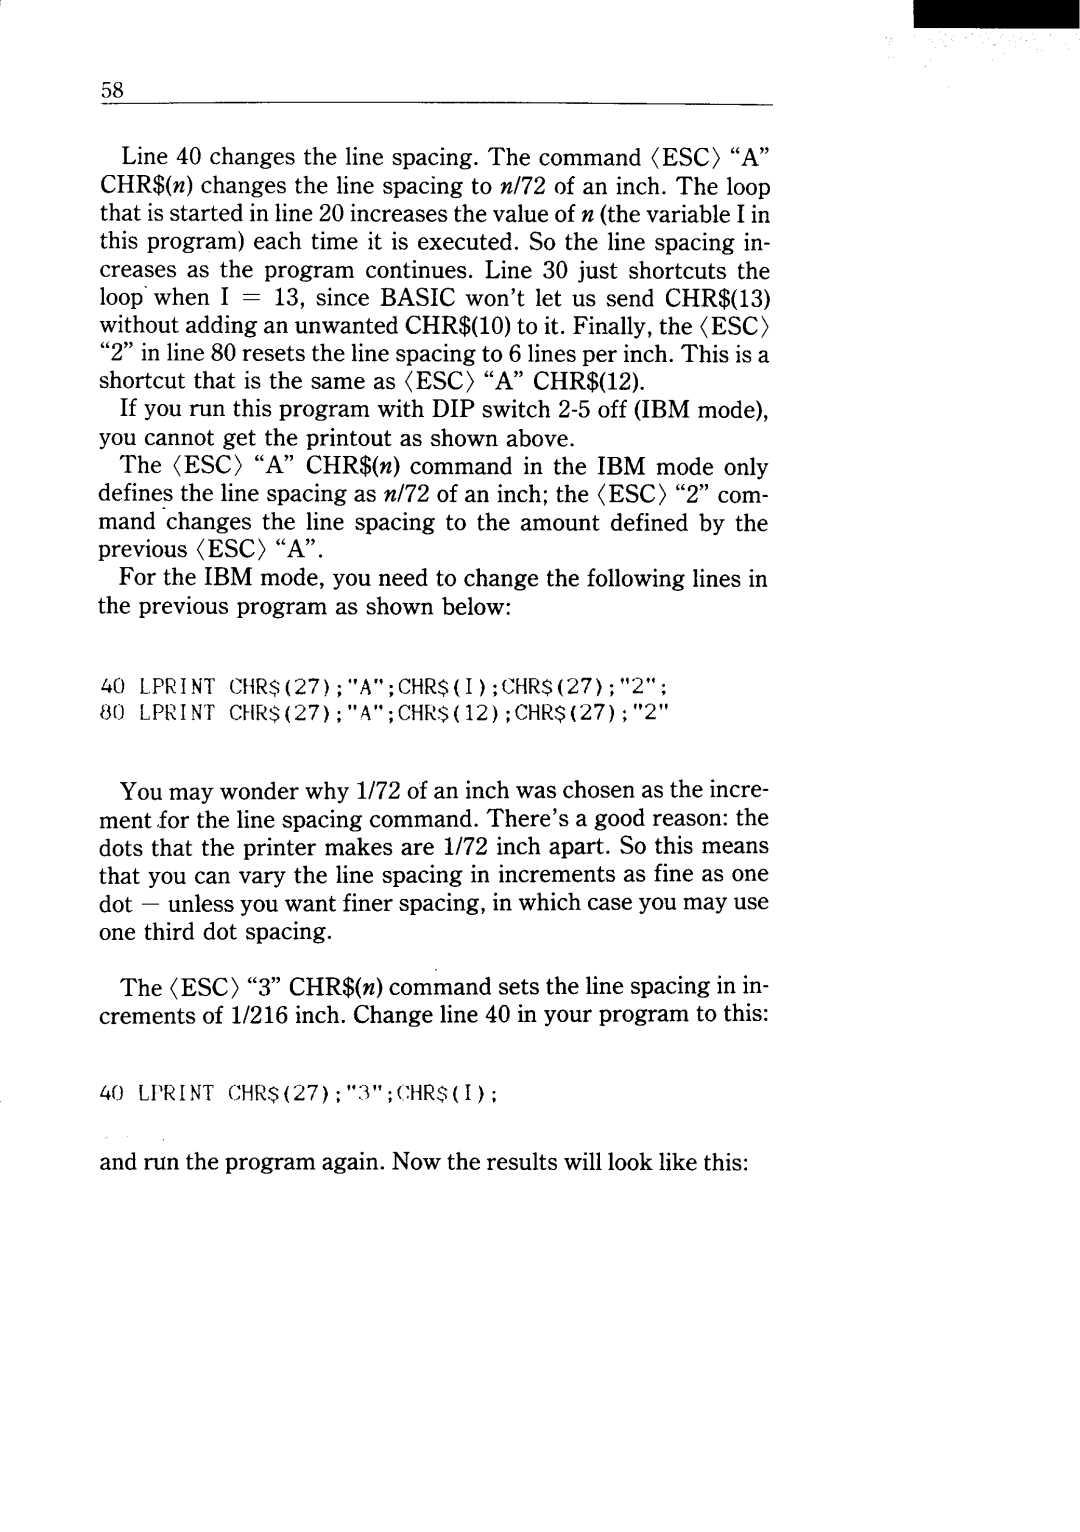
4(I LFRINT CtiR(27);“A”;CHR$$(I);CHR$(27)“2”; 80 LPRINT CHR$(27);“A”;CHR$(12);CHR$(27)“2”
You may wonder why 1/72 of an inch was chosen as the incre- ment for the line spacing command. There’s a good reason: the dots that the printer makes are 1/72 inch apart. So this means that you can vary the line spacing in increments as fine as one dot – unless you want finer spacing, in which case you may use one third dot spacing.
The (ESC) “3” CHR$(n) command sets the line spacing in in- crements of 1/216 inch. Change line 40 in your program to this:
40 LI’RINTCHR$ (27);“3”;CHR$ (I);
