2Getting Set Up
Serial connection
9-pin serial connector
The printer uses a
Note Use a
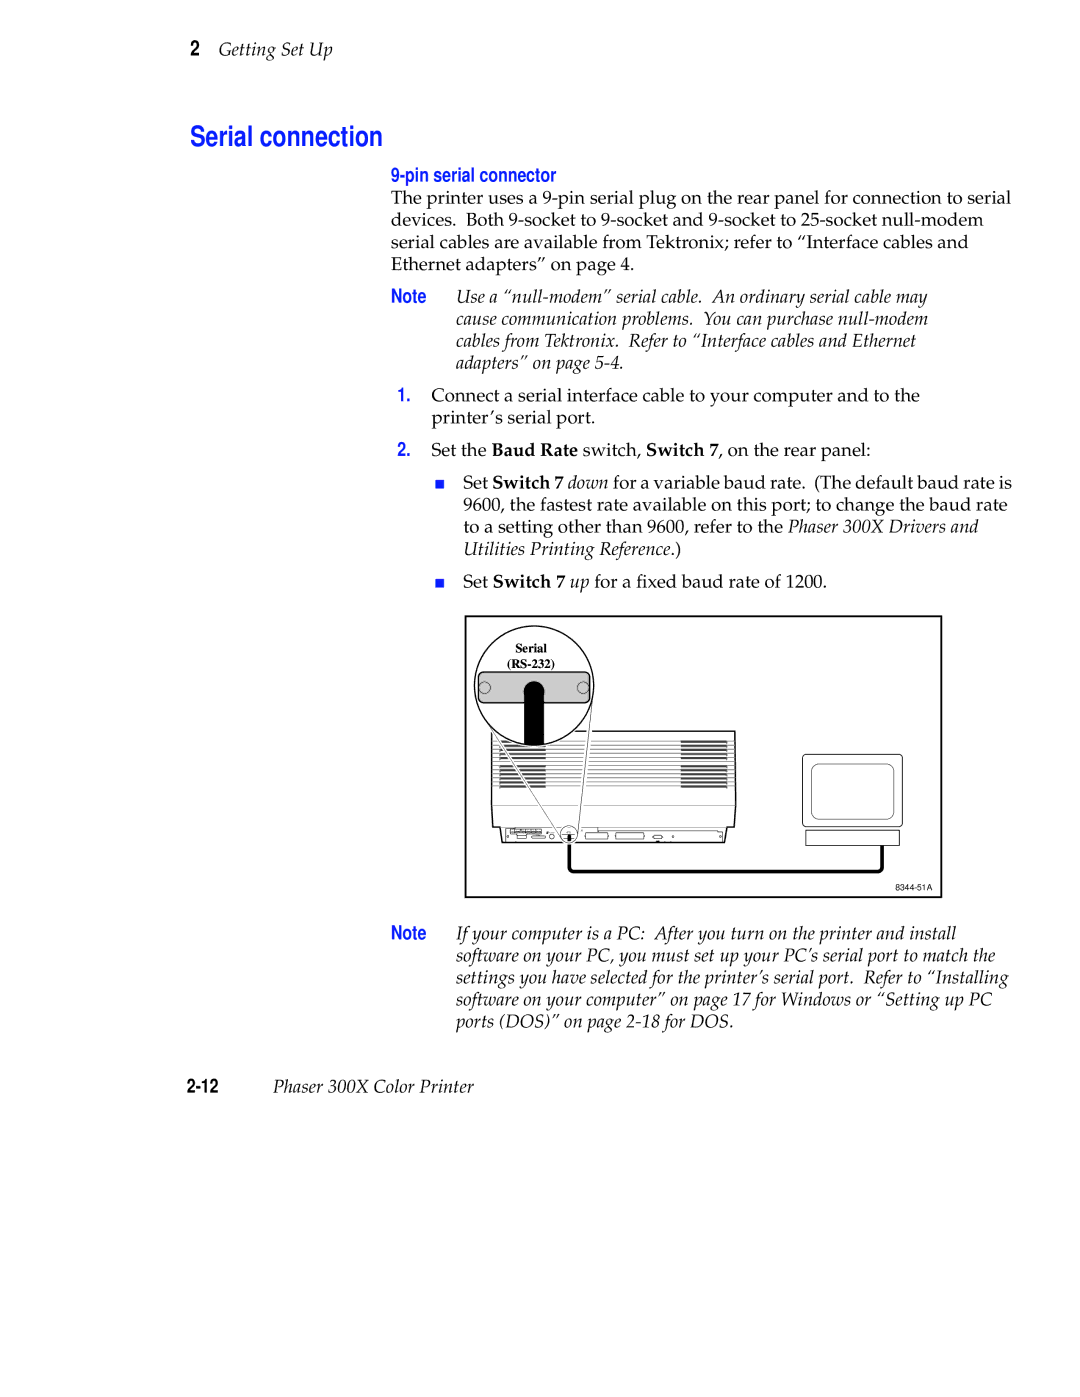
1.Connect a serial interface cable to your computer and to the printer’s serial port.
2.Set the Baud Rate switch, Switch 7, on the rear panel:
■Set Switch 7 down for a variable baud rate. (The default baud rate is 9600, the fastest rate available on this port; to change the baud rate to a setting other than 9600, refer to the Phaser 300X Drivers and Utilities Printing Reference.)
■Set Switch 7 up for a fixed baud rate of 1200.
Serial |
PXi |
Note If your computer is a PC: After you turn on the printer and install software on your PC, you must set up your PC’s serial port to match the settings you have selected for the printer’s serial port. Refer to “Installing software on your computer” on page 17 for Windows or “Setting up PC ports (DOS)” on page