2.
![]()
![]()
![]()
![]()
![]()
![]()
![]()
![]() (1) Press the [BASIC] button on the Control Panel and select the original mode option, as follows:
(1) Press the [BASIC] button on the Control Panel and select the original mode option, as follows:
• To copy in Full color mode: | Select the Printed image mode option. |
• To copy in Black mode: | Select the Photo mode option. |
*To have the above original mode options selected by default, use the following procedures:
To change default original mode on the Control Panel
Use steps (a) to (d) to change default original mode.
(a)Press the [USER FUNCTIONS] button on the Control Panel to enter the "User Functions" menu.
(b)Press the [USER] button.
(c)Press the [COPY] button.
(d)In the "ORIGINAL MODE FOR COLOR" or "BLACK" option, press the button corresponding to the desired original mode option.
To change default original mode in setting mode [08]
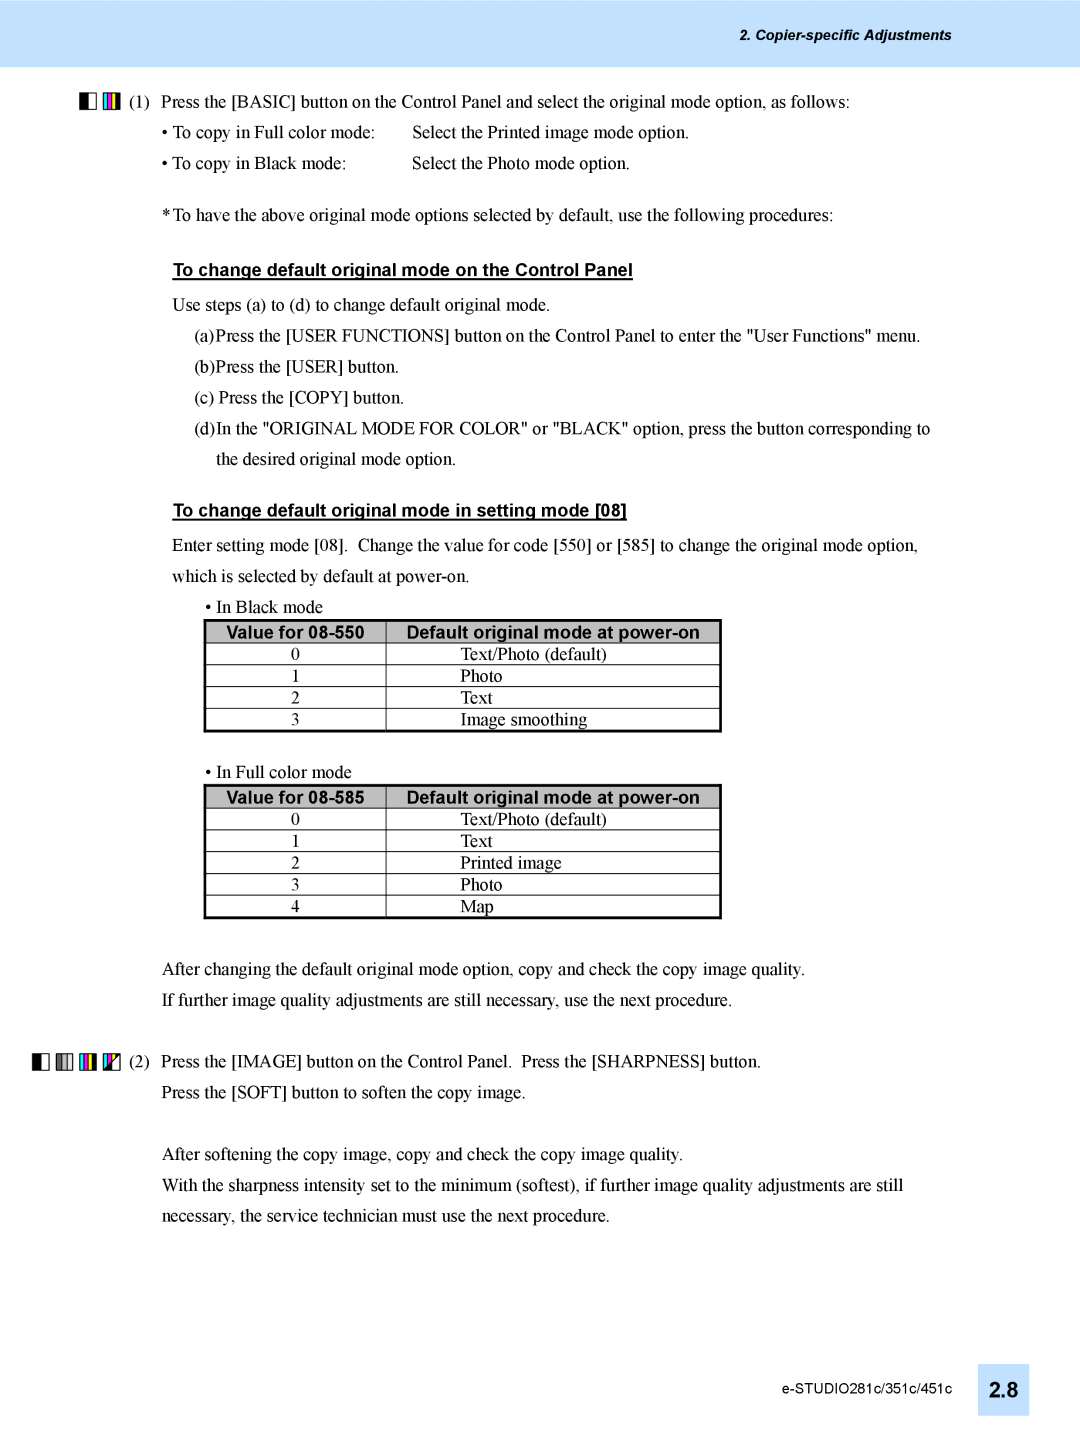
Enter setting mode [08]. Change the value for code [550] or [585] to change the original mode option, which is selected by default at
• In Black mode
Value for | Default original mode at |
0 | Text/Photo (default) |
1 | Photo |
2 | Text |
3 | Image smoothing |
• In Full color mode |
|
Value for | Default original mode at |
0 | Text/Photo (default) |
1 | Text |
2 | Printed image |
3 | Photo |
4 | Map |
After changing the default original mode option, copy and check the copy image quality.
If further image quality adjustments are still necessary, use the next procedure.
![]()
![]()
![]()
![]()
![]()
![]()
![]()
![]()
![]()
![]()
![]()
![]()
![]()
![]()
![]() (2) Press the [IMAGE] button on the Control Panel. Press the [SHARPNESS] button. Press the [SOFT] button to soften the copy image.
(2) Press the [IMAGE] button on the Control Panel. Press the [SHARPNESS] button. Press the [SOFT] button to soften the copy image.
After softening the copy image, copy and check the copy image quality.
With the sharpness intensity set to the minimum (softest), if further image quality adjustments are still necessary, the service technician must use the next procedure.
