Chapter 11: Creating TriCoder Programs on your Windows PC
You can also create custom TriCoder programs on your PC and download them to the TriCoder using our Virtual TriCoder in the Integrated Hardware Utilities. The program is configured to download the files through a USB port or a Serial port. For simple programs, entering them directly on the TriCoder is faster and easier.
The Virtual TriCoder creates programs using the same program prompts that you would use if creating the program on the TriCoder itself. You can even test your program by running the Virtual TriCoder as you would the real TriCoder.
Since the Virtual TriCoder uses the same prompts and format as the real TriCoder, using a TriCoder Coding Form to plot out your program (especially if it is a complicated one) still makes sense. In fact, the Virtual TriCoder includes an interface that looks like the TriCoder Coding Form. Simply use the TriCoder Coding Form to enter the correct data into the Virtual TriCoder.
The TriCoder does not know the difference between a program created on the TriCoder and one created using the Virtual TriCoder. Programs can be uploaded from the TriCoder to the Virtual TriCoder, edited, then downloaded back into the TriCoder.
Installing the Hardware Utilities
oInsert the Worth Data Utilities
oIf you have autoplay enabled, the CD should begin by itself. If not, Click on Start, then Run, then type D:\setup.exe at the
prompt (use your drive letter in place of "D" if it is different).
oFollow the directions on screen to install the Integrated Hardware Utilities
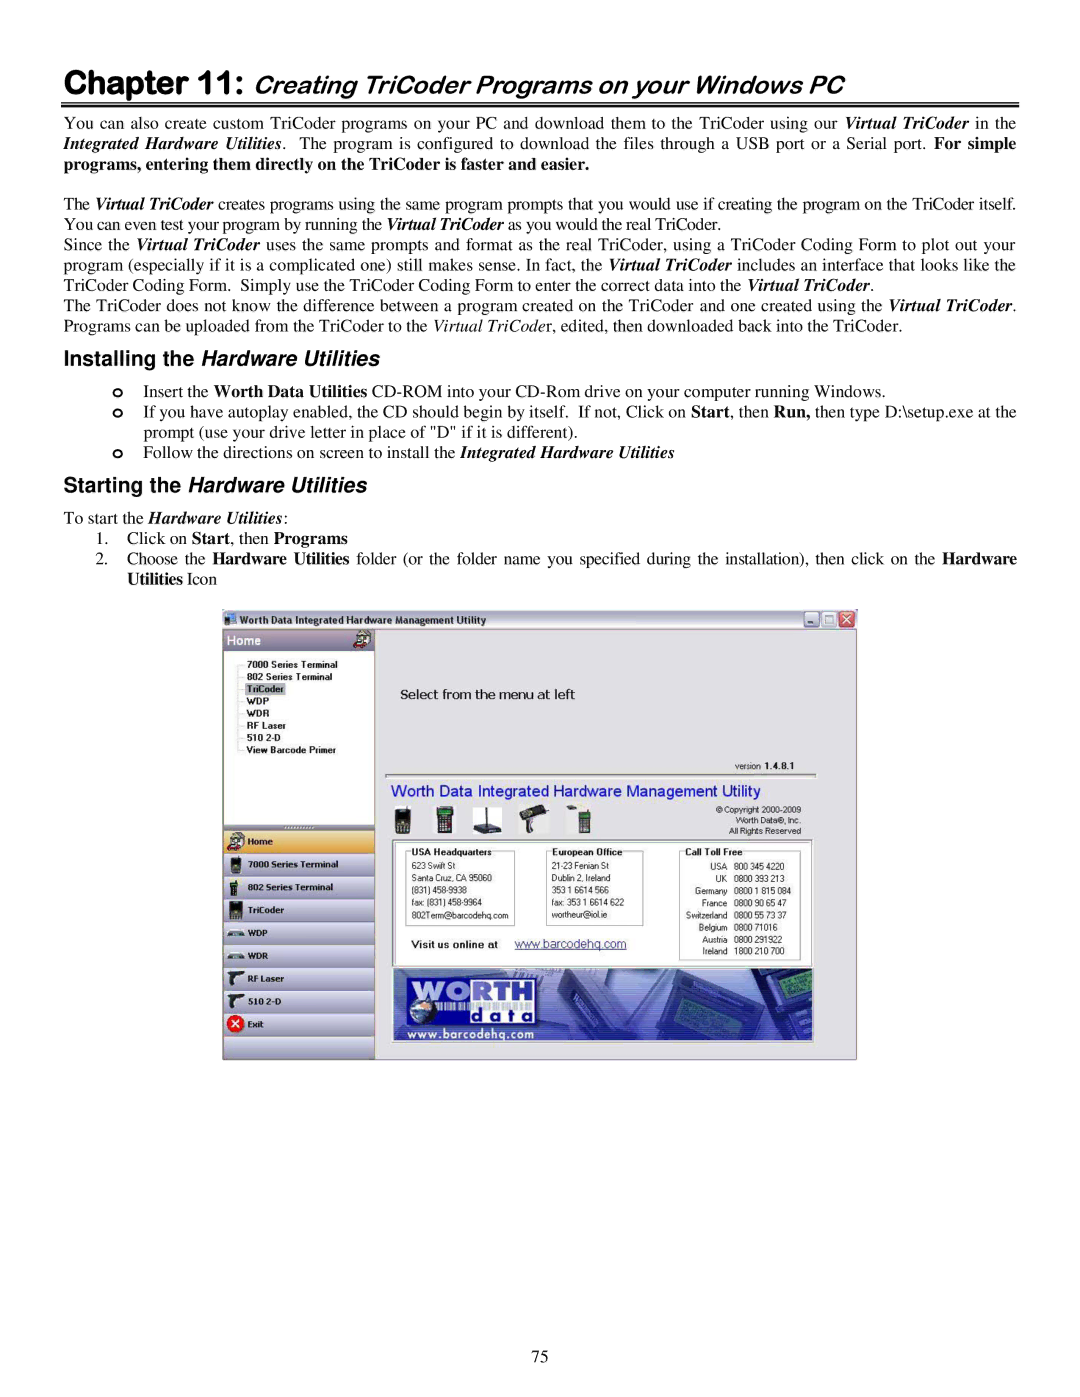
Starting the Hardware Utilities
To start the Hardware Utilities:
1.Click on Start, then Programs
2.Choose the Hardware Utilities folder (or the folder name you specified during the installation), then click on the Hardware Utilities Icon
75
