The Time Stamp statement type records only the time information to memory in the HHMM format. Just as with the Date and Time Stamp statement, using DIS in the DATA ID field will display the time information on the TriCoder screen when the statement is executed. Use t instead of T to record seconds in addition to the hours and minutes:
ENTRY TYPE | t |
The Time Stamp statement uses the same program fields as the Date and Time Stamp statement.
Date Stamp
The Date Stamp statement stores only the date information in a MMDDYY format. As in the other Date/Time stamp statements, using DIS in the DATA ID field will display the Date information on the TriCoder when the statement is executed. The date format can be changed using the Alternative Date Format settings in the TriCoder setup.
ENTRY TYPE | Y |
The Date Stamp statement uses the same program fields as the other Date and Time Stamp statements.
Xtra
The Xtra Statement works with the "ENTER QUANTITY" prompt by automatically entering a quantity of “1” if the user enters another Item number instead of a quantity. The user has the option of entering an actual quantity if it is more than “1”. Using this feature in Program #1 is a good way to demonstrate its value. The XTRA Statement must be set before you begin your data collection. To use the XTRA Statement, three things must happen:
The statement type for the “ENTER QUANTITY” prompt must be “X” (Xtra)
The maximum data length of the “ENTER QUANTITY” statement must be less than the minimum data length for the next statement to be executed - in program #1, the next statement to be executed is the “ENTER ITEM NO.” statement.
The length of the data entered at the “ENTER QUANTITY” prompt must be between the minimum data length and the maximum data length of the next statement to be executed (ITEM in program #1).
Using Program #1 as an example:
If the number of characters entered at the “ENTER QUANTITY” prompt is less than the minimum data length of the “ENTER ITEM NO.” prompt, then the data entered is stored as the quantity.
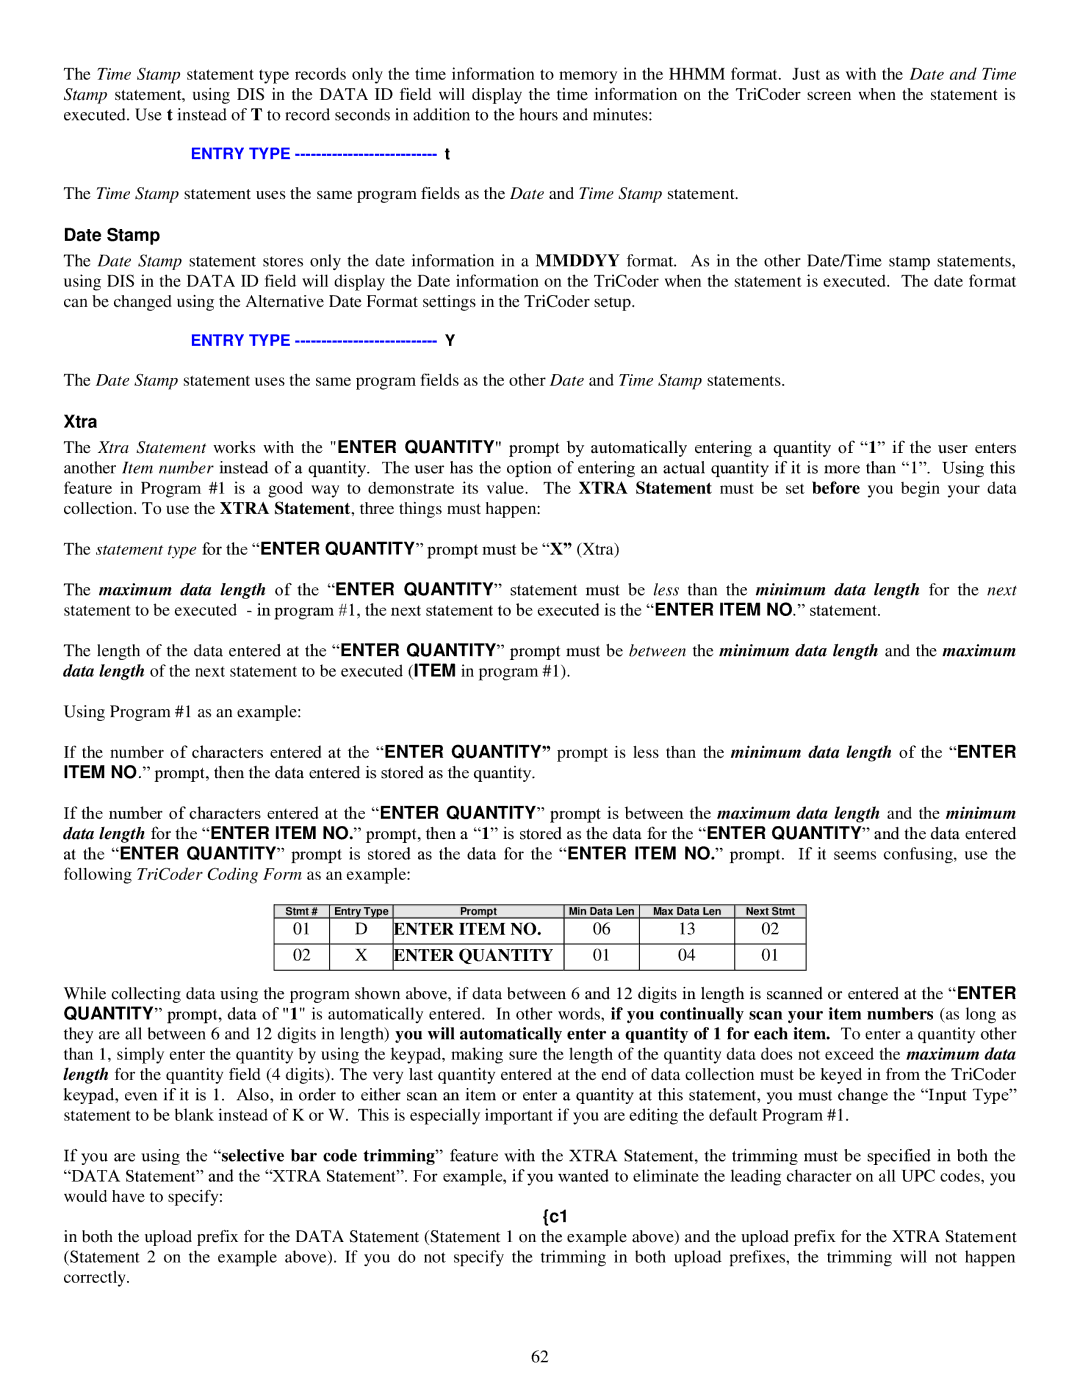
If the number of characters entered at the “ENTER QUANTITY” prompt is between the maximum data length and the minimum data length for the “ENTER ITEM NO.” prompt, then a “1” is stored as the data for the “ENTER QUANTITY” and the data entered at the “ENTER QUANTITY” prompt is stored as the data for the “ENTER ITEM NO.” prompt. If it seems confusing, use the following TriCoder Coding Form as an example:
Stmt # | Entry Type | Prompt | Min Data Len | Max Data Len | Next Stmt |
01 | D | ENTER ITEM NO. | 06 | 13 | 02 |
|
|
|
|
|
|
02 | X | ENTER QUANTITY | 01 | 04 | 01 |
|
|
|
|
|
|
While collecting data using the program shown above, if data between 6 and 12 digits in length is scanned or entered at the “ENTER QUANTITY” prompt, data of "1" is automatically entered. In other words, if you continually scan your item numbers (as long as they are all between 6 and 12 digits in length) you will automatically enter a quantity of 1 for each item. To enter a quantity other than 1, simply enter the quantity by using the keypad, making sure the length of the quantity data does not exceed the maximum data length for the quantity field (4 digits). The very last quantity entered at the end of data collection must be keyed in from the TriCoder keypad, even if it is 1. Also, in order to either scan an item or enter a quantity at this statement, you must change the “Input Type” statement to be blank instead of K or W. This is especially important if you are editing the default Program #1.
If you are using the “selective bar code trimming” feature with the XTRA Statement, the trimming must be specified in both the “DATA Statement” and the “XTRA Statement”. For example, if you wanted to eliminate the leading character on all UPC codes, you would have to specify:
{c1
in both the upload prefix for the DATA Statement (Statement 1 on the example above) and the upload prefix for the XTRA Statement (Statement 2 on the example above). If you do not specify the trimming in both upload prefixes, the trimming will not happen correctly.
62
