Step |
2 |
Collecting Data
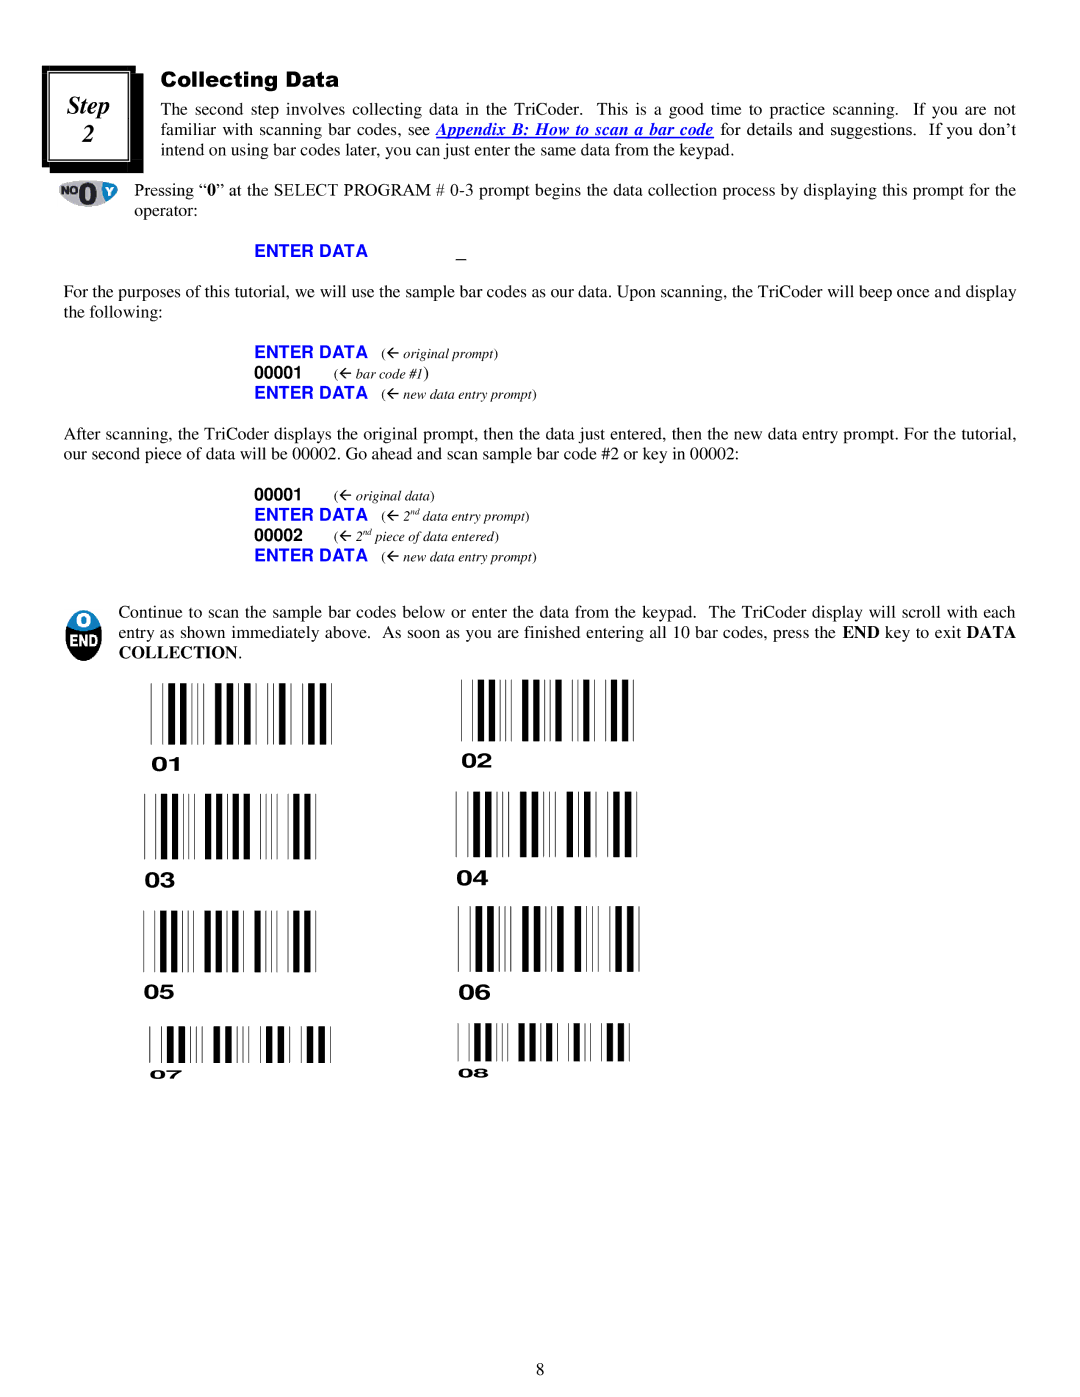
The second step involves collecting data in the TriCoder. This is a good time to practice scanning. If you are not familiar with scanning bar codes, see Appendix B: How to scan a bar code for details and suggestions. If you don‟t intend on using bar codes later, you can just enter the same data from the keypad.
Pressing “0” at the SELECT PROGRAM #
ENTER DATA | _ |
For the purposes of this tutorial, we will use the sample bar codes as our data. Upon scanning, the TriCoder will beep once and display the following:
ENTER DATA | ( original prompt) |
00001 ( bar code #1) | |
ENTER DATA | ( new data entry prompt) |
After scanning, the TriCoder displays the original prompt, then the data just entered, then the new data entry prompt. For the tutorial, our second piece of data will be 00002. Go ahead and scan sample bar code #2 or key in 00002:
00001 ( original data)
ENTER DATA
00002 ( 2nd piece of data entered)
ENTER DATA
Continue to scan the sample bar codes below or enter the data from the keypad. The TriCoder display will scroll with each entry as shown immediately above. As soon as you are finished entering all 10 bar codes, press the END key to exit DATA COLLECTION.
0102
03 |
| 04 | |||||||||||||||||||||||||||||||
|
|
|
|
|
|
|
|
|
|
|
|
|
|
|
|
|
|
|
|
|
|
|
|
|
|
|
|
|
|
|
|
|
|
|
|
|
|
|
|
|
|
|
|
|
|
|
|
|
|
|
|
|
|
|
|
|
|
|
|
|
|
|
|
|
|
|
|
05 |
| 06 | |||||||||||||||||||||||||||||||
|
|
|
|
|
|
|
|
|
|
|
|
|
|
|
| ||||||||||||||||||
|
|
|
|
|
|
|
|
|
|
|
|
|
|
|
|
|
|
|
|
|
|
|
|
|
|
|
|
|
|
|
|
|
|
07 | 08 | ||||||||||||||||||||||||||||||||
8