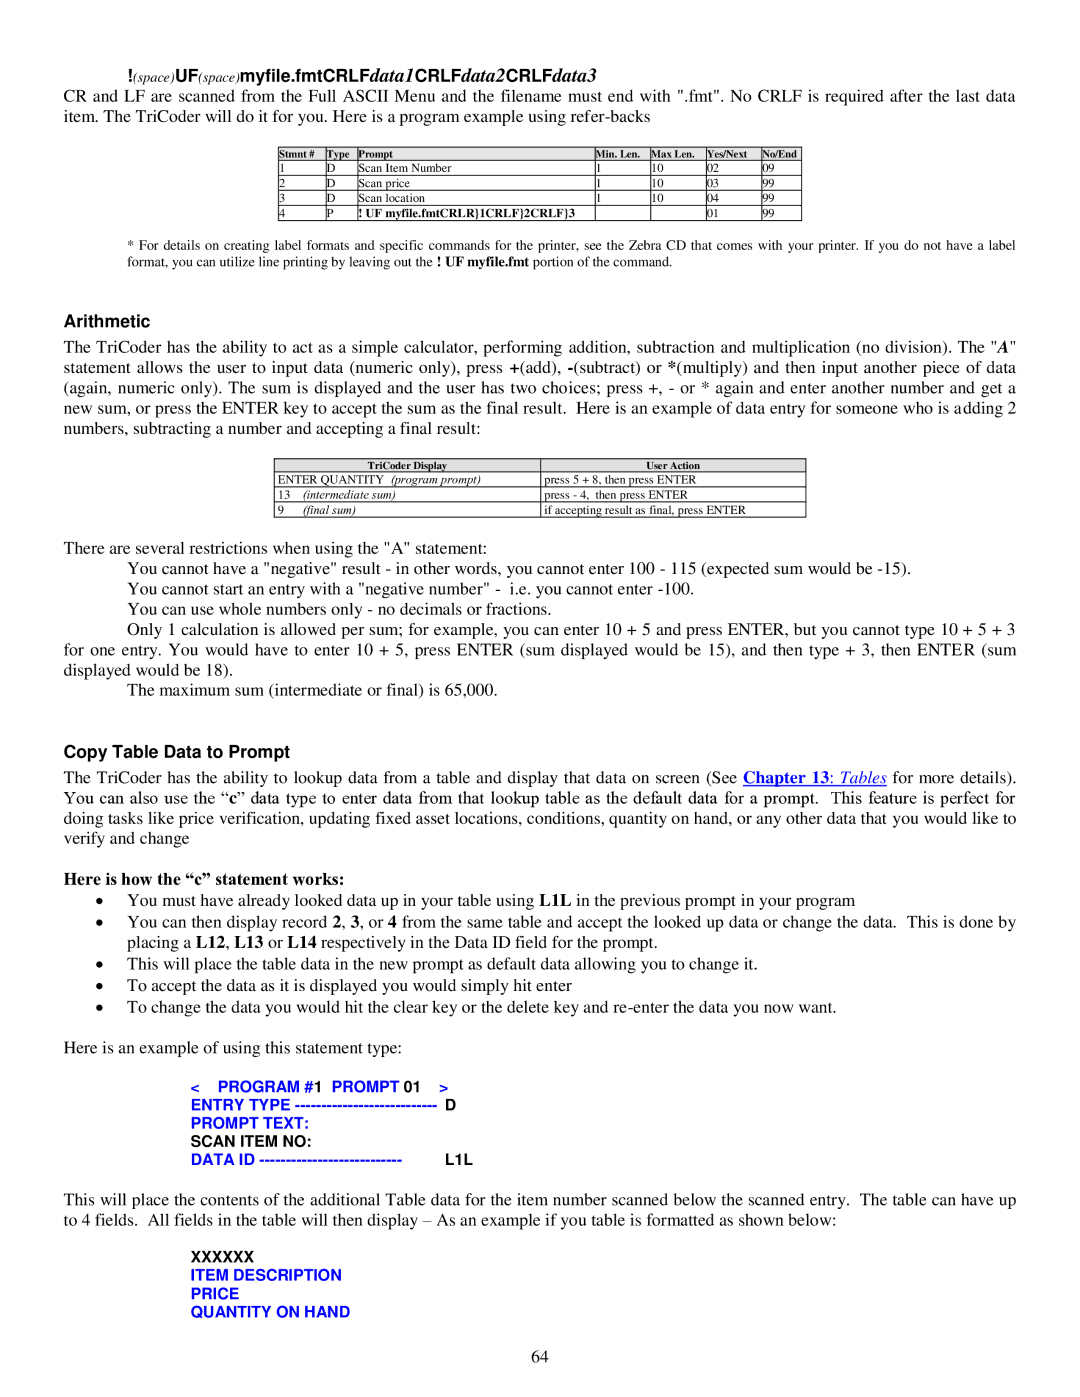
!(space)UF(space)myfile.fmtCRLFdata1CRLFdata2CRLFdata3
CR and LF are scanned from the Full ASCII Menu and the filename must end with ".fmt". No CRLF is required after the last data item. The TriCoder will do it for you. Here is a program example using
Stmnt # | Type | Prompt | Min. Len. | Max Len. | Yes/Next | No/End |
1 | D | Scan Item Number | 1 | 10 | 02 | 09 |
2 | D | Scan price | 1 | 10 | 03 | 99 |
3 | D | Scan location | 1 | 10 | 04 | 99 |
4 | P | ! UF myfile.fmtCRLR}1CRLF}2CRLF}3 |
|
| 01 | 99 |
*For details on creating label formats and specific commands for the printer, see the Zebra CD that comes with your printer. If you do not have a label format, you can utilize line printing by leaving out the ! UF myfile.fmt portion of the command.
Arithmetic
The TriCoder has the ability to act as a simple calculator, performing addition, subtraction and multiplication (no division). The "A" statement allows the user to input data (numeric only), press +(add),
| TriCoder Display | User Action |
ENTER QUANTITY (program prompt) | press 5 + 8, then press ENTER | |
13 | (intermediate sum) | press - 4, then press ENTER |
9 | (final sum) | if accepting result as final, press ENTER |
There are several restrictions when using the "A" statement:
You cannot have a "negative" result - in other words, you cannot enter 100 - 115 (expected sum would be
You can use whole numbers only - no decimals or fractions.
Only 1 calculation is allowed per sum; for example, you can enter 10 + 5 and press ENTER, but you cannot type 10 + 5 + 3 for one entry. You would have to enter 10 + 5, press ENTER (sum displayed would be 15), and then type + 3, then ENTER (sum displayed would be 18).
The maximum sum (intermediate or final) is 65,000.
Copy Table Data to Prompt
The TriCoder has the ability to lookup data from a table and display that data on screen (See Chapter 13: Tables for more details). You can also use the “c” data type to enter data from that lookup table as the default data for a prompt. This feature is perfect for doing tasks like price verification, updating fixed asset locations, conditions, quantity on hand, or any other data that you would like to verify and change
Here is how the “c” statement works:
∙You must have already looked data up in your table using L1L in the previous prompt in your program
∙You can then display record 2, 3, or 4 from the same table and accept the looked up data or change the data. This is done by placing a L12, L13 or L14 respectively in the Data ID field for the prompt.
∙This will place the table data in the new prompt as default data allowing you to change it.
∙To accept the data as it is displayed you would simply hit enter
∙To change the data you would hit the clear key or the delete key and
Here is an example of using this statement type:
< PROGRAM #1 PROMPT 01 | > |
ENTRY TYPE | D |
PROMPT TEXT: |
|
SCAN ITEM NO: |
|
DATA ID | L1L |
This will place the contents of the additional Table data for the item number scanned below the scanned entry. The table can have up to 4 fields. All fields in the table will then display – As an example if you table is formatted as shown below:
XXXXXX
ITEM DESCRIPTION
PRICE
QUANTITY ON HAND
64
