Manuals
/
Xerox
/
Computer Equipment
/
All in One Printer
Xerox
3300MFP
manual
Software Section
Models:
3300MFP
1
104
148
148
Download
148 pages
59.21 Kb
101
102
103
104
105
106
107
108
Troubleshooting
Specifications
Install
Changing the default mode
Sending a delayed fax
Maintenance
Configuring TCP/IP
Solving other problems
Self Diagnostic
Accessories
Page 104
Image 104
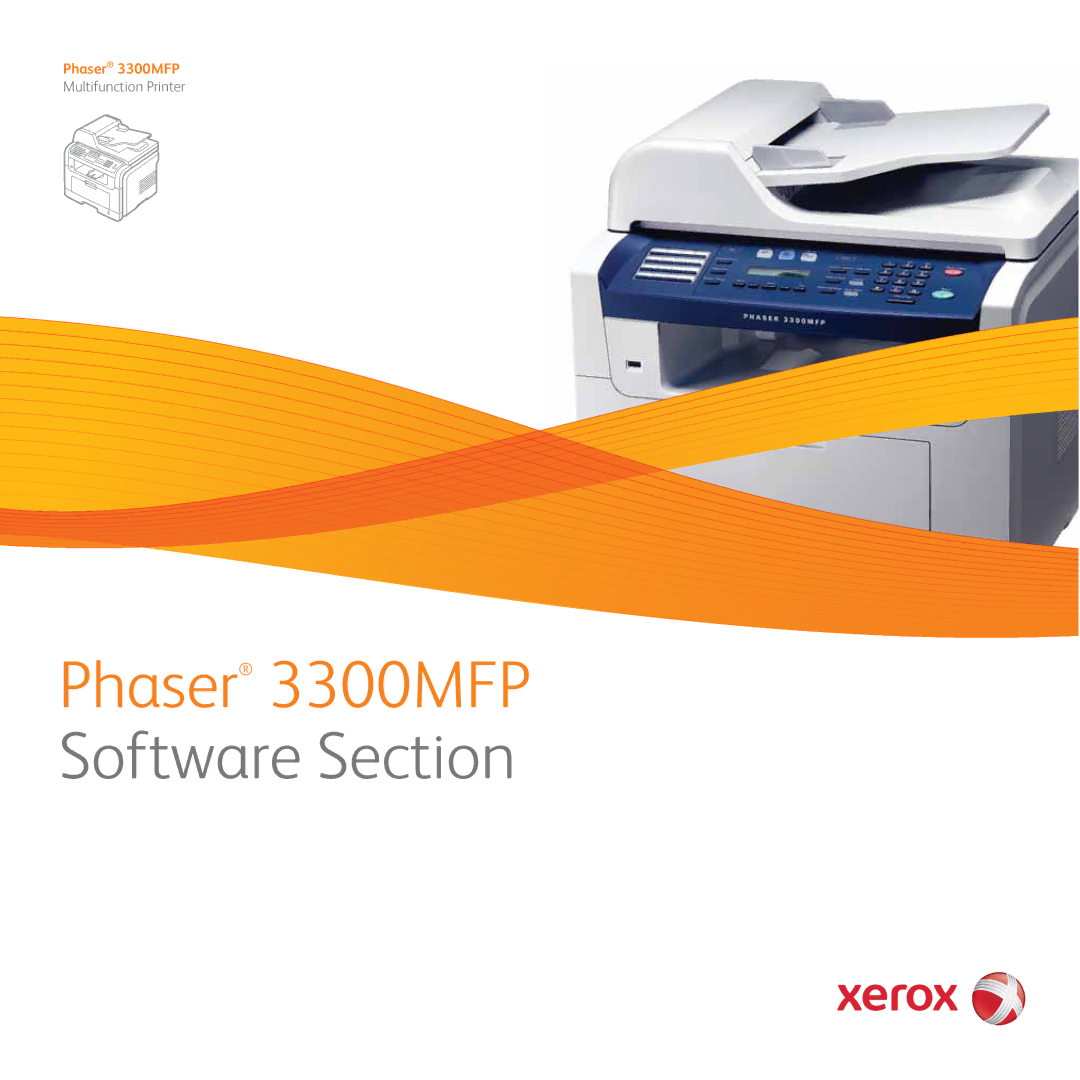
Phaser
®
3300MFP
Multifunction Printer
Phaser
®
3300MFP
Software Section
Page 103
Page 105
Page 104
Image 104
Page 103
Page 105
Contents
Phaser 3300MFP
Xerox and Xerox logo are trademarks of Xerox Corporation
Contents
Fax setup
Using USB flash memory
Ordering supplies and accessories
Scanning
Maintenance
Troubleshooting
Installing accessories
Specifications
Safety
Electrical Safety Information
Quality Standards
Regulatory Information
Illegal Copying
For Fax Function
OpenSSL License
Original SSLeay License
Environmental Compliance Product Recycling and Disposal
Others Countries
Special features
Introduction
Printer overview
Front view Rear view
Control panel overview
Clearance space
Finding more information
Selecting a location
System setup
Fax Feature Fax Setup Copy Feature Copy Setup Scan Feature
Network System Setup Scan Setup
Menu overview
Setting the date and time
Changing the default mode
Changing the clock mode
Press Enter when Machine Setup appears
Setting sounds
Entering characters using the number keypad
Using the save modes
Setting print job timeout
Software overview
Supplied software
Windows
Printer driver features
System requirements
Linux
Requirements Recommended
Network setup
Accessing CentreWare Internet Services Cwis
Supported operating systems
Locating the 3300MFP IP Address
Configuring TCP/IP
Configuring EtherTalk
Configuring
Dynamic addressing BOOTP/DHCP
Printing a network configuration
Setting Ethernet speed
Restoring the network configuration
Loading originals and print media
Loading originals
On the scanner glass
ADF
Selecting print media
Type Size Dimensions Weight1 Capacity2
Supported print media types and sizes
Media sizes supported in each mode
Mode Size Source
Guidelines for selecting and storing print media
Guidelines for special print media
Loading paper
Tray
Loading paper in tray 1 or optional tray
Changing the size of the paper in the paper tray
Multi-purpose tray
Load the paper with the side to be printed on facing up
Printing to the output tray
Setting the paper size and type
Selecting an output location
Printing to the rear cover
Changing the settings for each copy
Copying
Selecting the paper tray
Lighten/Darken
Changing the default copy settings
Using special copy features
Reduced or enlarged copy
Collation
ID card copying
Poster copying
Setting copy timeout
Copying on both sides of paper
Clone copying
Erasing background images
Printing a document
Canceling a print job
Basic printing
Scanning basics
Scanning to an application using a local Connection
Scanning
Scanning using a network connection
Setting up an e-mail account
Preparing for network scanning
Adding the machine to the Network Scan program
Setting up an FTP server
Setting up an SMB server
Scanning to a network client
Scanning
Scanning to an FTP server
Setting network scan timeout
Scanning to Email
Changing the settings for each scan job
Changing the default scan settings
Setting up Address Book
Scanning to an SMB server
Retrieving global email addresses from the LDAPa server
Configuring group email numbers
Using Address Book entries
Searching Address Book for an entry
Printing Address Book
Searching sequentially through memory
Searching with a particular first letter
Setting the fax header
Adjusting the document settings
Resolution
Press Resolution
Darkness
Sending a fax automatically
Sending a fax manually
Confirming a transmission
Automatic redialing
Redialing the last number
Changing receiving modes
Receiving automatically in Fax mode
Receiving manually in Tel mode
Receiving manually using an extension Telephone
Receiving automatically in Ans/Fax mode
Receiving in secure receiving mode
Activating secure receiving mode
Deactivating secure receiving mode
Receiving faxes in memory
Sending a delayed fax
When you have finished entering fax numbers, select No at
Printing received faxes on both sides of paper
Sending a fax to multiple destinations
Adding pages to a delayed fax
Canceling a delayed fax
Sending a priority fax
Forwarding faxes
Installing PC-Fax Software
Sending a Fax from a PC
Forwarding sent faxes to email address
Forwarding received faxes to another fax machine
Configuring PC Fax
To send a PC Fax
Enter the recipients’ numbers and click Continue
Fax setup
Changing the fax setup options
Sending options
Receiving options
Changing the default document settings
Setting up Phone Book
Printing sent fax report automatically
Speed buttons
Speed dial numbers
Group dial numbers
Printing Phone Book
Searching Phone Book for an entry
Deleting a Phone Book entry
Using USB flash memory
About USB memory
Plugging in a USB memory device
Scanning to a USB memory device
Printing from a USB memory device
Customizing Scan to USB
Backing up data
Managing USB memory
Formatting a USB memory device
Viewing the USB memory status
Ordering supplies and accessories
Accessories
How to purchase
Print cartridges
Maintenance
Printing reports
Printing a report
Other available reports
Cleaning your machine
Cleaning the outside
Cleaning the inside
Clearing memory
Print cartridge storage
Cleaning the scan unit
Maintaining the print cartridge
Expected cartridge life
Redistributing toner
Replacing the print cartridge
Cleaning the drum
Printing continuously when the Toner Empty message appears
Maintenance Parts
Clearing the Toner Empty Replace Toner message
Checking replaceables
Items Yield Average
Replacing the ADF rubber pad
To access CentreWare is
Managing your machine from the website
Checking the machine’s serial number
Troubleshooting
Clearing document jams
Clearing paper jams
Roller misfeed
Optional tray
Fuser area or around the print cartridge
Paper exit area
Duplex unit area
Duplex Jam
Tips for avoiding paper jams
Understanding display messages
Message Meaning Suggested solutions Global Server
Configured
Line Error
Message Meaning Suggested solutions Low Heat Error
Message Meaning Suggested solutions Open Heat Error
Assigned Page/Cancel Job
Over Heat Error
Power Failure
Print cartridge-related messages
Printing problems
Solving other problems
Paper feeding problems
Select Download as Bit Image
TrueType Options window
Condition Suggested solutions Light or faded print
Condition Suggested solutions Vertical lines
Toner specks
Dropouts
Condition Suggested solutions Wrinkles or creases
Misformed
Characters
Back of printouts
Copying problems
This option through Printer Settings Utility or
Curl
Software Section for details
Fax problems
Scanning problems
Network Scan problems
Common Windows problems
Common PostScript problems
Common Linux problems
Starting scan procedure, and appropriate
Common Macintosh problems
Problem Suggested solutions
Installing accessories
Precautions when installing accessories
Installing a memory Dimm
Disconnect the power cord
For Windows 2000/XP/2003/Vista, select Device Settings
Activating the added memory in the PS printer properties
Printer specifications
Specifications
General specifications
Scanner and copier specifications
Facsimile specifications
Index
Numerics
Page
Software Section
Contents
Using Windows Postscript Driver
Using Your Printer with a Macintosh
Installing Printer Software in Windows
Custom Installation
Typical Installation
Before you begin
Custom Installation
Installing Printer Software in Windows
Reinstalling Printer Software
Removing Printer Software
Click Install SetIP UtilityOptional
Installing SetIP Using SetIP
Accessories → Run, and type X\Setup.exe
Using SetIP
Printing a Document
Select your printer driver from the Name drop-down list
Select Printers and Faxes Select your printer driver icon
Printer Settings
Printing to a file PRN
Layout Tab
Paper Tab
Resolution
Toner Saver Mode
Graphics Tab
Type
Extras Tab
Advanced Options
Watermark
Overlay
Using a Favorite Setting
Using Help
Advanced Printing
Printing Multiple Pages on One Sheet of Paper N-Up Printing
Printing Posters
Printing Booklets
Printing on Both Sides of Paper
Printing a Reduced or Enlarged Document
Fitting Your Document to a Selected Paper Size
None
Using Watermarks
Using an Existing Watermark
Creating a Watermark
Editing a Watermark
Using Overlays
What is an Overlay?
Using a Page Overlay
Creating a New Page Overlay
Using Windows PostScript Driver
Advanced
Setting Up a Host Computer
Setting Up a Client Computer
Check the Share this printer box
Double-clickPrinters and Faxes
Using Utility Applications
Scanning Process with TWAIN- enabled Software
Scanning Using the WIA Driver
Windows XP
Windows Vista
Scanning
Getting Started
Installing the Unified Linux Driver
Installing the Unified Linux Driver
Uninstalling the Unified Linux Driver
Click Uninstall
Using the Unified Driver Configurator
Printers Configuration
Opening the Unified Driver Configurator
Double-clickUnified Driver Configurator on
Scanners Configuration
Ports Configuration
Configuring Printer Properties Printing a Document
Printing from Applications
Click Properties
Scanning a Document
Printing Files
Using the Image Manager
Adding Job Type Settings
Tools Function
Installing Software for Macintosh
Double-click the Xerox Phaser 3300MFPOSX icon
Click Continue Select Easy Install and click Install
Click Continue
Setting Up the Printer
For a Network-connected Macintosh
Installable Options
For a USB-connected Macintosh
Select your printer name
Click Show Info
Printing a Document
Changing Printer Settings
Printing
Paper Type
Toner Save Mode
Printing Multiple Pages on One Sheet of Paper
Scanning
Duplex Printing
Offers Image Capture
Start Applications and click Image Capture
Index
Rev
Top
Page
Image
Contents