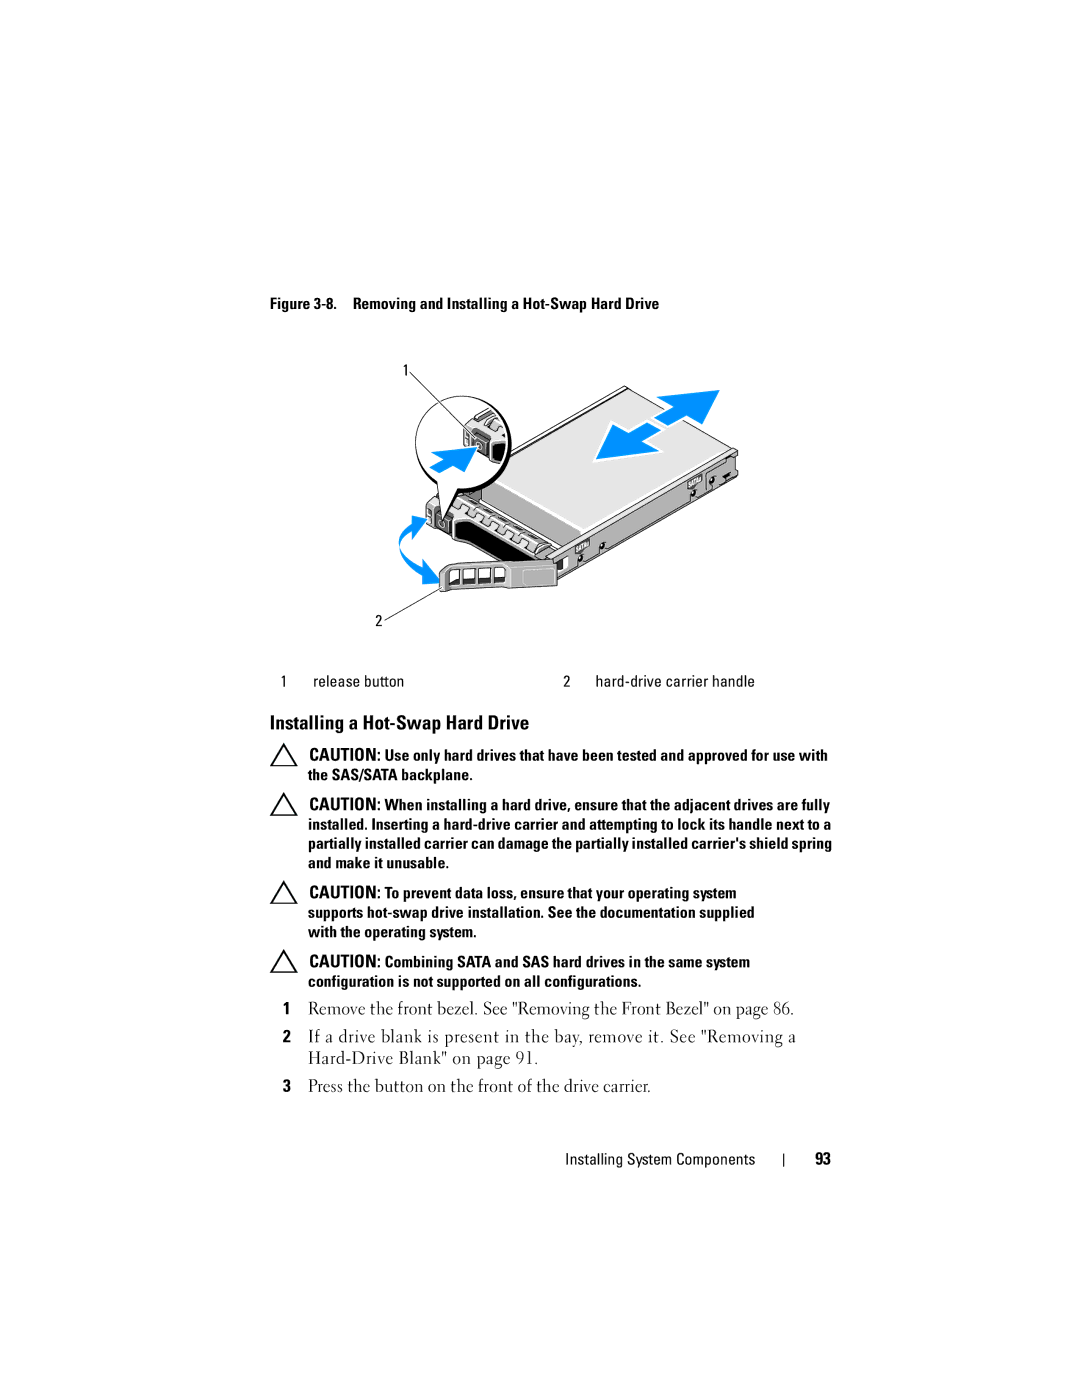
Figure 3-8. Removing and Installing a Hot-Swap Hard Drive
1
2 ![]()
1 | release button | 2 |
Installing a Hot-Swap Hard Drive
CAUTION: Use only hard drives that have been tested and approved for use with the SAS/SATA backplane.
CAUTION: When installing a hard drive, ensure that the adjacent drives are fully installed. Inserting a
CAUTION: To prevent data loss, ensure that your operating system supports
CAUTION: Combining SATA and SAS hard drives in the same system configuration is not supported on all configurations.
1Remove the front bezel. See "Removing the Front Bezel" on page 86.
2If a drive blank is present in the bay, remove it. See "Removing a
3Press the button on the front of the drive carrier.
Installing System Components
93