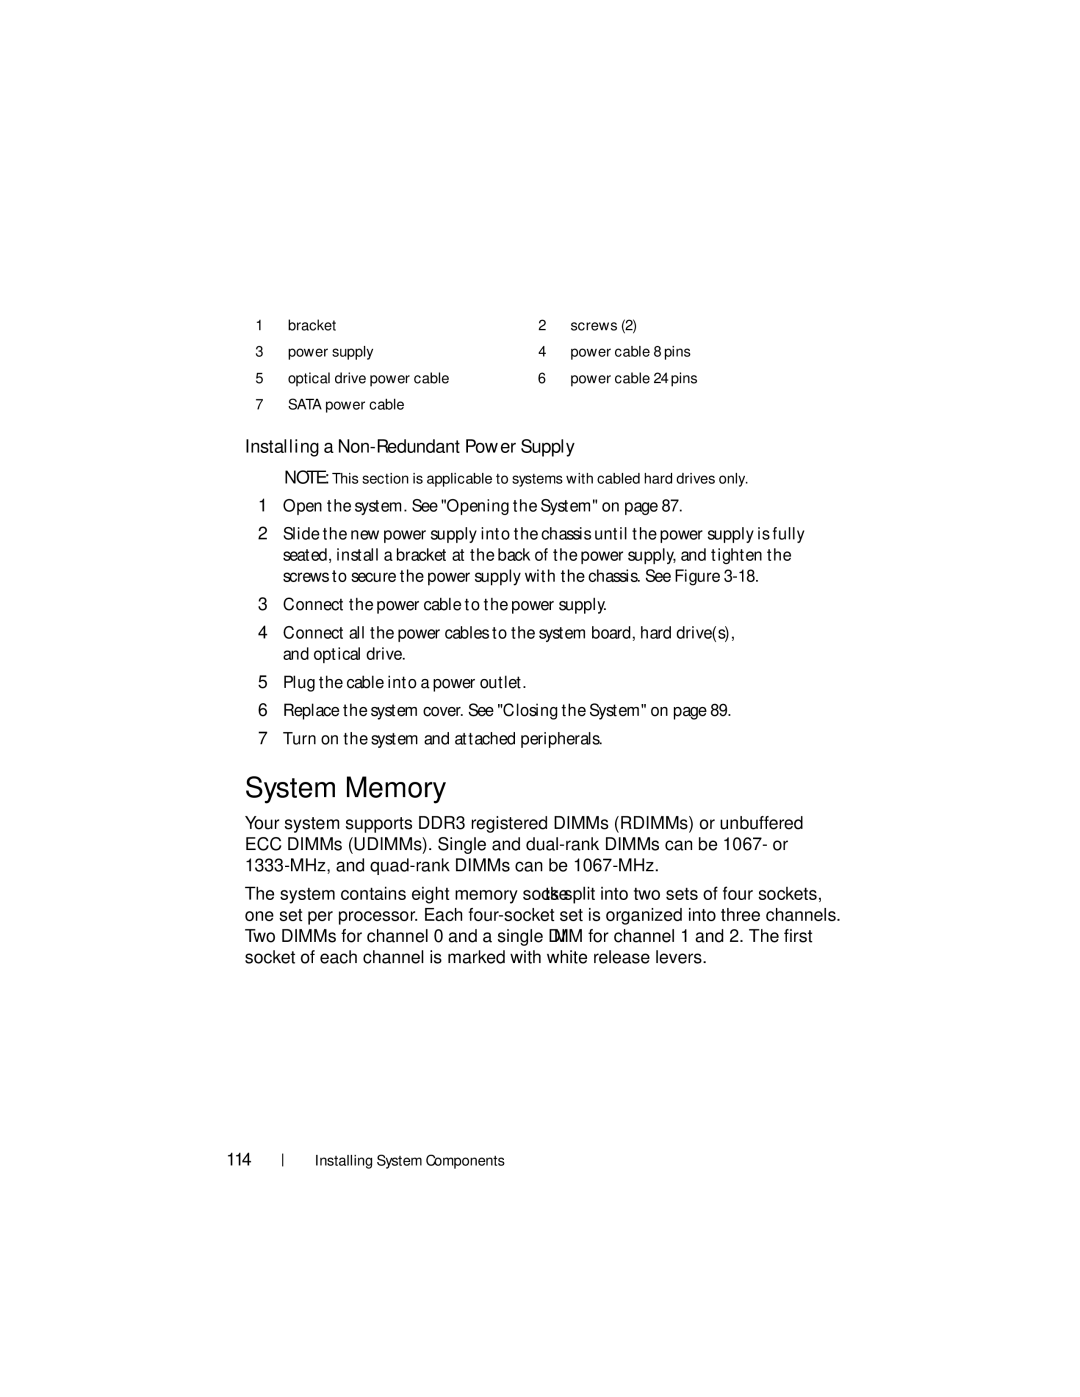
1 | bracket | 2 | screws (2) |
3 | power supply | 4 | power cable 8 pins |
5 | optical drive power cable | 6 | power cable 24 pins |
7 | SATA power cable |
|
|
Installing a Non-Redundant Power Supply
NOTE: This section is applicable to systems with cabled hard drives only.
1Open the system. See "Opening the System" on page 87.
2Slide the new power supply into the chassis until the power supply is fully seated, install a bracket at the back of the power supply, and tighten the screws to secure the power supply with the chassis. See Figure
3Connect the power cable to the power supply.
4Connect all the power cables to the system board, hard drive(s), and optical drive.
5Plug the cable into a power outlet.
6Replace the system cover. See "Closing the System" on page 89.
7Turn on the system and attached peripherals.
System Memory
Your system supports DDR3 registered DIMMs (RDIMMs) or unbuffered ECC DIMMs (UDIMMs). Single and
The system contains eight memory sockets split into two sets of four sockets, one set per processor. Each