Operation 3. AUTO Mode
Configure program editor
Set the preferences of the program editor.
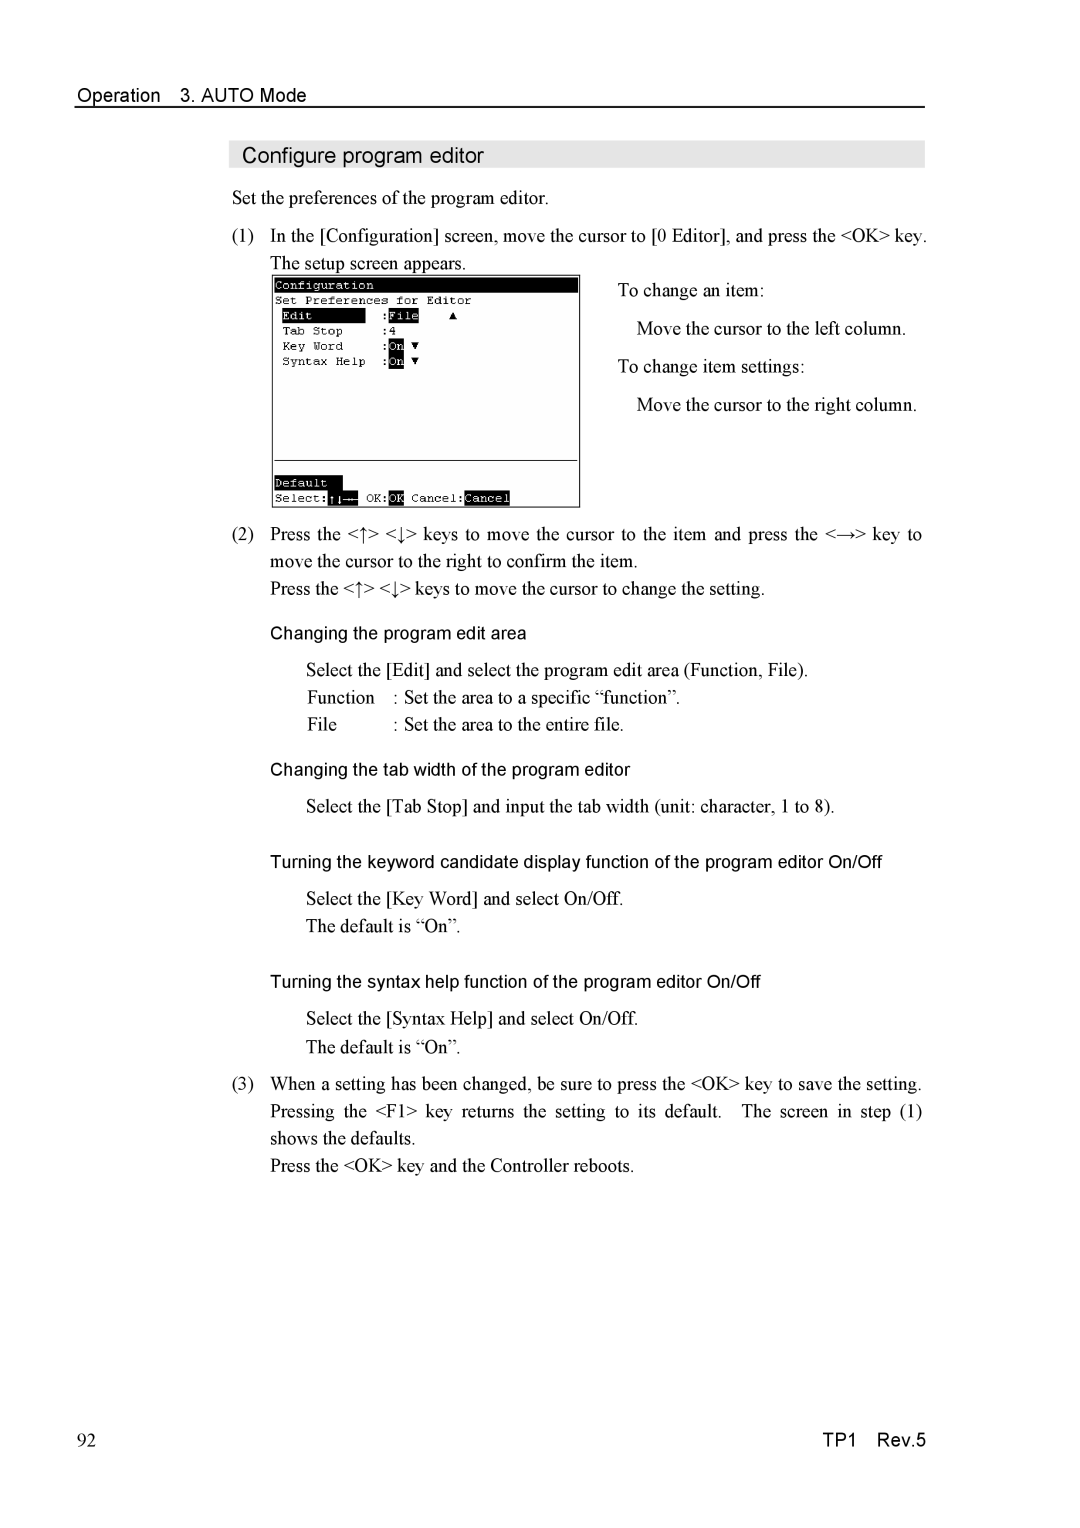
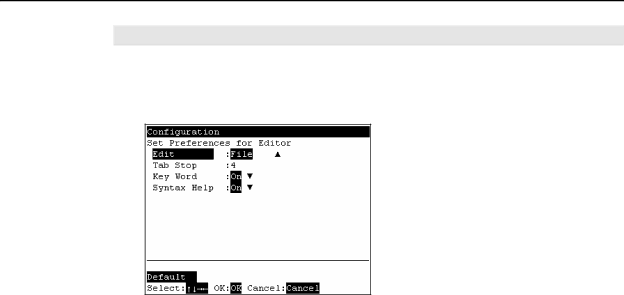
(1)In the [Configuration] screen, move the cursor to [0 Editor], and press the <OK> key. The setup screen appears.
To change an item:
Move the cursor to the left column.
To change item settings:
Move the cursor to the right column.
(2)Press the <↑> <↓> keys to move the cursor to the item and press the <→> key to move the cursor to the right to confirm the item.
Press the <↑> <↓> keys to move the cursor to change the setting.
Changing the program edit area
Select the [Edit] and select the program edit area (Function, File).
Function | : Set the area to a specific “function”. |
File | : Set the area to the entire file. |
Changing the tab width of the program editor
Select the [Tab Stop] and input the tab width (unit: character, 1 to 8).
Turning the keyword candidate display function of the program editor On/Off
Select the [Key Word] and select On/Off.
The default is “On”.
Turning the syntax help function of the program editor On/Off
Select the [Syntax Help] and select On/Off.
The default is “On”.
(3)When a setting has been changed, be sure to press the <OK> key to save the setting. Pressing the <F1> key returns the setting to its default. The screen in step (1) shows the defaults.
Press the <OK> key and the Controller reboots.
92 | TP1 Rev.5 |