NovaJet 500/630/700 Series Service Manual
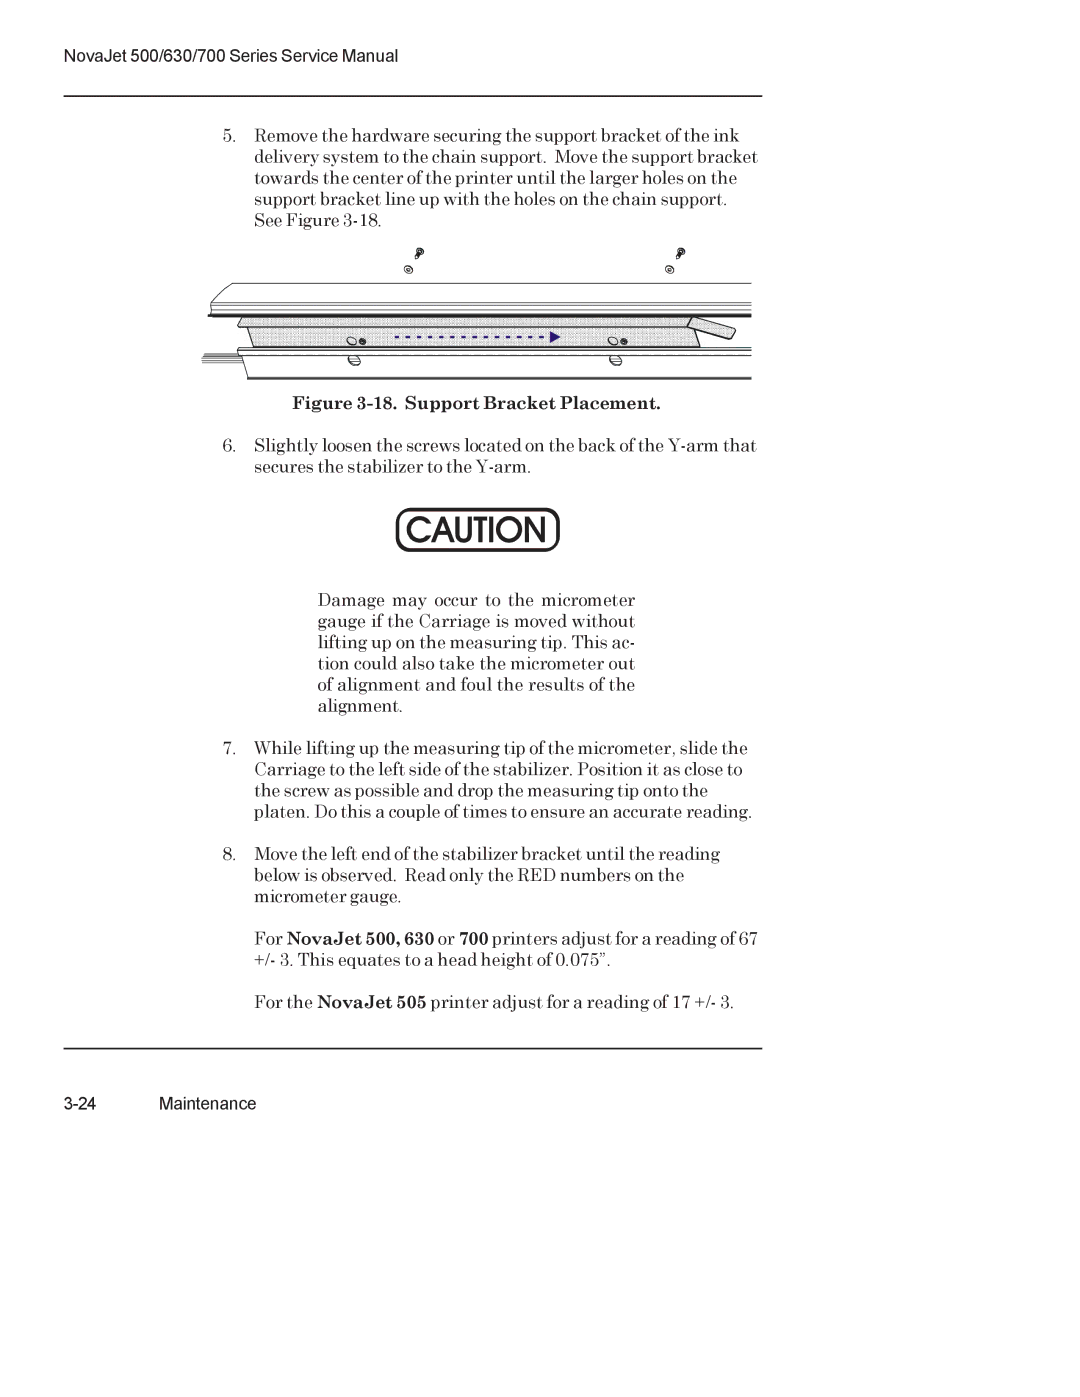
5.Remove the hardware securing the support bracket of the ink delivery system to the chain support. Move the support bracket towards the center of the printer until the larger holes on the support bracket line up with the holes on the chain support. See Figure
Figure 3-18. Support Bracket Placement.
6.Slightly loosen the screws located on the back of the
CAUTION
Damage may occur to the micrometer gauge if the Carriage is moved without lifting up on the measuring tip. This ac- tion could also take the micrometer out of alignment and foul the results of the alignment.
7.While lifting up the measuring tip of the micrometer, slide the Carriage to the left side of the stabilizer. Position it as close to the screw as possible and drop the measuring tip onto the platen. Do this a couple of times to ensure an accurate reading.
8.Move the left end of the stabilizer bracket until the reading below is observed. Read only the RED numbers on the micrometer gauge.
For NovaJet 500, 630 or 700 printers adjust for a reading of 67 +/- 3. This equates to a head height of 0.075”.
For the NovaJet 505 printer adjust for a reading of 17 +/- 3.
