•To move forward/backward field advance during the pause, move the joystick rightward/leftward, or press REW/FF button.
Joystick to R (B)/STEP (![]() ): Forward field advance
): Forward field advance
Joystick to L (A)/STEP (![]() ): Backward field advance
): Backward field advance
•To skip to the previous/next record during the play- back, move the joystick upward/downward. (Refer to the recorder’s operating instructions for the description of record.)
Joystick to UP (D): Skips to the previous record.
Joystick to DOWN (C): Skips to the next record.
•To display the spot picture, press the numeric but- ton corresponding to the desired camera number, then press the CAM (SET) button. Then, the active monitor number with
•To resume the multiscreen display, press the button 0 while holding down the SHIFT button.
•To change the number of multiscreen segments, press the button 0 while holding down the SHIFT button again during the multiscreen display.
3.To stop the playback, press the STOP button. The mon- itor display will return to the multiscreen display.
To stop the alarm recording, press the ALL RESET button while holding down the SHIFT button.
●Search Playback
You can search playback images using the Record List or Thumbnail Display. Every time you press the INDEX button, the display will change as follows.
Live image →
•Date-and-time Search Playback
The recorded images can be searched for through the date and time.
1.Enter the recorder mode. (Refer to p. 131 Recorder Mode.)
2.Press the INDEX button. The
F2
INDEX
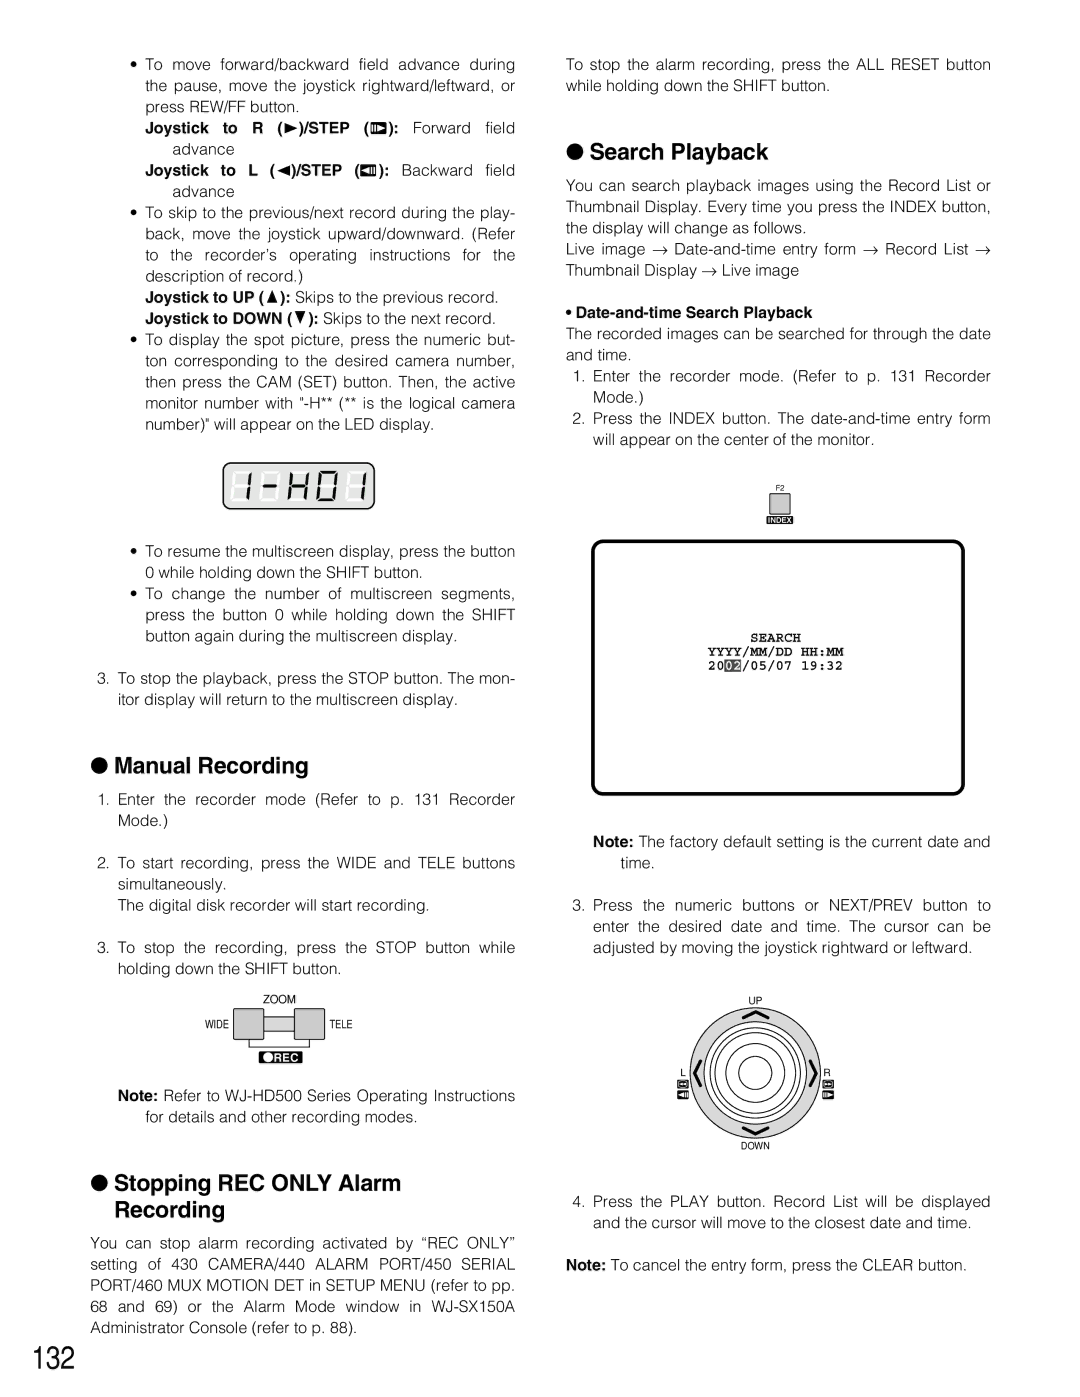
SEARCH
YYYY/MM/DD HH:MM 2002/05/07 19:32
●Manual Recording
1.Enter the recorder mode (Refer to p. 131 Recorder Mode.)
2.To start recording, press the WIDE and TELE buttons simultaneously.
The digital disk recorder will start recording.
3.To stop the recording, press the STOP button while holding down the SHIFT button.
ZOOM
WIDE |
|
|
| TELE |
|
|
|
|
|
![]() REC
REC
Note: Refer to
●Stopping REC ONLY Alarm Recording
You can stop alarm recording activated by “REC ONLY” setting of 430 CAMERA/440 ALARM PORT/450 SERIAL PORT/460 MUX MOTION DET in SETUP MENU (refer to pp. 68 and 69) or the Alarm Mode window in
Note: The factory default setting is the current date and time.
3.Press the numeric buttons or NEXT/PREV button to enter the desired date and time. The cursor can be adjusted by moving the joystick rightward or leftward.
UP
LR
DOWN
4.Press the PLAY button. Record List will be displayed and the cursor will move to the closest date and time.
Note: To cancel the entry form, press the CLEAR button.