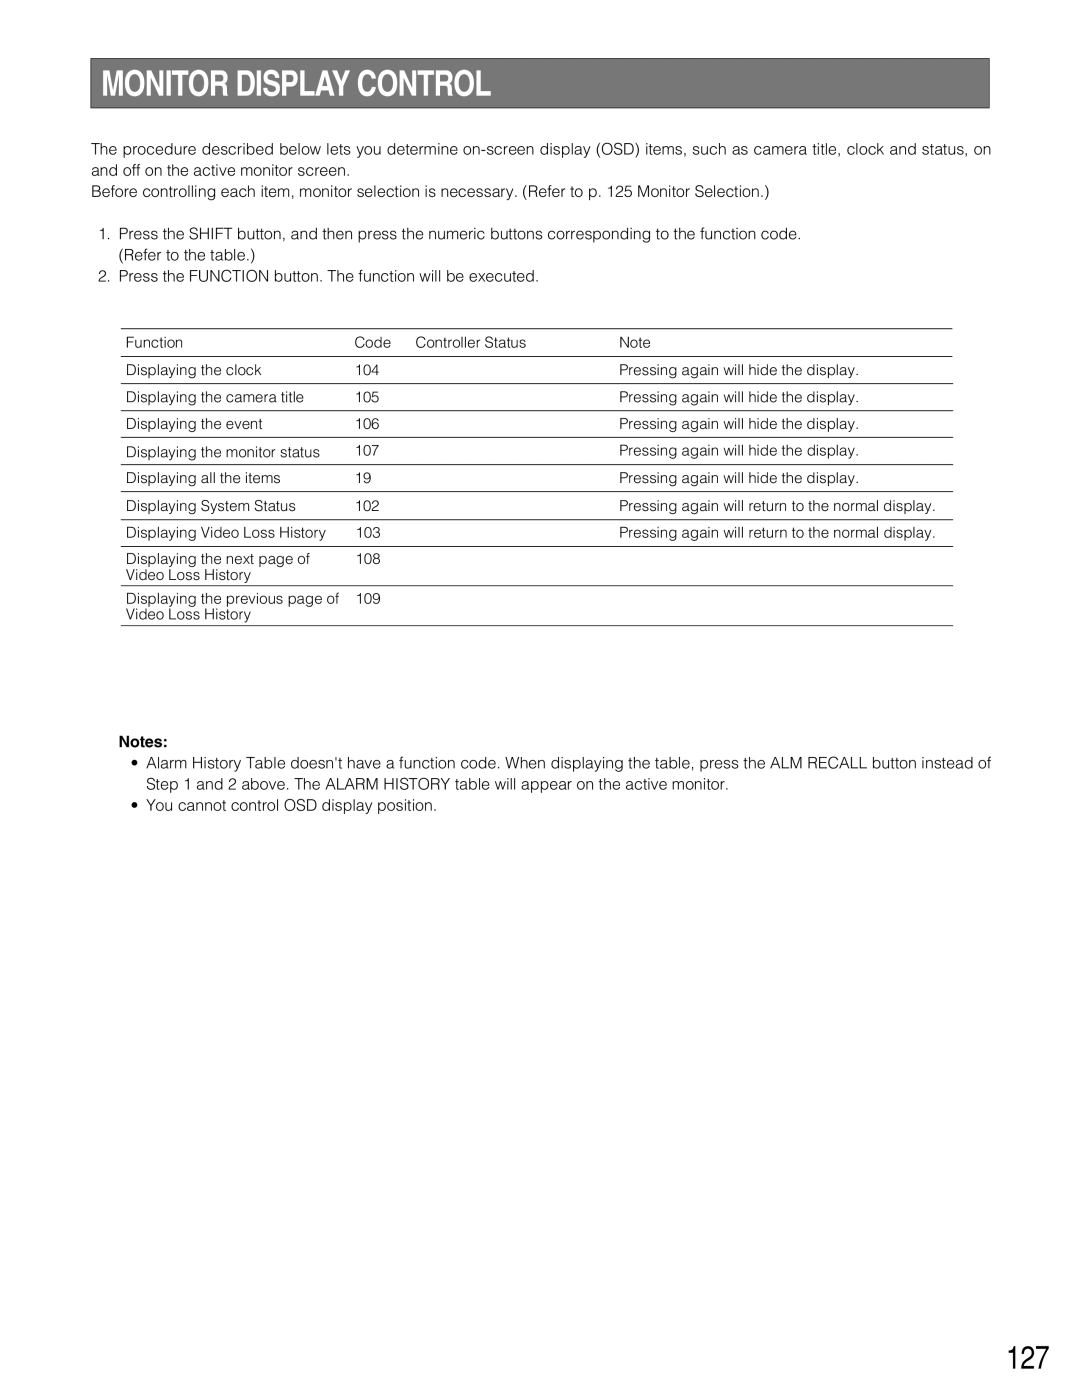
MONITOR DISPLAY CONTROL
The procedure described below lets you determine
Before controlling each item, monitor selection is necessary. (Refer to p. 125 Monitor Selection.)
1.Press the SHIFT button, and then press the numeric buttons corresponding to the function code. (Refer to the table.)
2.Press the FUNCTION button. The function will be executed.
Function | Code | Controller Status | Note |
Displaying the clock | 104 |
| Pressing again will hide the display. |
|
|
|
|
Displaying the camera title | 105 |
| Pressing again will hide the display. |
|
|
|
|
Displaying the event | 106 |
| Pressing again will hide the display. |
|
|
|
|
Displaying the monitor status | 107 |
| Pressing again will hide the display. |
|
|
|
|
Displaying all the items | 19 |
| Pressing again will hide the display. |
|
|
|
|
Displaying System Status | 102 |
| Pressing again will return to the normal display. |
|
|
|
|
Displaying Video Loss History | 103 |
| Pressing again will return to the normal display. |
|
|
|
|
Displaying the next page of | 108 |
|
|
Video Loss History |
|
|
|
Displaying the previous page of | 109 |
|
|
Video Loss History |
|
|
|
Notes:
•Alarm History Table doesn't have a function code. When displaying the table, press the ALM RECALL button instead of Step 1 and 2 above. The ALARM HISTORY table will appear on the active monitor.
•You cannot control OSD display position.
