■Put a file to SX150A
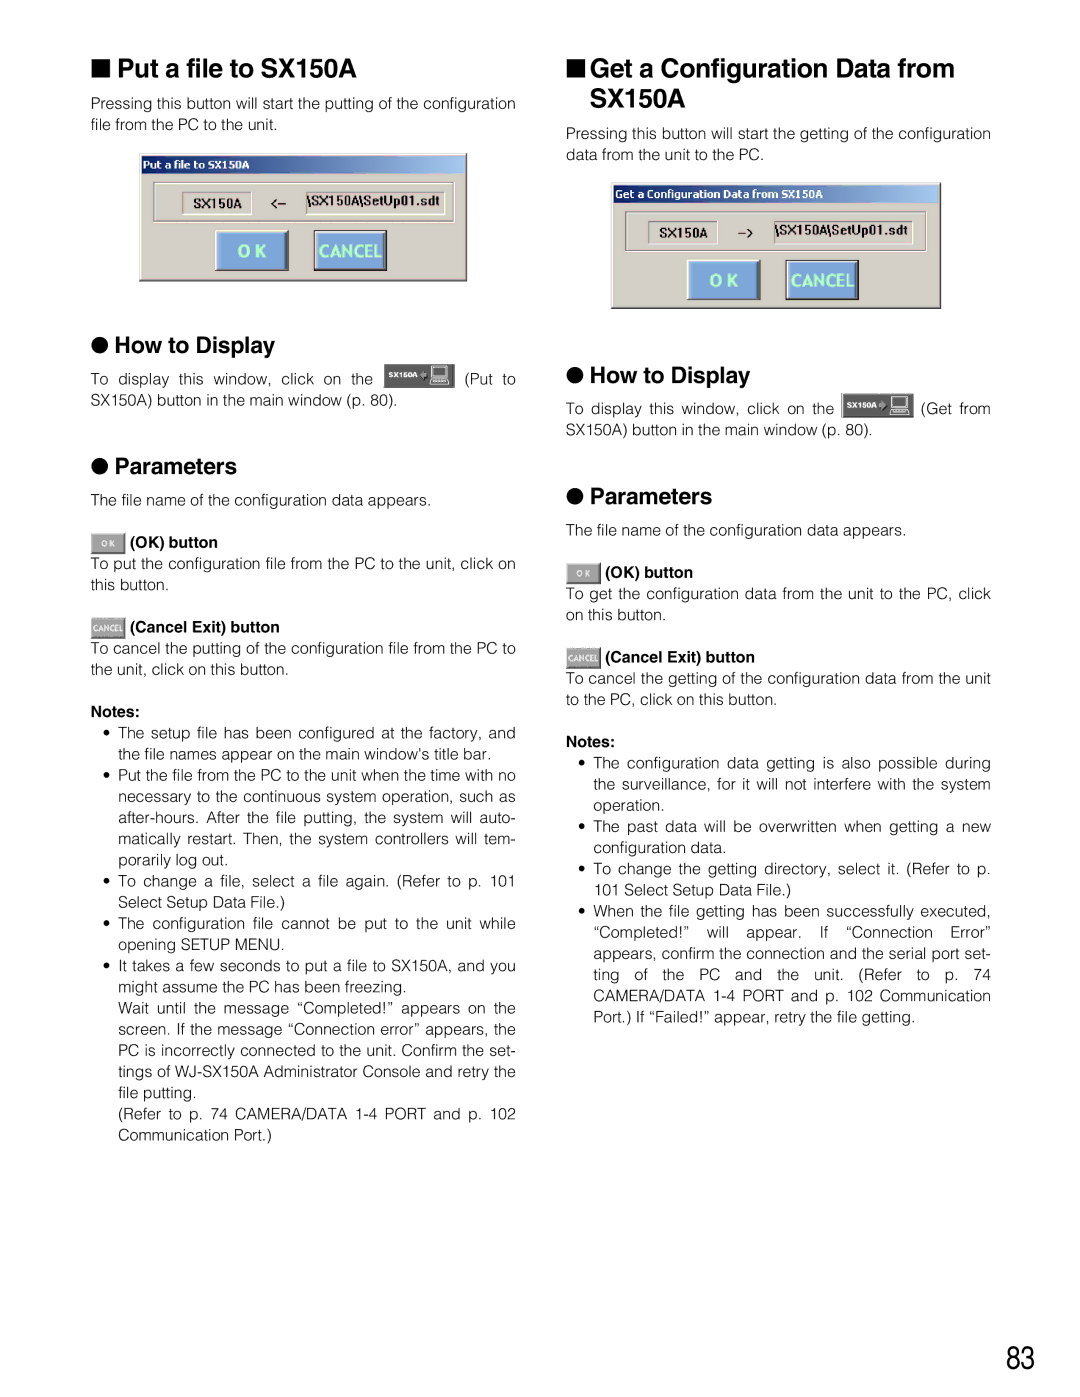
Pressing this button will start the putting of the configuration file from the PC to the unit.
●How to Display
To display this window, click on the ![]() (Put to SX150A) button in the main window (p. 80).
(Put to SX150A) button in the main window (p. 80).
●Parameters
The file name of the configuration data appears.
 (OK) button
To put the configuration file from the PC to the unit, click on this button.
 (Cancel Exit) button
To cancel the putting of the configuration file from the PC to the unit, click on this button.
Notes:
•The setup file has been configured at the factory, and the file names appear on the main window's title bar.
•Put the file from the PC to the unit when the time with no necessary to the continuous system operation, such as
•To change a file, select a file again. (Refer to p. 101 Select Setup Data File.)
•The configuration file cannot be put to the unit while opening SETUP MENU.
•It takes a few seconds to put a file to SX150A, and you might assume the PC has been freezing.
Wait until the message “Completed!” appears on the screen. If the message “Connection error” appears, the PC is incorrectly connected to the unit. Confirm the set- tings of
(Refer to p. 74 CAMERA/DATA
■Get a Configuration Data from SX150A
Pressing this button will start the getting of the configuration data from the unit to the PC.
●How to Display
To display this window, click on the ![]() (Get from SX150A) button in the main window (p. 80).
(Get from SX150A) button in the main window (p. 80).
●Parameters
The file name of the configuration data appears.
![]() (OK) button
(OK) button
To get the configuration data from the unit to the PC, click on this button.
 (Cancel Exit) button
To cancel the getting of the configuration data from the unit to the PC, click on this button.
Notes:
•The configuration data getting is also possible during the surveillance, for it will not interfere with the system operation.
•The past data will be overwritten when getting a new configuration data.
•To change the getting directory, select it. (Refer to p. 101 Select Setup Data File.)
•When the file getting has been successfully executed, “Completed!” will appear. If “Connection Error” appears, confirm the connection and the serial port set- ting of the PC and the unit. (Refer to p. 74 CAMERA/DATA
83
