REC
This stands for a recorder activated with an alarm signal. (Refer to the diagram in p. 68.)
Alarm Port
Select the unit whose alarm port is activated with an alarm signal. Master or Slave 1/2/3/4 is selectable.
Num
Select the alarm port number. 1 to 16 is selectable. To deactivate the alarm event, select “-
Notes:
•If having selected a tour sequence for a monitor, anoth- er tour number or spot camera will not be available when selecting the monitor for another alarm event. That will result in an error.
•Each Alarm Port and Num can be assigned to only one ALM. When you enter the same Alarm Port and Num more than one time, a message will appear. If you click on “Yes”, the newer will be activated and the older will be changed to “-
![]() (Save Exit) button
(Save Exit) button
Saves the configuration and closes the Alarm Event win- dow.
 (Cancel Exit) button
Cancels the configuration and closes the Alarm Event win- dow.
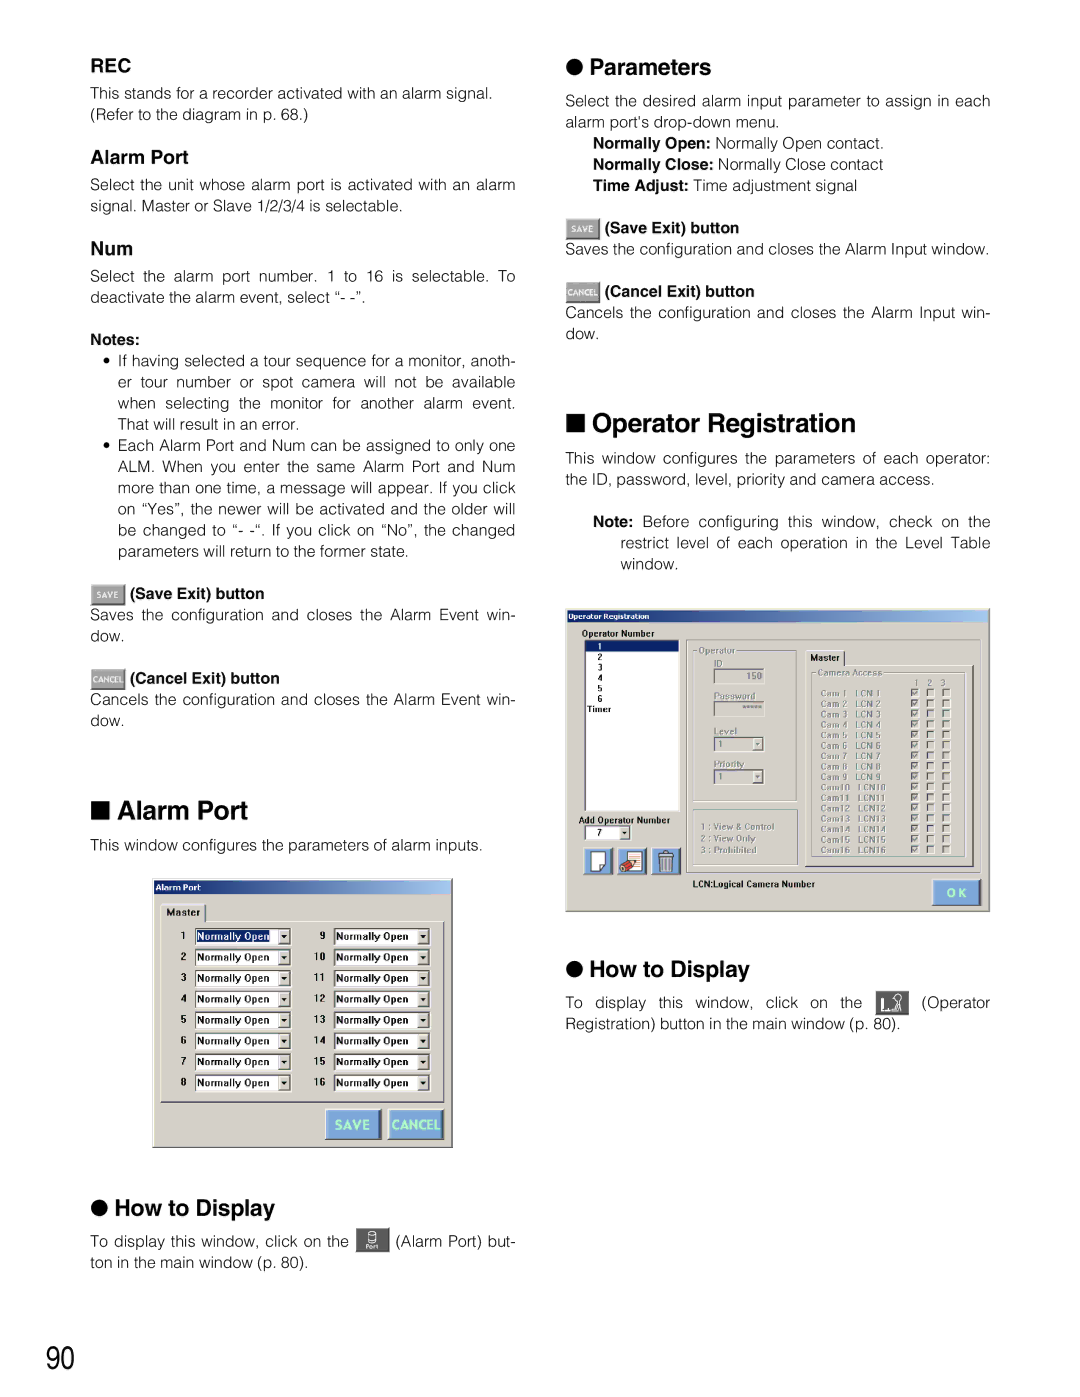
■Alarm Port
This window configures the parameters of alarm inputs.
●How to Display
To display this window, click on the ![]() (Alarm Port) but- ton in the main window (p. 80).
(Alarm Port) but- ton in the main window (p. 80).
●Parameters
Select the desired alarm input parameter to assign in each alarm port's
Normally Open: Normally Open contact.
Normally Close: Normally Close contact
Time Adjust: Time adjustment signal
![]() (Save Exit) button
(Save Exit) button
Saves the configuration and closes the Alarm Input window.
 (Cancel Exit) button
Cancels the configuration and closes the Alarm Input win- dow.
■Operator Registration
This window configures the parameters of each operator: the ID, password, level, priority and camera access.
Note: Before configuring this window, check on the restrict level of each operation in the Level Table window.
●How to Display
To display this window, click on the ![]() (Operator Registration) button in the main window (p. 80).
(Operator Registration) button in the main window (p. 80).
90
