11. DIGITAL VIDEO RECORDER ACTIVATION AND TERMINATION
11.1. Recorder's Activation
|
|
|
|
|
|
|
|
|
|
| DVD |
|
|
ARCHIVE | 1 | 2 | 3 | 4 | 5 | 6 | 7 | 8 | PRIORITY | BUZZER STOP/ |
| MENU/ |
|
REC | ALARM RESET | SEARCH | ENTER |
| |||||||||
KEY LOCK | 9 | 10 | 11 | 12 | 13 | 14 | 15 | 16 |
|
| MULTI |
| REC |
MONITOR 1 | ZOOM | SCREEN | SEQUENCE |
![]()
![]() FAILURE
FAILURE
![]()
![]() HD FULL
HD FULL
![]()
![]() MONITOR 2
MONITOR 2
DIGITAL VIDEO RECORDER
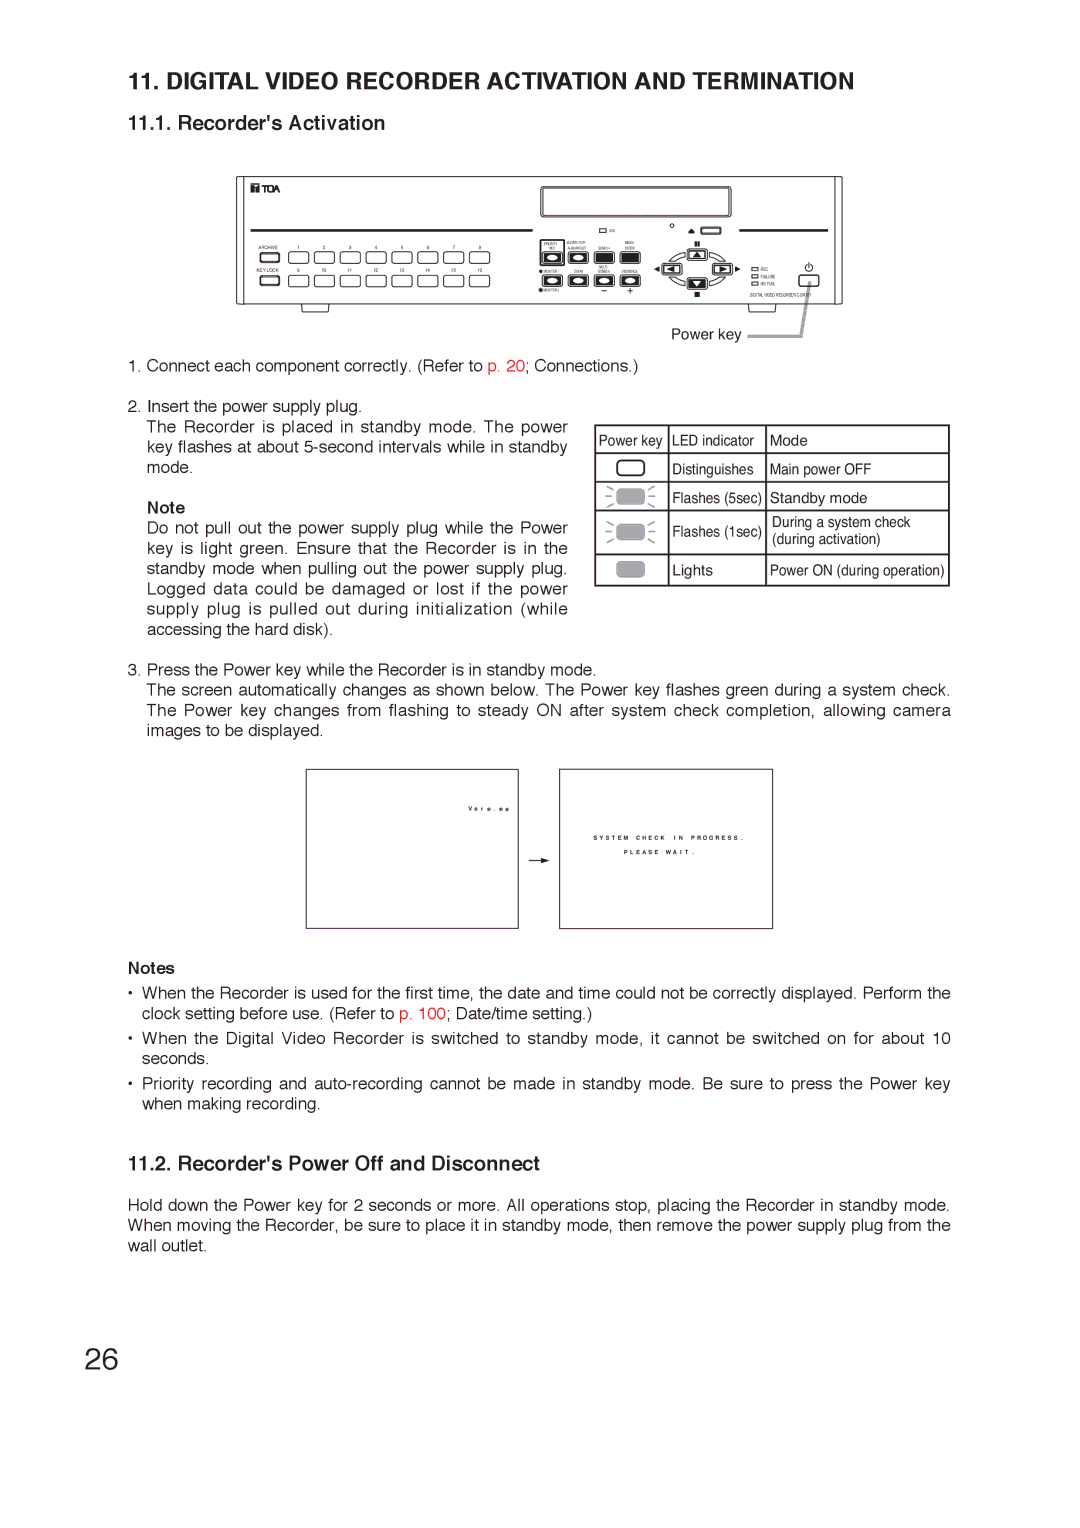
Power key
1. Connect each component correctly. (Refer to p. 20; Connections.)
2.Insert the power supply plug.
The Recorder is placed in standby mode. The power key flashes at about
Note
Do not pull out the power supply plug while the Power key is light green. Ensure that the Recorder is in the standby mode when pulling out the power supply plug. Logged data could be damaged or lost if the power supply plug is pulled out during initialization (while accessing the hard disk).
Power key | LED indicator | Mode |
|
|
|
| Distinguishes | Main power OFF |
|
|
|
| Flashes (5sec) | Standby mode |
|
|
|
| Flashes (1sec) | During a system check |
| (during activation) | |
|
|
|
| Lights | Power ON (during operation) |
|
|
|
3.Press the Power key while the Recorder is in standby mode.
The screen automatically changes as shown below. The Power key flashes green during a system check. The Power key changes from flashing to steady ON after system check completion, allowing camera images to be displayed.
V e r ![]() .
. ![]()
![]()
S Y S T E M C H E C K I N P R O G R E S S .
P L E A S E W A I T .
Notes
•When the Recorder is used for the first time, the date and time could not be correctly displayed. Perform the clock setting before use. (Refer to p. 100; Date/time setting.)
•When the Digital Video Recorder is switched to standby mode, it cannot be switched on for about 10 seconds.
•Priority recording and
11.2. Recorder's Power Off and Disconnect
Hold down the Power key for 2 seconds or more. All operations stop, placing the Recorder in standby mode. When moving the Recorder, be sure to place it in standby mode, then remove the power supply plug from the wall outlet.
26
