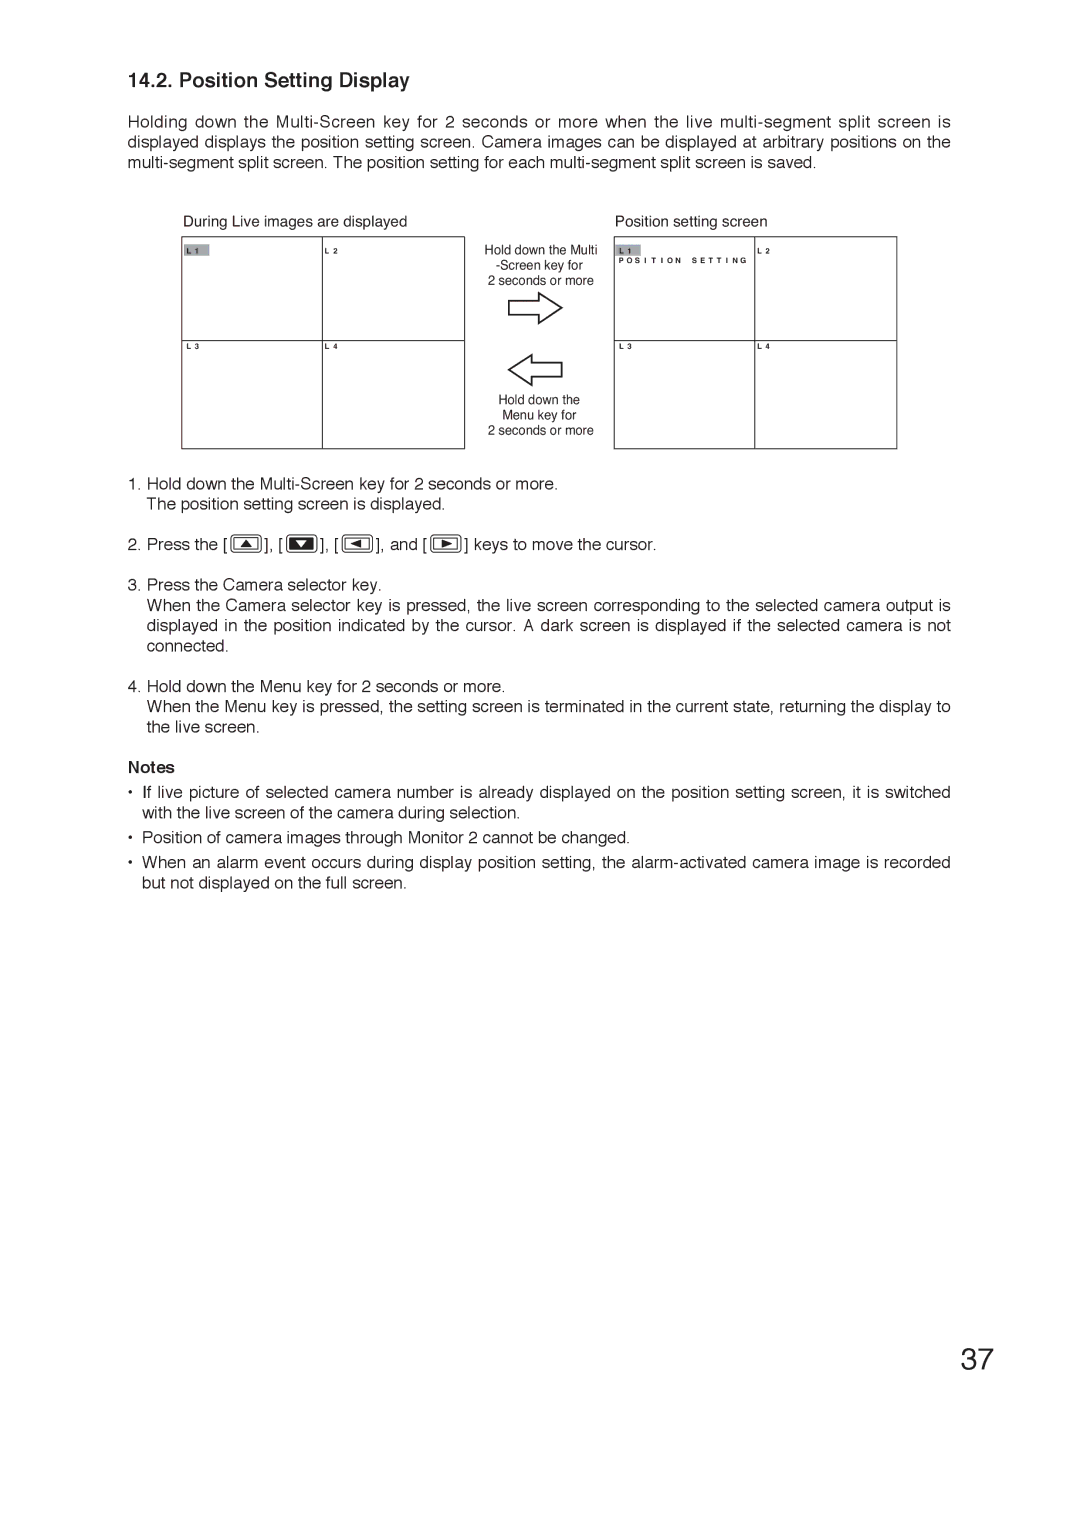
14.2. Position Setting Display
Holding down the
During Live images are displayed | Position setting screen |
L 1
L 3
L 2
L 4
Hold down the Multi
2 seconds or more
Hold down the Menu key for
2 seconds or more
L 1 | L 2 |
P O S I T I O N S E T T I N G |
|
L 3 | L 4 |
1.Hold down the
2.Press the [ ![]() ], [
], [ ![]() ], [
], [ ![]() ], and [
], and [ ![]() ] keys to move the cursor.
] keys to move the cursor.
3.Press the Camera selector key.
When the Camera selector key is pressed, the live screen corresponding to the selected camera output is displayed in the position indicated by the cursor. A dark screen is displayed if the selected camera is not connected.
4.Hold down the Menu key for 2 seconds or more.
When the Menu key is pressed, the setting screen is terminated in the current state, returning the display to the live screen.
Notes
•If live picture of selected camera number is already displayed on the position setting screen, it is switched with the live screen of the camera during selection.
•Position of camera images through Monitor 2 cannot be changed.
•When an alarm event occurs during display position setting, the
37