4.14 System board/ FAN | 4 Replacement Procedures |
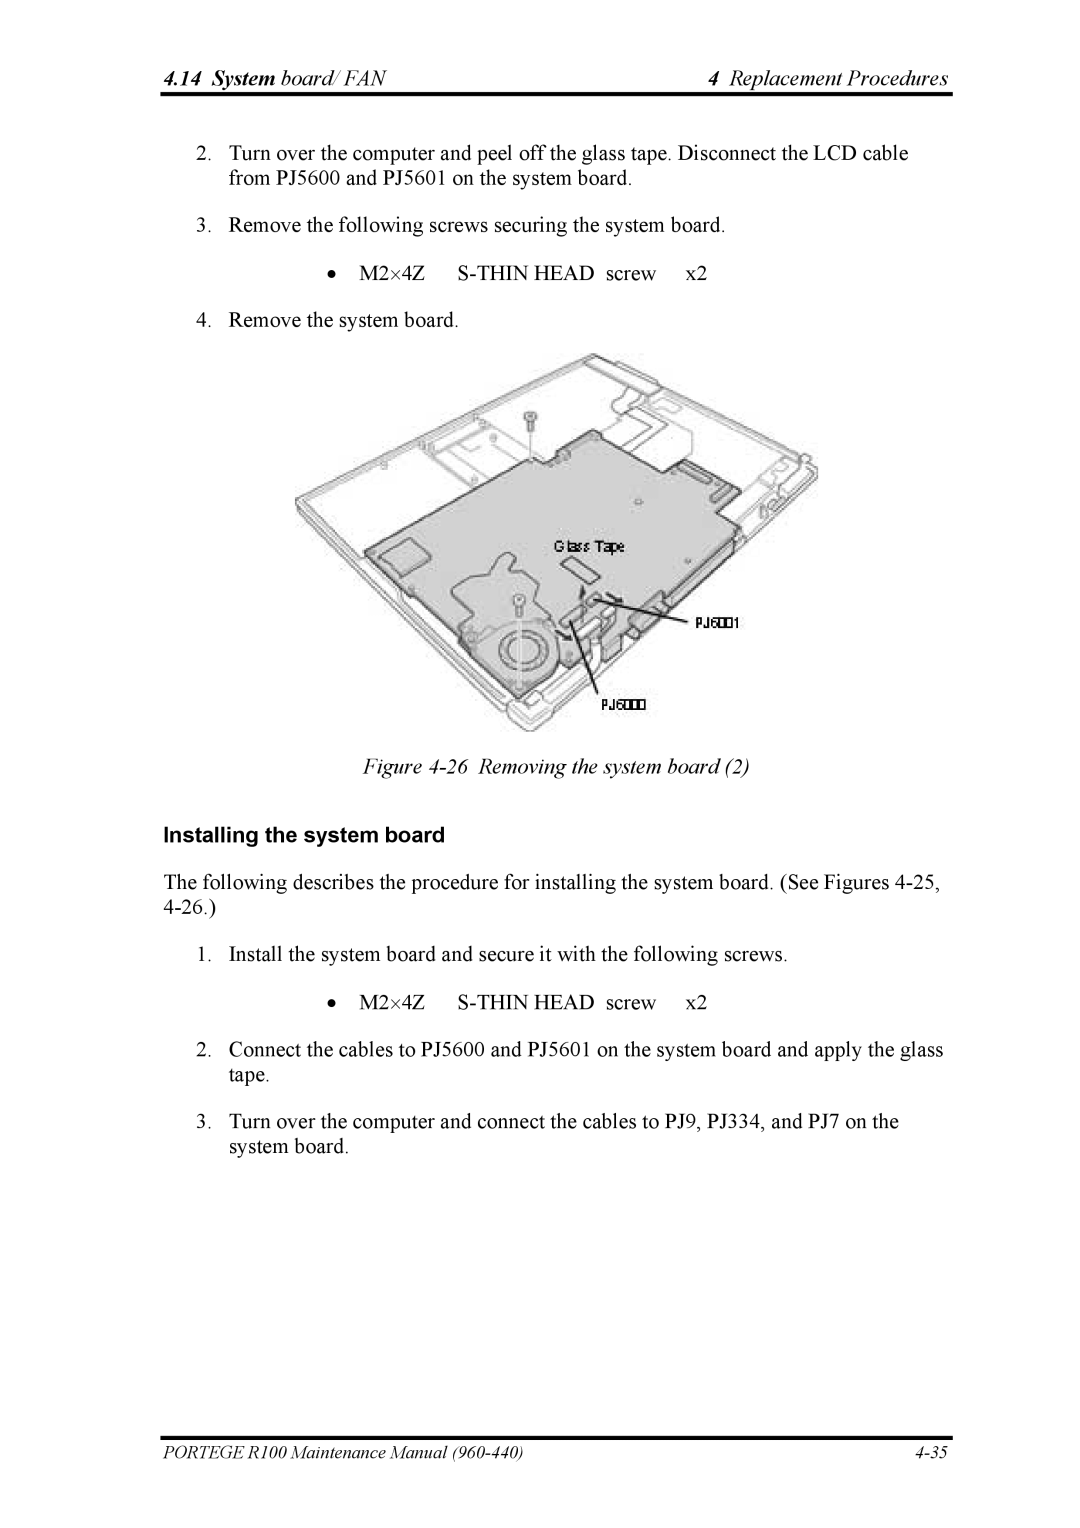
2.Turn over the computer and peel off the glass tape. Disconnect the LCD cable from PJ5600 and PJ5601 on the system board.
3.Remove the following screws securing the system board.
• M2⋅4Z
4. Remove the system board.
Figure 4-26 Removing the system board (2)
Installing the system board
The following describes the procedure for installing the system board. (See Figures
1. Install the system board and secure it with the following screws.
• M2⋅4Z
2.Connect the cables to PJ5600 and PJ5601 on the system board and apply the glass tape.
3.Turn over the computer and connect the cables to PJ9, PJ334, and PJ7 on the system board.
PORTEGE R100 Maintenance Manual |