Getting Started | User Guide |
|
|
Click Next> to begin the Setup Wizard.
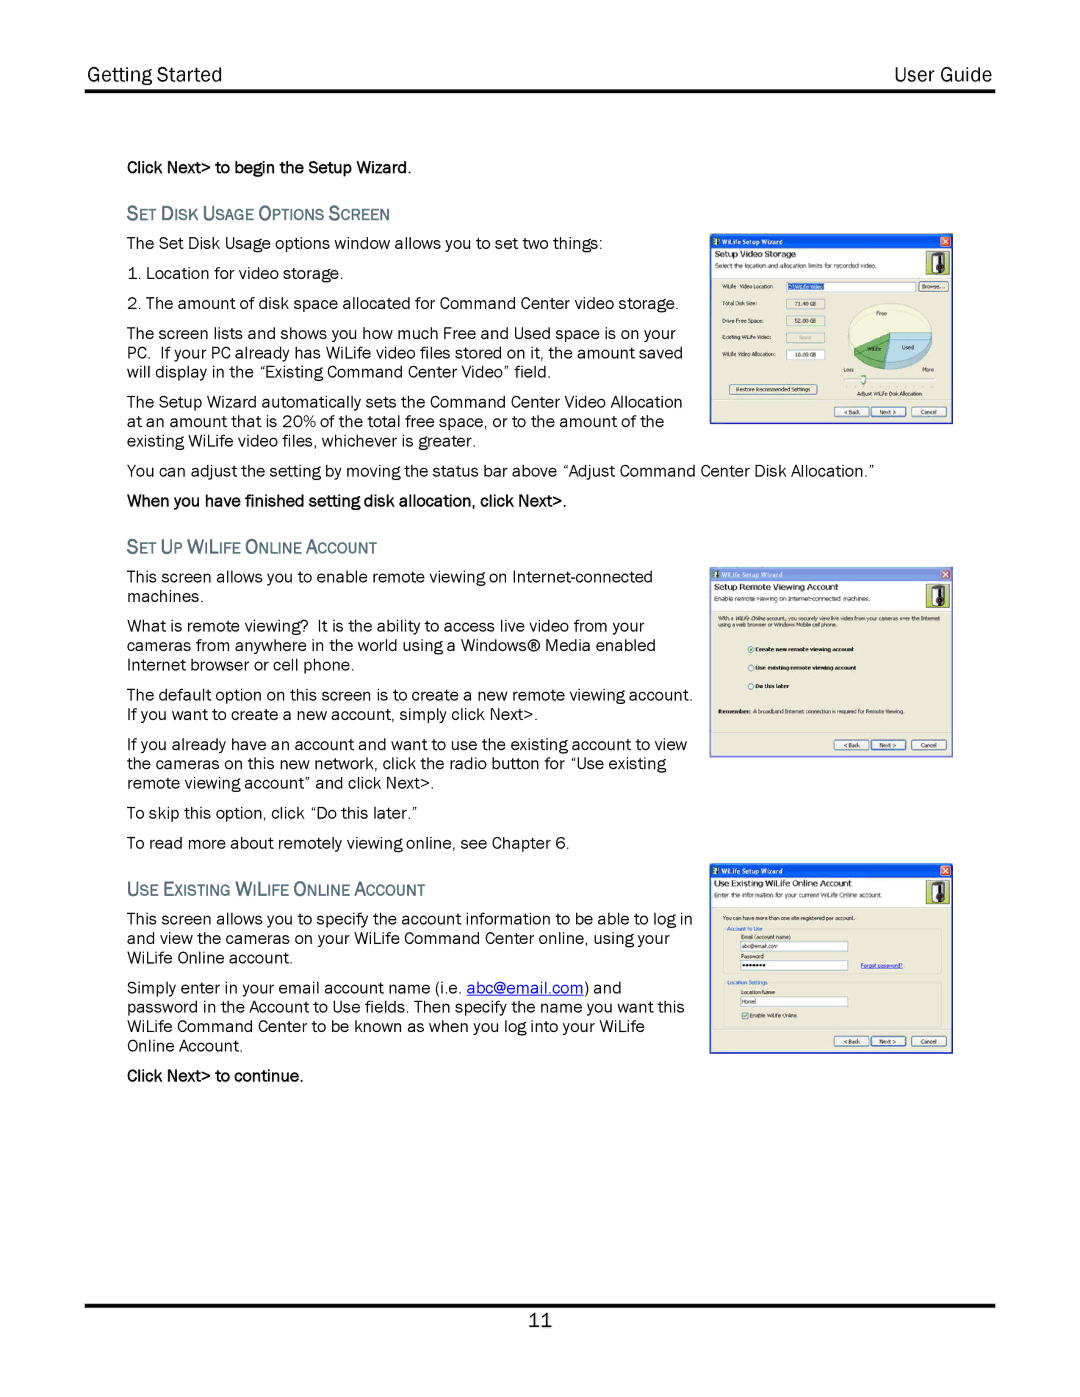
SET DISK USAGE OPTIONS SCREEN
The Set Disk Usage options window allows you to set two things:
1.Location for video storage.
2.The amount of disk space allocated for Command Center video storage.
The screen lists and shows you how much Free and Used space is on your PC. If your PC already has WiLife video files stored on it, the amount saved will display in the “Existing Command Center Video” field.
The Setup Wizard automatically sets the Command Center Video Allocation at an amount that is 20% of the total free space, or to the amount of the existing WiLife video files, whichever is greater.
You can adjust the setting by moving the status bar above “Adjust Command Center Disk Allocation.”
When you have finished setting disk allocation, click Next>.
SET UP WILIFE ONLINE ACCOUNT
This screen allows you to enable remote viewing on
What is remote viewing? It is the ability to access live video from your cameras from anywhere in the world using a Windows® Media enabled Internet browser or cell phone.
The default option on this screen is to create a new remote viewing account. If you want to create a new account, simply click Next>.
If you already have an account and want to use the existing account to view the cameras on this new network, click the radio button for “Use existing remote viewing account” and click Next>.
To skip this option, click “Do this later.”
To read more about remotely viewing online, see Chapter 6.
USE EXISTING WILIFE ONLINE ACCOUNT
This screen allows you to specify the account information to be able to log in and view the cameras on your WiLife Command Center online, using your WiLife Online account.
Simply enter in your email account name (i.e. abc@email.com) and password in the Account to Use fields. Then specify the name you want this WiLife Command Center to be known as when you log into your WiLife Online Account.
Click Next> to continue.
11