Getting Started | User Guide |
|
|
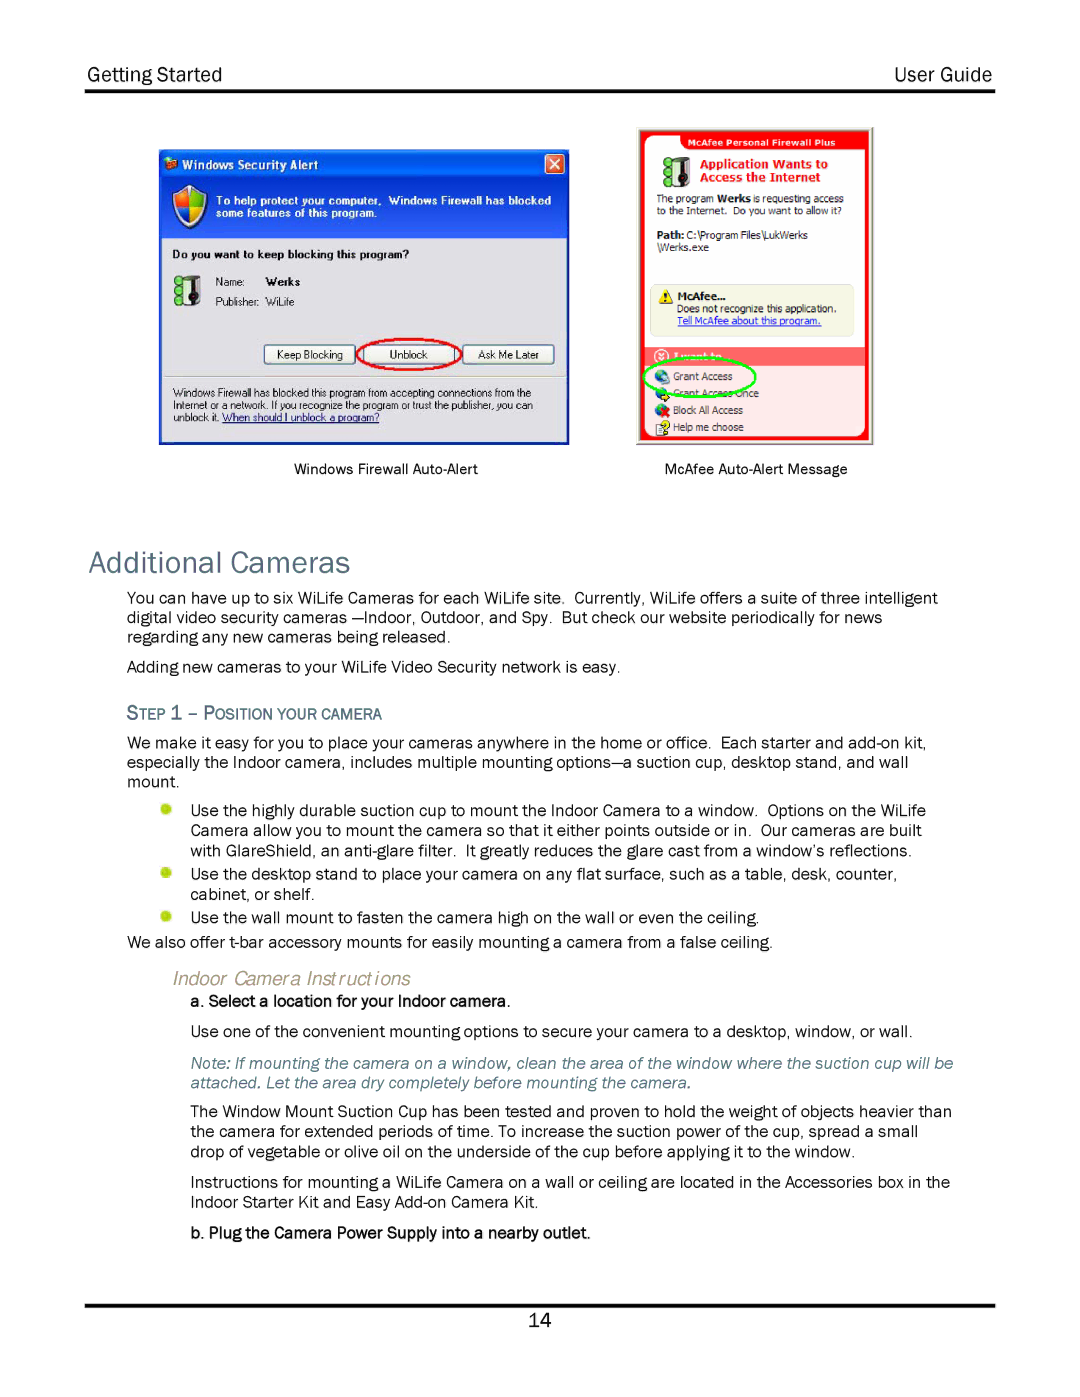
Windows Firewall | McAfee |
Additional Cameras
You can have up to six WiLife Cameras for each WiLife site. Currently, WiLife offers a suite of three intelligent digital video security cameras
Adding new cameras to your WiLife Video Security network is easy.
STEP 1 – POSITION YOUR CAMERA
We make it easy for you to place your cameras anywhere in the home or office. Each starter and
Use the highly durable suction cup to mount the Indoor Camera to a window. Options on the WiLife Camera allow you to mount the camera so that it either points outside or in. Our cameras are built with GlareShield, an
Use the desktop stand to place your camera on any flat surface, such as a table, desk, counter, cabinet, or shelf.
![]() Use the wall mount to fasten the camera high on the wall or even the ceiling. We also offer
Use the wall mount to fasten the camera high on the wall or even the ceiling. We also offer
Indoor Camera Instructions
a. Select a location for your Indoor camera.
Use one of the convenient mounting options to secure your camera to a desktop, window, or wall.
Note: If mounting the camera on a window, clean the area of the window where the suction cup will be attached. Let the area dry completely before mounting the camera.
The Window Mount Suction Cup has been tested and proven to hold the weight of objects heavier than the camera for extended periods of time. To increase the suction power of the cup, spread a small drop of vegetable or olive oil on the underside of the cup before applying it to the window.
Instructions for mounting a WiLife Camera on a wall or ceiling are located in the Accessories box in the Indoor Starter Kit and Easy
b. Plug the Camera Power Supply into a nearby outlet.
14