Using the Command Center | User Guide | |||
|
|
|
| |
|
|
|
| |
| Send Email | Opens the Email Recorded Video screen, allowing you to send the current video frame, the |
| |
|
| first portion of the video segment, or the whole segment, along with a written message, to |
| |
|
| email recipients you can designate. |
|
|
|
|
|
| |
| Properties | Opens the Video Properties window, allowing you to see the metadata attached to the video |
| |
|
| file. Details include the camera number, camera name, bitrate, and whether the file has |
| |
|
| been protected, triggered an alert, and was uploaded to your WiLife Online account. You can |
| |
|
| also enter your own brief description or upload it to your Platinum WiLife Online storage |
| |
|
| account. |
|
|
|
|
|
|
|
Protect a Recorded Video Segment
The Command Center automatically deletes old files as it reaches its disk storage limit. It does this by deleting the oldest recorded video segments to make room for the new video. In some cases, you may have a segment that you want to protect for an extended period of time.
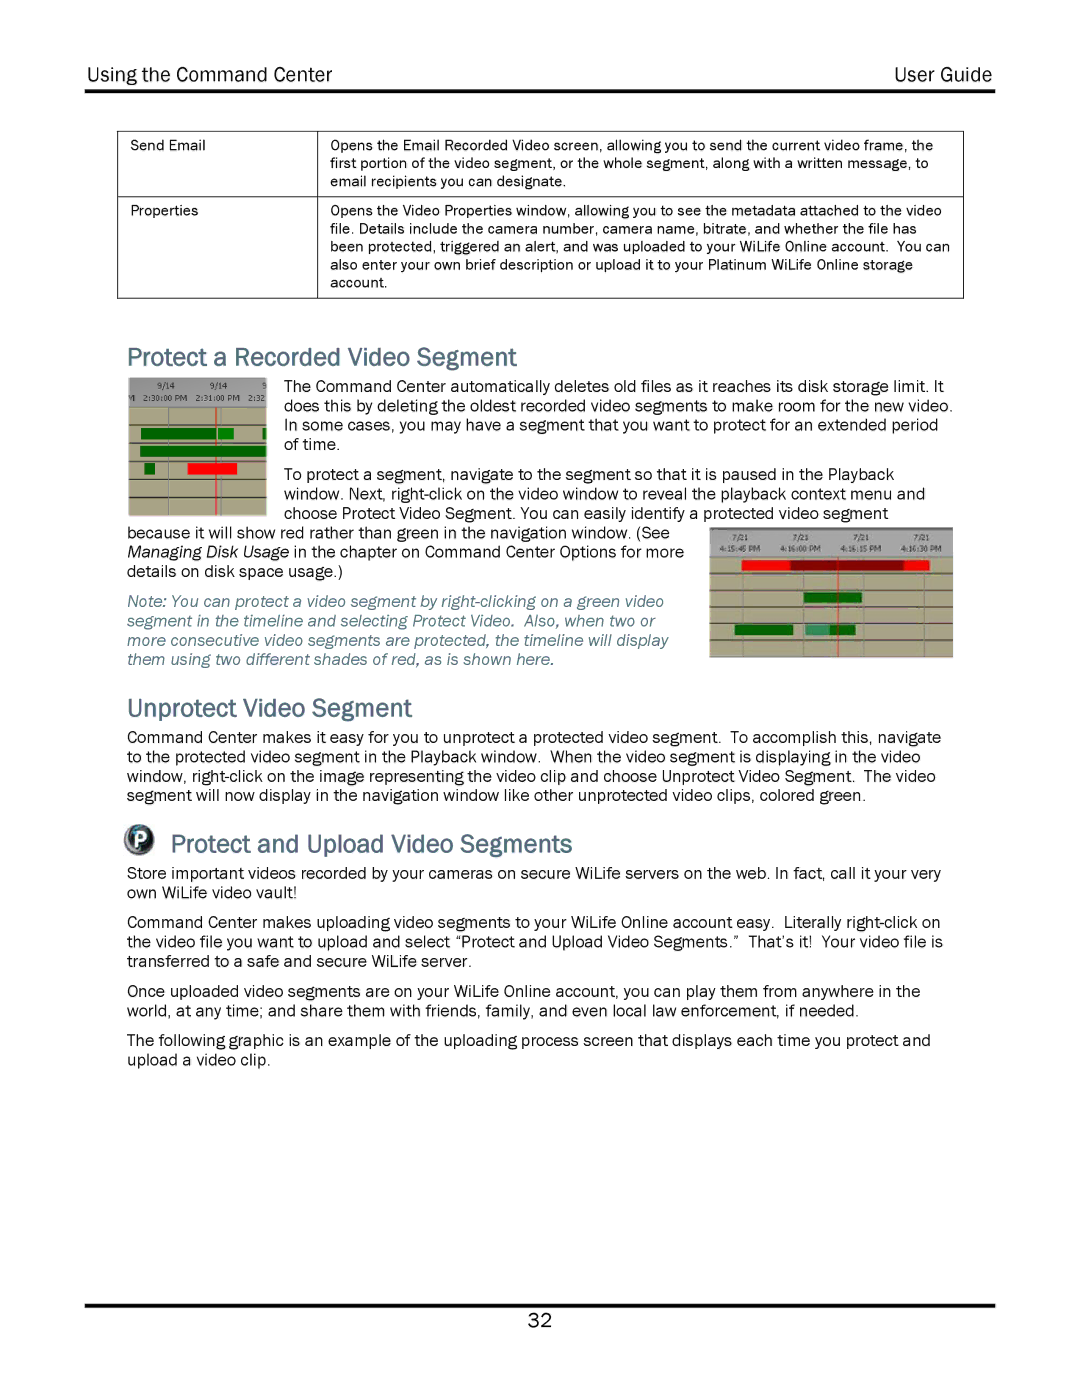
To protect a segment, navigate to the segment so that it is paused in the Playback window. Next,
because it will show red rather than green in the navigation window. (See Managing Disk Usage in the chapter on Command Center Options for more details on disk space usage.)
Note: You can protect a video segment by
Unprotect Video Segment
Command Center makes it easy for you to unprotect a protected video segment. To accomplish this, navigate to the protected video segment in the Playback window. When the video segment is displaying in the video window,
Protect and Upload Video Segments
Store important videos recorded by your cameras on secure WiLife servers on the web. In fact, call it your very own WiLife video vault!
Command Center makes uploading video segments to your WiLife Online account easy. Literally
Once uploaded video segments are on your WiLife Online account, you can play them from anywhere in the world, at any time; and share them with friends, family, and even local law enforcement, if needed.
The following graphic is an example of the uploading process screen that displays each time you protect and upload a video clip.
32