Using the Command Center | User Guide |
|
|
Live Mode Right-Click Context Menus
The WiLife Command Center provides quick access to common functions through context menus on the Video Windows and Camera Alerts buttons. To access the context menus simply
The following table describes each of the options:
Option | Description |
|
|
Camera Settings | Opens the Setup > Camera dialog, allowing you to make quick edits for the |
| selected camera. |
|
|
Motion Detection Setup | Opens the Setup > Recording dialog, allowing you to make quick edits for the |
| selected camera. |
|
|
Email Setup | Opens the Email and Cell Phone Alerts Setup, allowing you to adjust Outgoing |
| Mail Server (email account) settings or to add new email and cell phone |
| addresses as recipients for alerts. |
|
|
View Recording Schedule | Opens the WiLife Recording and Alerts Schedule calendar, allowing you to |
| create or edit a scheduled event. |
|
|
Print Current Frame | Opens the Windows Print dialog, allowing you to select the printer you want to |
| print the current frame to and to print. |
|
|
Save Current Frame | Opens the Windows Save File As dialog, allowing you to save the current frame |
| as a .jpeg, .tiff, .png, or .bmp file, select the location where you want the file |
| saved (default is WiLife), and rename the file from the default name. |
|
|
Delete Camera | Removes the camera from the Command Center. |
|
|
Change Camera Order | Allows you to change the camera number for the camera you |
|
|
Print or Save Live Video Frames
Using the Video Window context menu
PRINT A CURRENT FRAME
When you select Print Current Frame, the Command Center uses the Windows print interfaces, which will automatically try to adjust the picture to match your printer’s capabilities. You may not get great results when printing to a black and white printer. You find these options only on the live view context menu.
SAVE A CURRENT FRAME
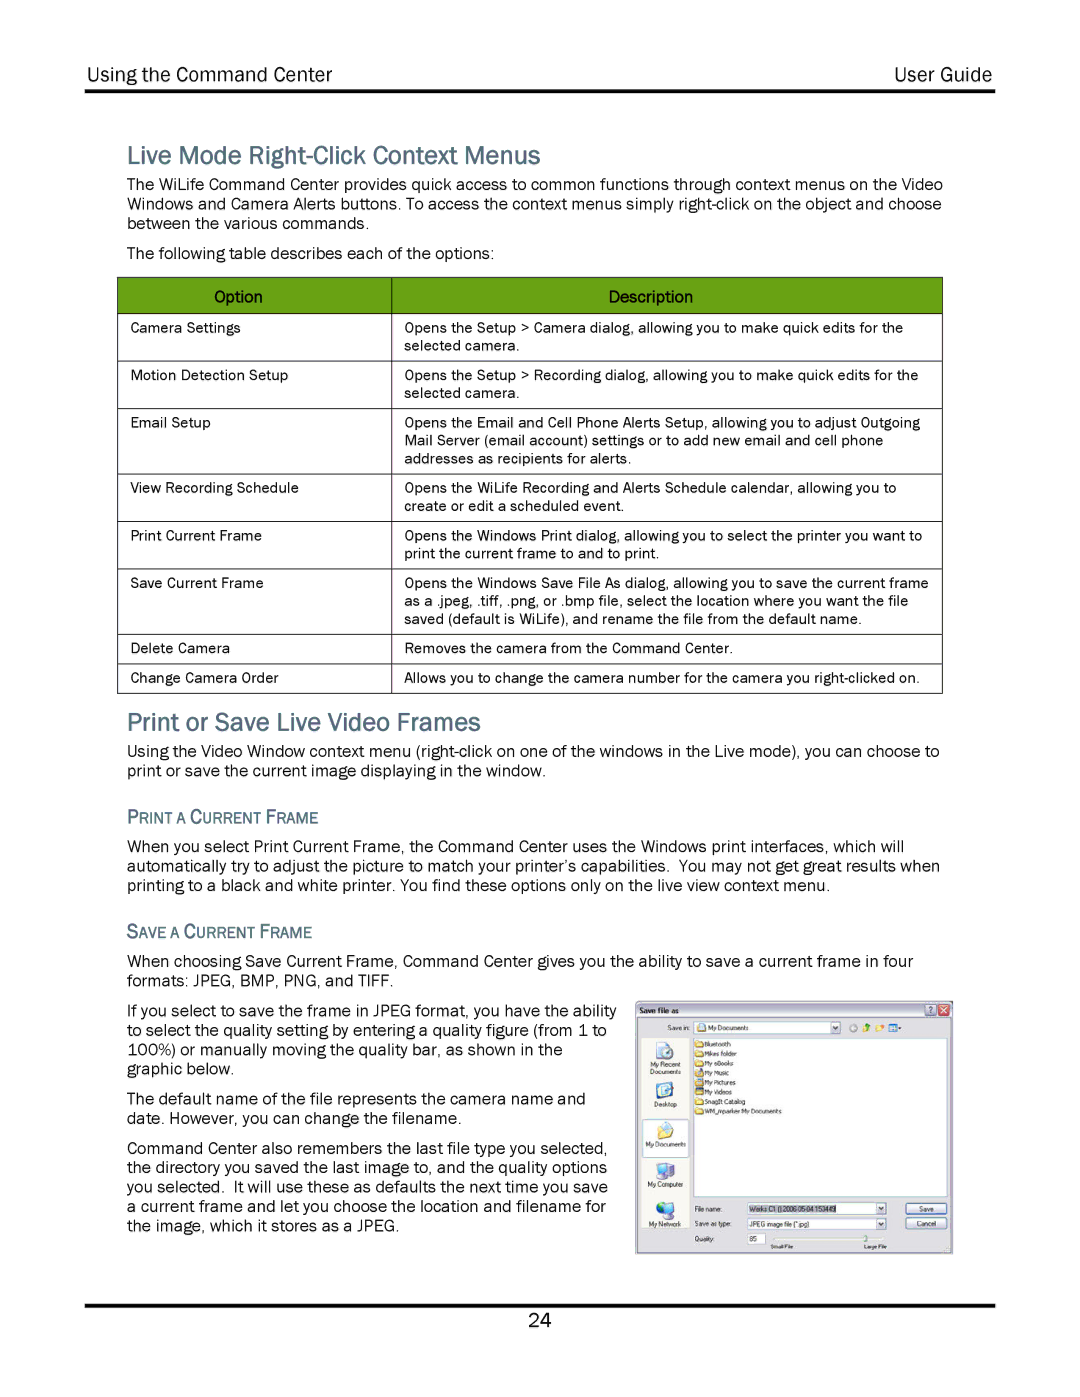
When choosing Save Current Frame, Command Center gives you the ability to save a current frame in four formats: JPEG, BMP, PNG, and TIFF.
If you select to save the frame in JPEG format, you have the ability to select the quality setting by entering a quality figure (from 1 to 100%) or manually moving the quality bar, as shown in the graphic below.
The default name of the file represents the camera name and date. However, you can change the filename.
Command Center also remembers the last file type you selected, the directory you saved the last image to, and the quality options you selected. It will use these as defaults the next time you save a current frame and let you choose the location and filename for the image, which it stores as a JPEG.
24