Getting Started | User Guide |
|
|
For the Outdoor Camera, take the paper clip and gently press the reset button hidden below the reset hole on the bottom right side of the camera’s shell (near the back). You will need to use a long paper clip to be able to reach the reset button.
For the Spy Camera, take the paper clip and gently press the reset button hidden below the reset hole, located on the
Indoor Camera Focus and Aim
The factory default settings for the WiLife Indoor Camera work great for most applications. However, if you find you need to adjust the focus of the Indoor camera, it only takes a few minutes. It is easiest to focus and adjust the camera from an outlet near your computer. The WiLife Indoor Camera has two
components that allow you to adjust the camera’s viewpoint and focus: the camera eyeball and the lens.
On the back panel, you will notice an adjustable eyeball. Use this ball to change the angle of the Indoor camera’s lens.
To adjust the focus, gently adjust the lens clockwise or counterclockwise as necessary. You may find it easiest to take your camera back to your PC to do this work – saving you the trouble of walking back and forth. The following graphic illustrates how to gently twist the camera to adjust the focus.
CAUTION: The lens should screw on easily. If it is not screwing easily, DO NOT FORCE IT. This will strip the threads of the lens holder. Carefully unscrew the lens
Switching Lenses on the Indoor Camera
WiLife offers optional camera lenses for your Indoor Camera — the 54˚lens that has a smaller field of view, allowing the camera to view objects in the distance with more clarity; and the 120˚ lens that is useful for increasing the viewing area for items close to your camera.
All of our lenses are easy to install into your Indoor Camera. Follow these steps.
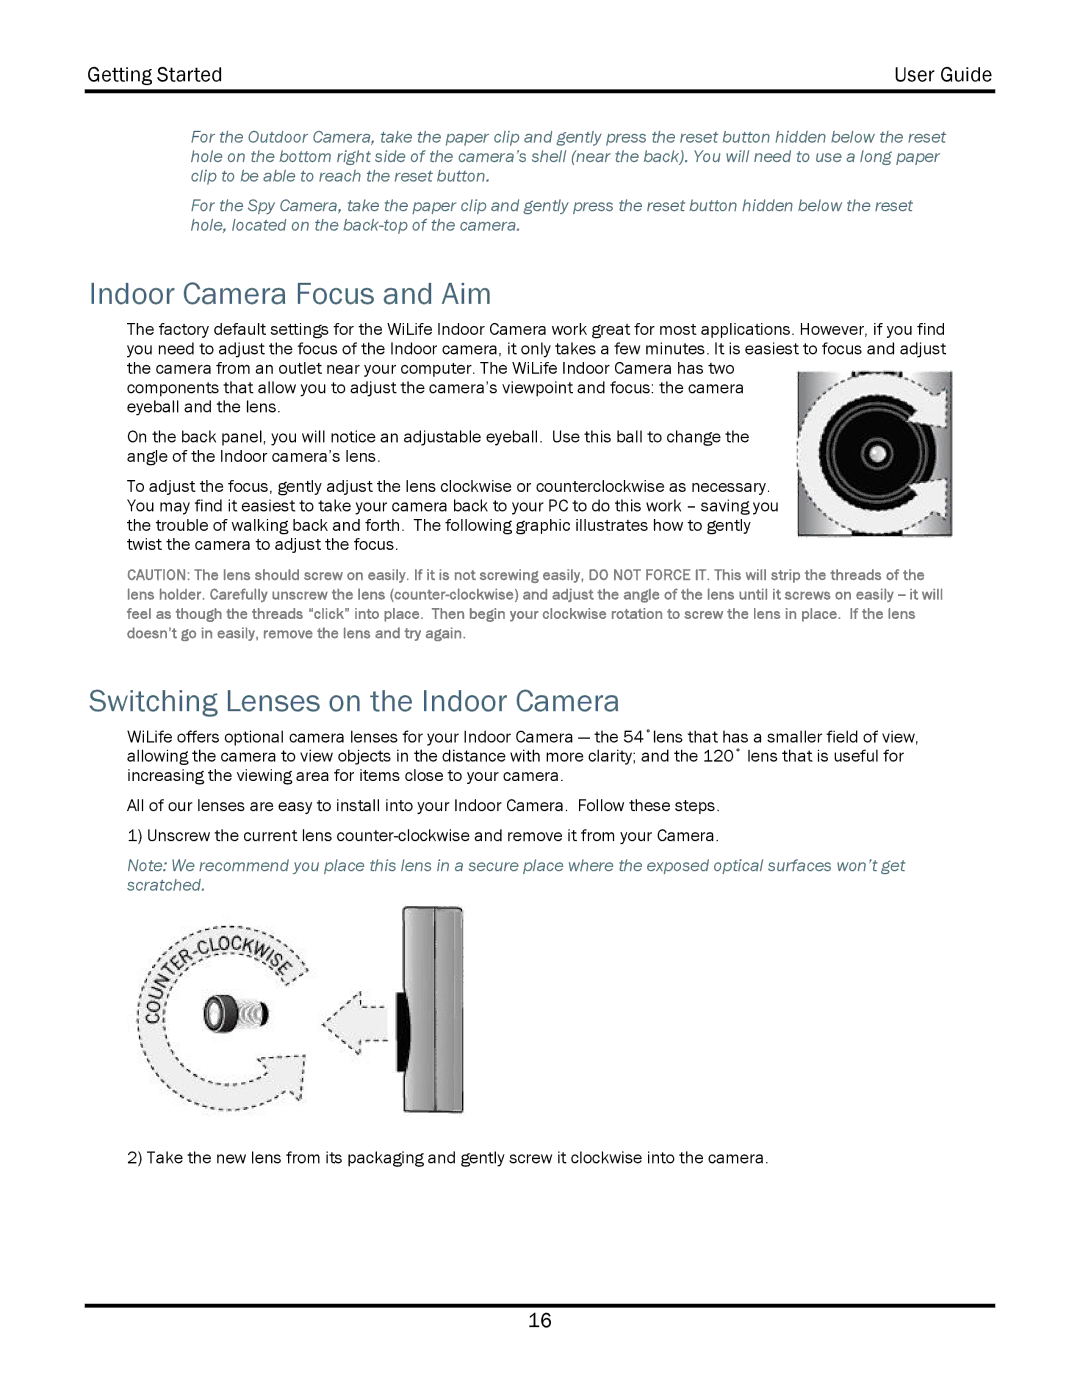
1) Unscrew the current lens
Note: We recommend you place this lens in a secure place where the exposed optical surfaces won’t get scratched.
2) Take the new lens from its packaging and gently screw it clockwise into the camera.
16