User Guide
RIGHT-CLICK OPTIONS
The WiLife Recording and Alerts Schedule screen offers
KEY TO COLORED EVENTS
The Recording and Alerts Schedule Screen uses four colors to represent the types of events scheduled.
Colors | Event Type |
|
|
Black | Recording is turned off |
|
|
Red | Armed motion alert |
|
|
Green | Continuous recording |
|
|
Gray | No motion alert |
|
|
Opening the WiLife Recording and Alerts
Schedule Screen
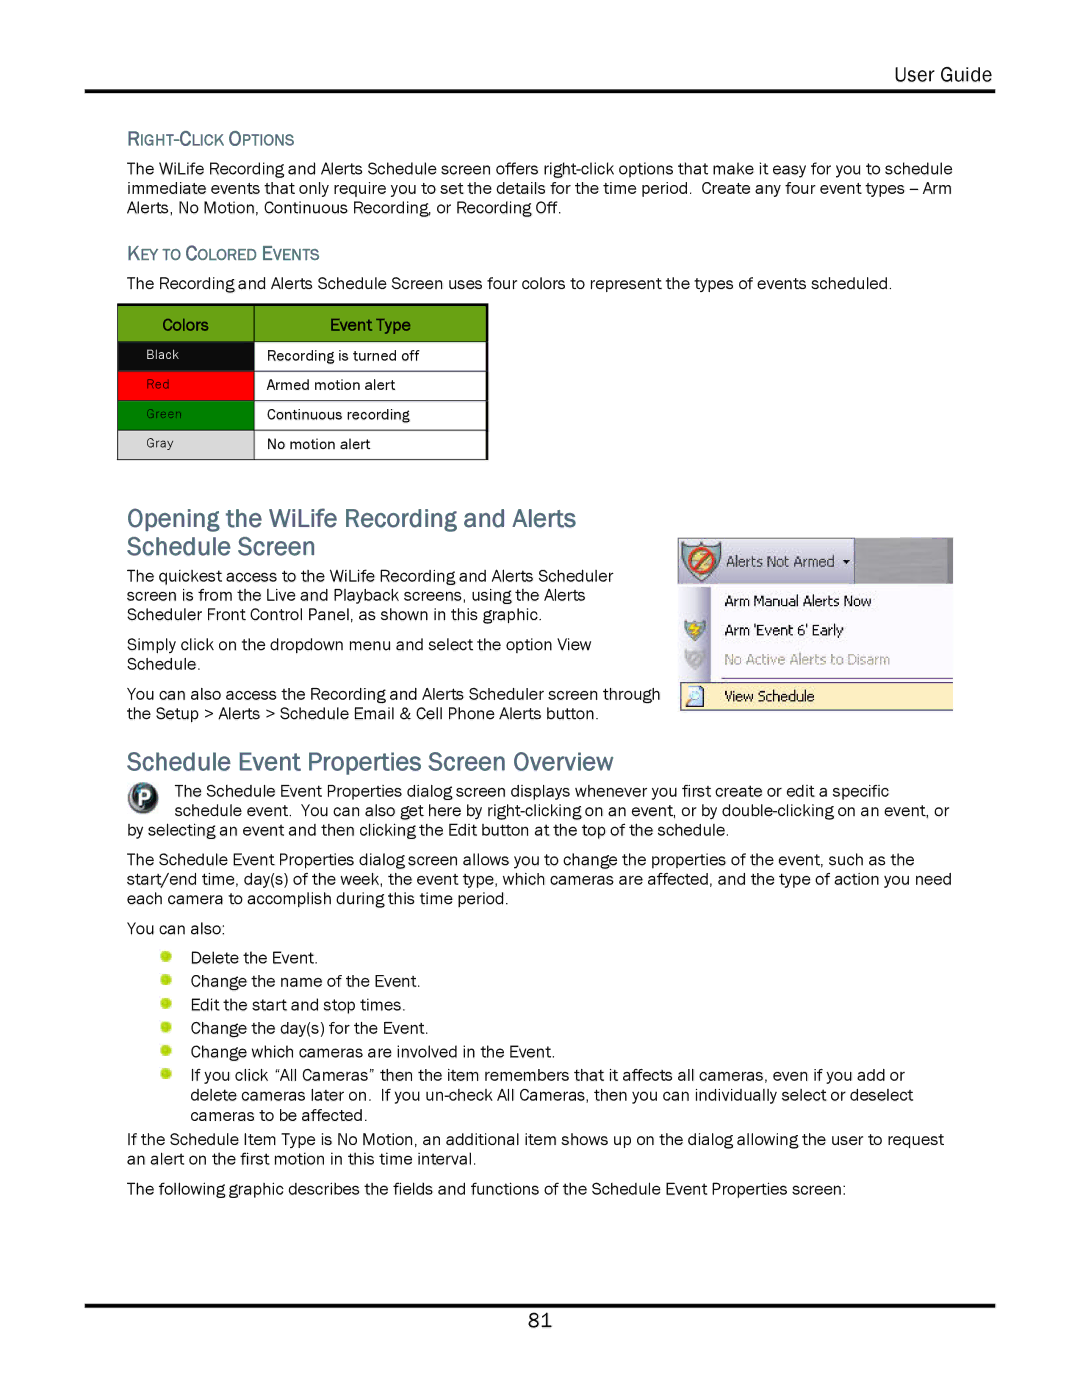
The quickest access to the WiLife Recording and Alerts Scheduler screen is from the Live and Playback screens, using the Alerts Scheduler Front Control Panel, as shown in this graphic.
Simply click on the dropdown menu and select the option View Schedule.
You can also access the Recording and Alerts Scheduler screen through the Setup > Alerts > Schedule Email & Cell Phone Alerts button.
Schedule Event Properties Screen Overview
The Schedule Event Properties dialog screen displays whenever you first create or edit a specific schedule event. You can also get here by
by selecting an event and then clicking the Edit button at the top of the schedule.
The Schedule Event Properties dialog screen allows you to change the properties of the event, such as the start/end time, day(s) of the week, the event type, which cameras are affected, and the type of action you need each camera to accomplish during this time period.
You can also:
Delete the Event.
Change the name of the Event.
Edit the start and stop times.
Change the day(s) for the Event.
Change which cameras are involved in the Event.
If you click “All Cameras” then the item remembers that it affects all cameras, even if you add or delete cameras later on. If you
If the Schedule Item Type is No Motion, an additional item shows up on the dialog allowing the user to request an alert on the first motion in this time interval.
The following graphic describes the fields and functions of the Schedule Event Properties screen:
81