5
Setting System Options
The default configuration of your WiLife Command Center provides you with all of the basic features activated so that you have a
You find these options in the Command Center’s Setup dialog, by clicking the SETUP button from the Live or Playback screens.
Overview of Command Center Settings
Using Setup is simple and intuitive. Simply click on the SETUP button on the main window. You find this button next to the GO TO LIVE or GO TO PLAYBACK button. Additionally, you can
Setup is like any other tabbed dialog in modern Windows applications. It consists of a title bar and various tabs that show
Command Center Setup Tabs
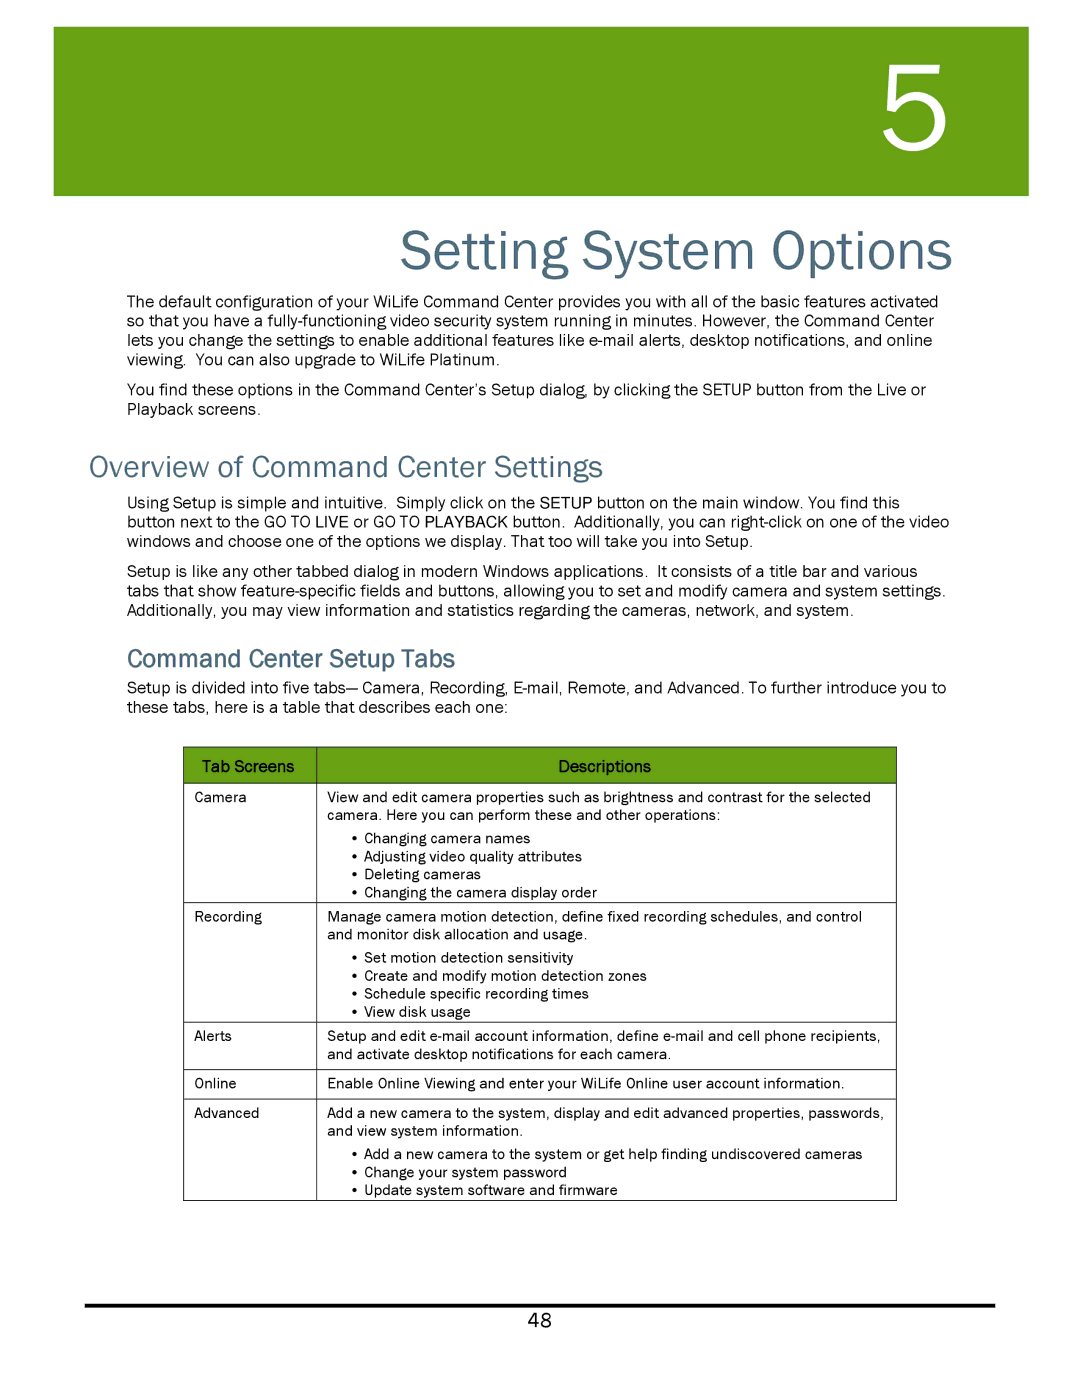
Setup is divided into five tabs— Camera, Recording,
Tab Screens | Descriptions |
|
|
Camera | View and edit camera properties such as brightness and contrast for the selected |
| camera. Here you can perform these and other operations: |
| • Changing camera names |
| • Adjusting video quality attributes |
| • Deleting cameras |
| • Changing the camera display order |
Recording | Manage camera motion detection, define fixed recording schedules, and control |
| and monitor disk allocation and usage. |
| • Set motion detection sensitivity |
| • Create and modify motion detection zones |
| • Schedule specific recording times |
| • View disk usage |
Alerts | Setup and edit |
| and activate desktop notifications for each camera. |
|
|
Online | Enable Online Viewing and enter your WiLife Online user account information. |
|
|
Advanced | Add a new camera to the system, display and edit advanced properties, passwords, |
| and view system information. |
| • Add a new camera to the system or get help finding undiscovered cameras |
| • Change your system password |
| • Update system software and firmware |
48
